How to Setup Dahua Toolbox, Access a number of important applications from Dahua for controlling, playing and managing video surveillance cameras.Dahua Toolbox is a freeware surveillance app and video capture program, developed by Dahua Technology for Windows. It’s pretty easy-to-use.
Dahua Toolbox Initial Setup
Description
This is a guide for how to set up Dahua Toolbox.
Prerequisites
- Dahua Toolbox
- Click Here to Download Dahua Toolbox
- Please note that toolbox might not support all email system. (We used gmail for this example)
Video Instructions
Step by Step Instructions
1. Download the Toolbox.
2. Go to the software, and click next.
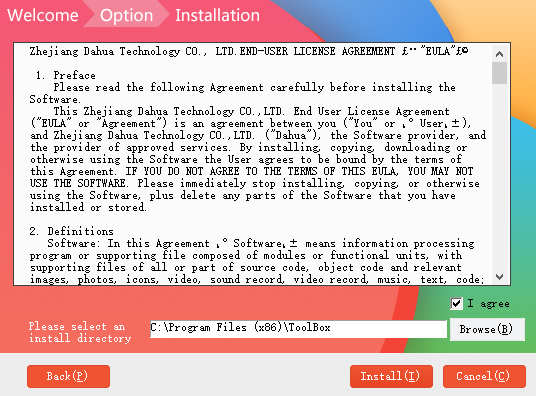
3. Select where you want to install and click install.
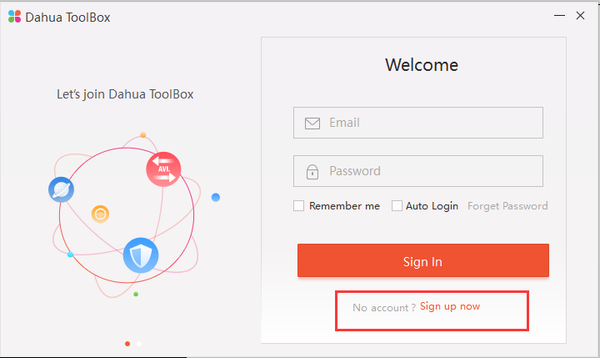
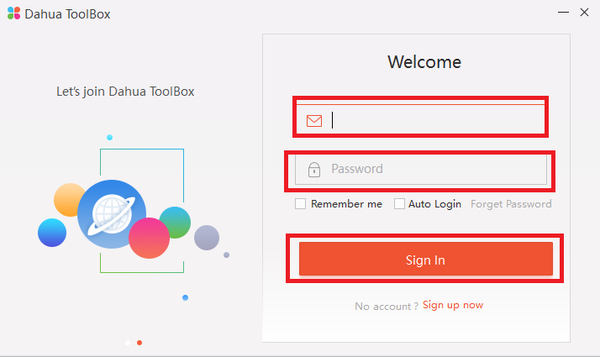
4. Go to the software and click on sign up now.
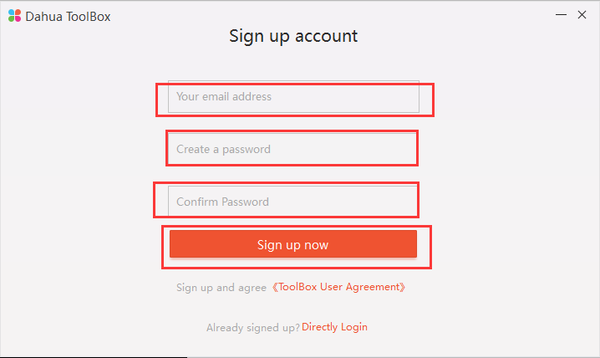
5. Enter in your email, password and then confirm.
6. Wait a couple of minutes and confirm it in your email.
7. Enter in your credentials you created earlier and sign in.
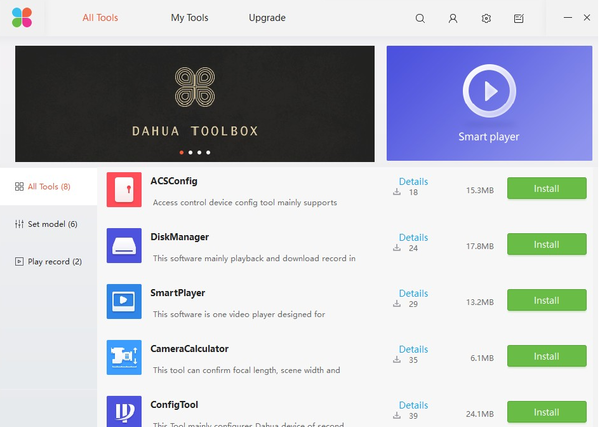
8. You should now be in the home screen.
How to Setup Dahua Toolbox
More Guide
Convert Tool Setup
Description
This is a guide for how to set up and use ConvertTool.
Prerequisites
- Dahua Toolbox
- Click Here to Download Dahua Toolbox
- Video file
Video Instructions
Step by Step Instructions
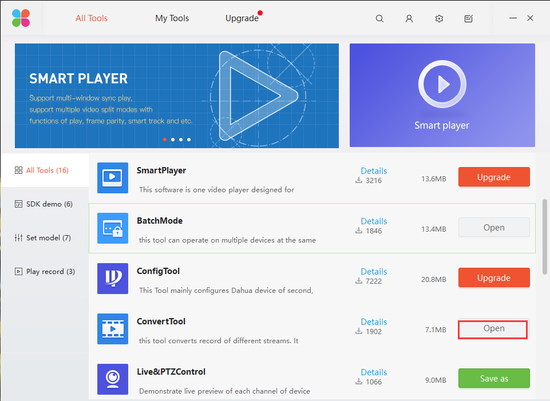
1.Select the ConvertTool.
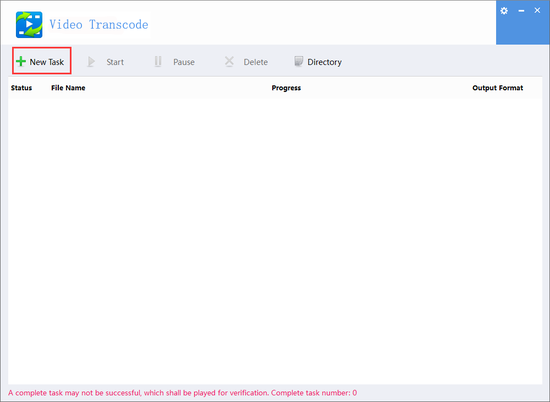
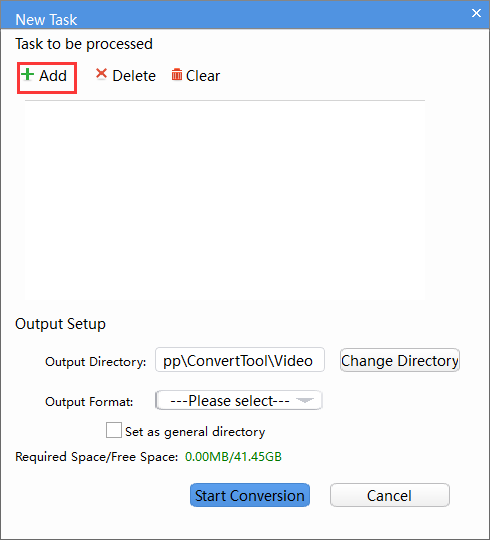
2. Click on New Task
3. Click on Add.
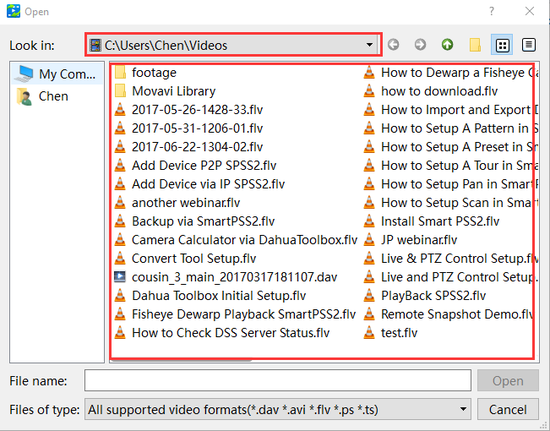
4. Go to a folder and select the video you want to convert.
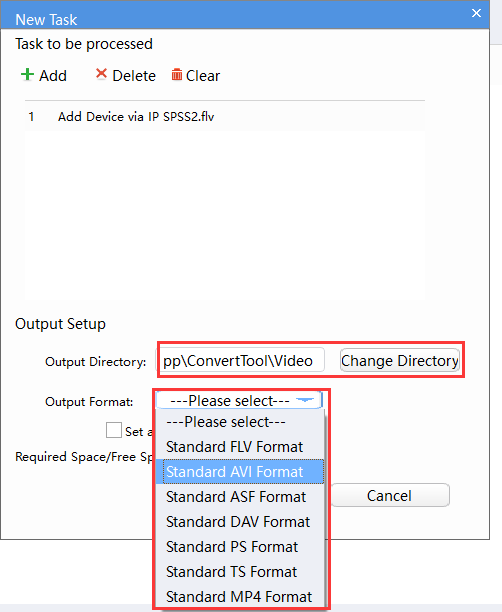
5. Select the output directory and select the format of the video you would like.
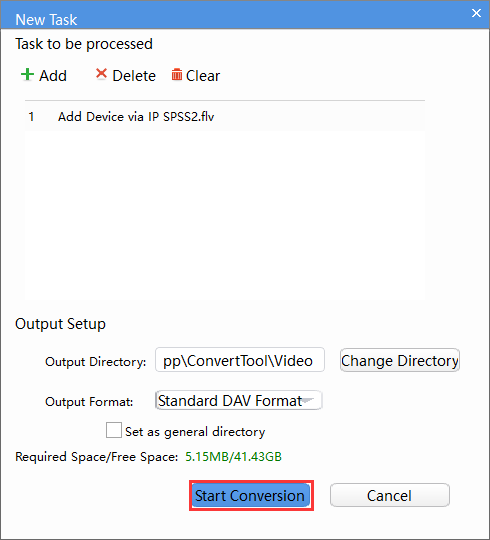
6. Click on Start Conversion.
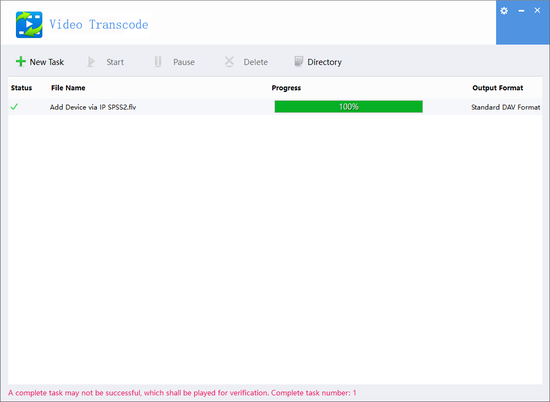
7. You should be able to see the progress and completion if successful.
Live PTZ Control Setup
Description
This is a guide for how to set up Live PTZ Control.
Prerequisites
- Dahua Toolbox
- Click Here to Download Dahua Toolbox
- PTZ Camera online
Video Instructions
Step by Step Instructions
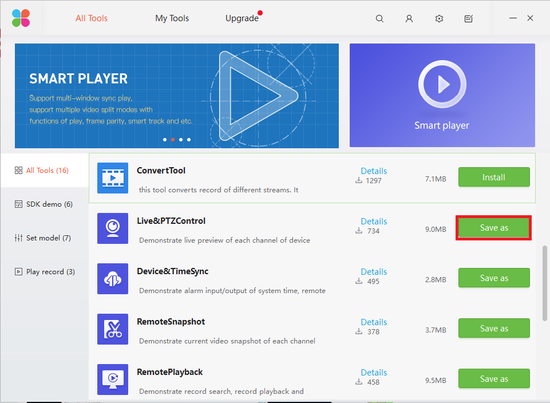
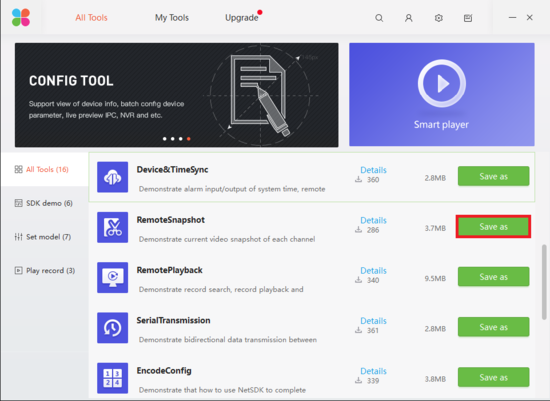
1. Click Save on Live PTZ Control.
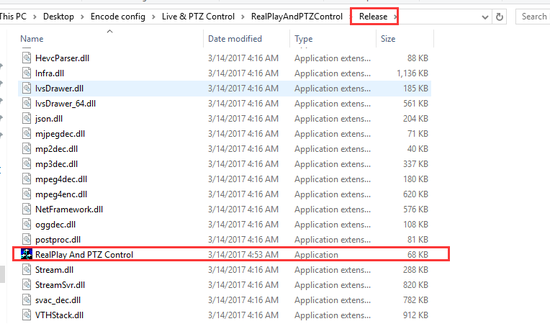
2. Extract the file.
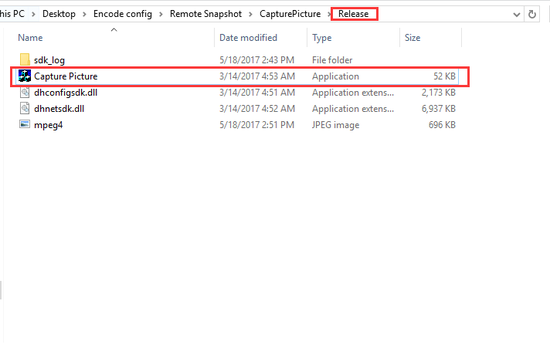
3. Locate the application under release.
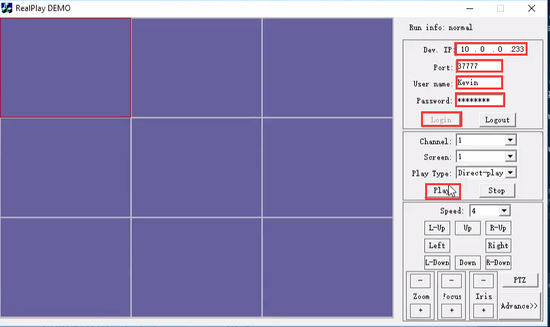
4. Enter in the IP, Credentials, and login then click Play.
5. Double click on the channel to enlarge, then choose zoom and movements.
How to Use Product Selector on Dahua Toolbox
Description
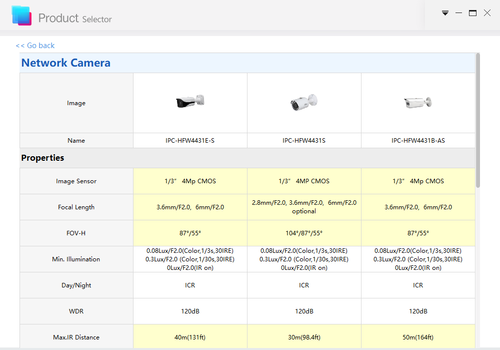
This is a guide for the Product Selector on Dahua toolbox.
Prerequisites
- Dahua Toolbox
- Click Here to Download Dahua Toolbox
Video Instructions
Step by Step Instructions
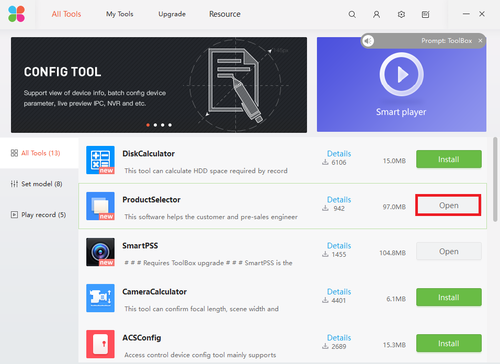
1. Go to the toolbox and install the Product Selector if you haven’t and select it.
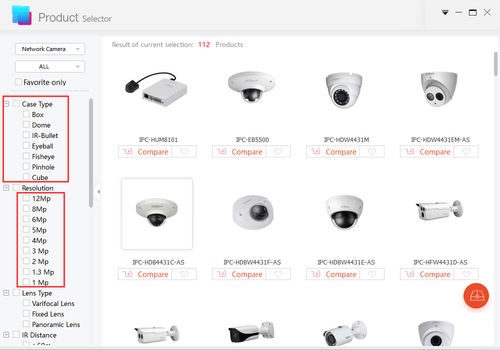
2. Select lens, camera type, etc if you wish.
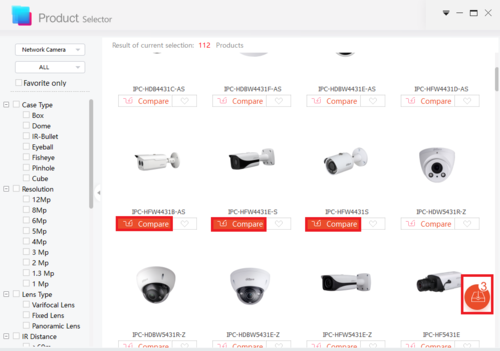
3. Select the Camera you wish to compare and click on the compare icon on bottom right.
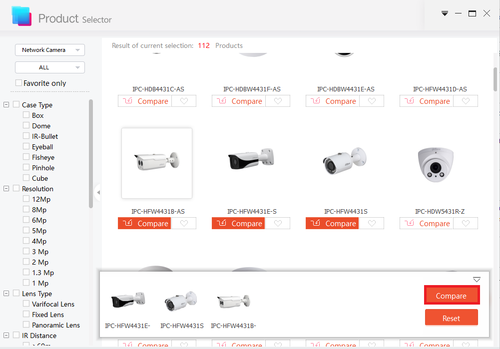
4. Select the compare on the bottom.
5. You may now see all the different specs of the cameras you selected.
Remote Snapshot Setup
Description
This is a guide for how to set up Remote Snapshot.
Prerequisites
- Dahua Toolbox
- Click Here to Download Dahua Toolbox
- IP Camera online
Video Instructions
Step by Step Instructions
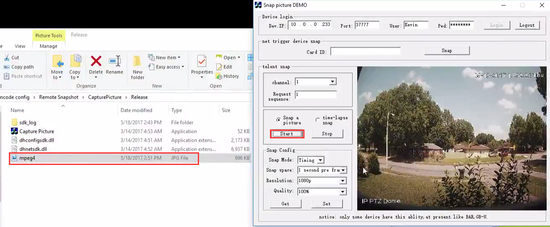
1. Save the file for Remote Snapshot.
2. Extract the file.
3. Locate it under Release.
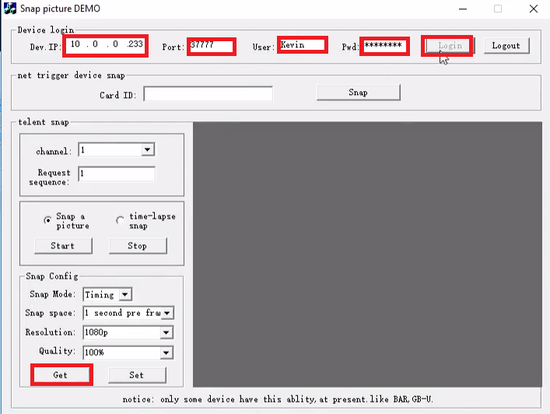
4. Enter the IP, credentials, then login and click on get.
5. Press “Start” to snap the picture and you should see the picture in the same folder.
How To Use SmartPlayer in Dahua Toolbox
Description
This article will show you how to install and use the SmartPlayer software found in Dahua Toolbox
Prerequisites
- Dahua Toolbox
- Exported video file – DAV, AVI, MOV, MP4, ASF or FLV file format
Video Instructions
Step by Step Instructions
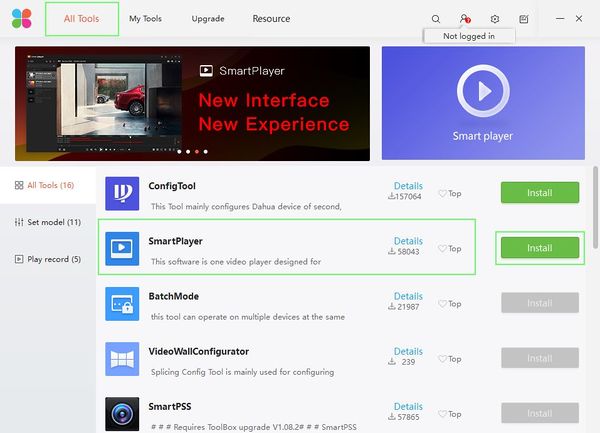
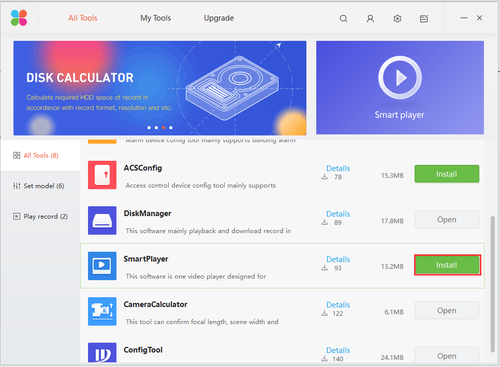
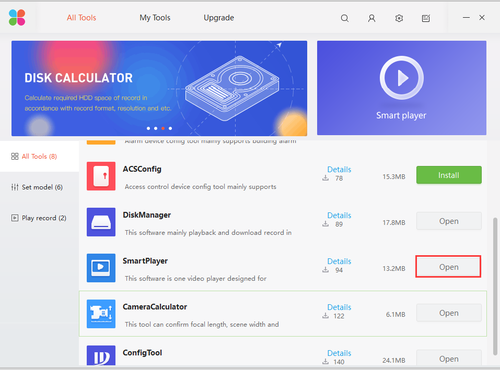
1. Open Dahua Toolbox. Under All Tools, find SmartPlayer in the list, then click the Install button to begin installation.
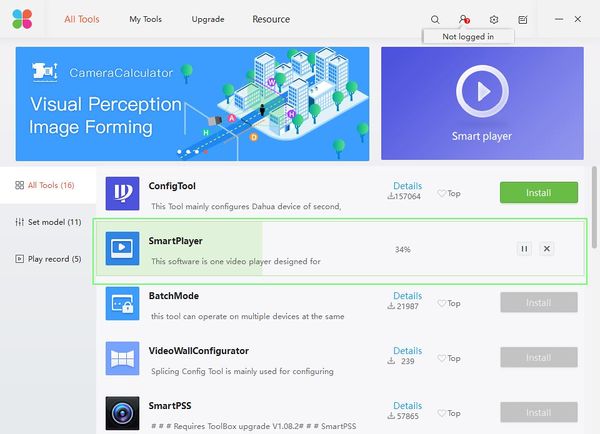
2. A progress bar will appear showing the installation process.
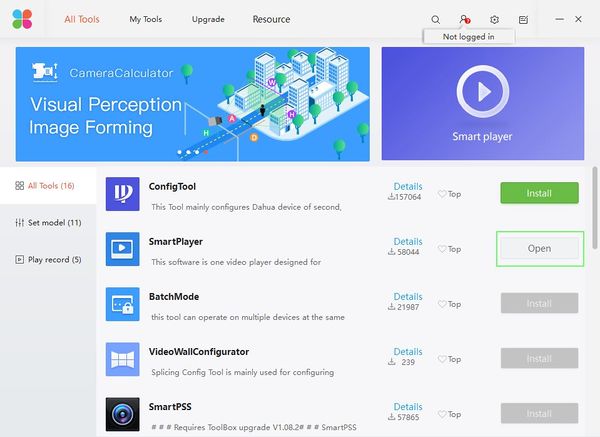
3. Once installation is complete, click Open
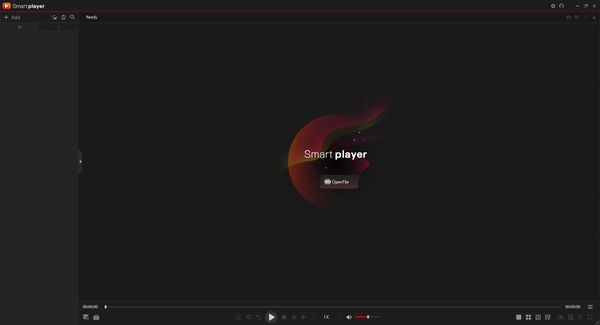
4. SmartPlayer will launch.
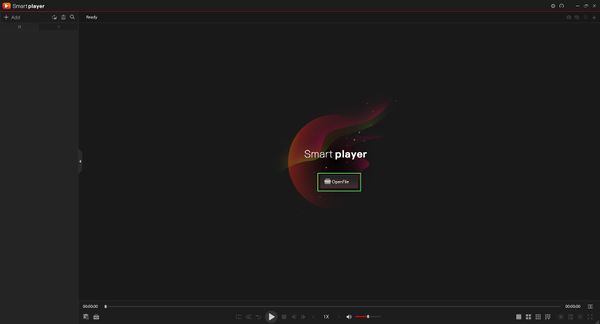
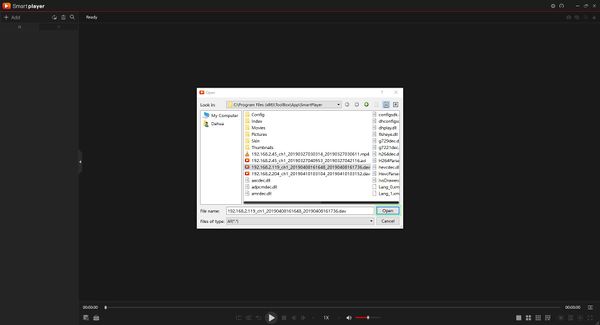
5. Click Open File in the center of the screen to locate the file for playback
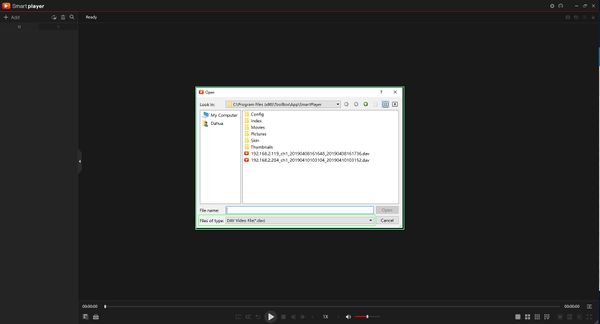
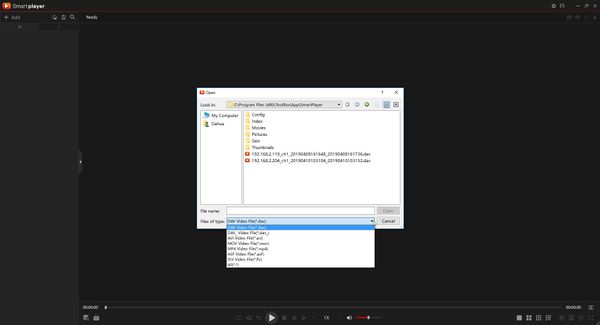
6. Use the file dialogue window that appears to locate the file for playback.
By default it will look for .dav files, use the dropdown box to change the file type to other options such as AVI, MOV, MP4, ASF and FLV
7. Click Open once the file has been selected to begin playback
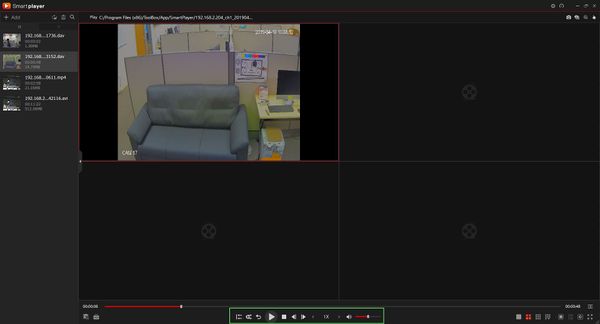
8. Use the controls below the video pane to control playback
There are options for forward and reverse playback, playback speed, and to enable audio
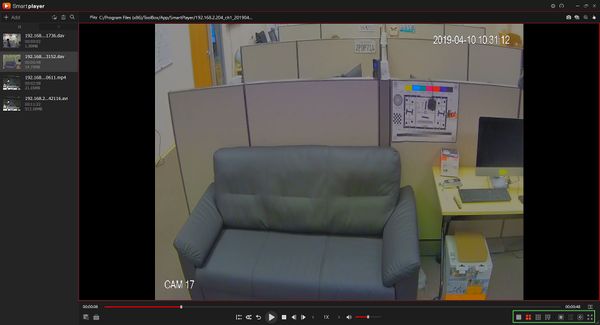
9. Double click the video to bring full screen or choose from one of the layouts in the bottom right of the screen
How to Use Smart Player on Dahua Toolbox
Description
This is a guide for the Smart Player on Dahua toolbox.
Prerequisites
- DAV or ASF file
- Dahua Toolbox
- Click Here to Download Dahua Toolbox
Video Instructions
Step by Step Instructions
1. Go to the toolbox and install the SmartPlayer.
2. After installation, launch the program.
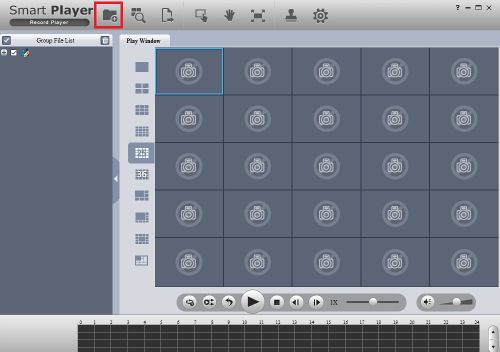
3. Go into your Smart Player and click on open.
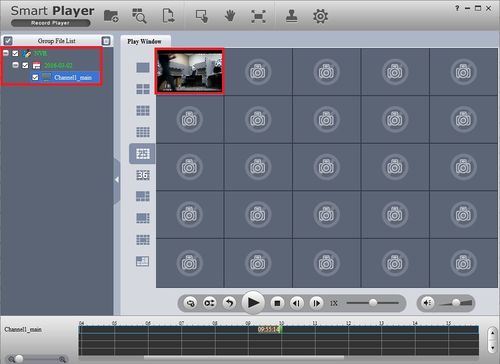
4. Search through your files and select the backup you want to playback.
5. Since I only selected one, only one is showing up, double click on the video to enlarge.
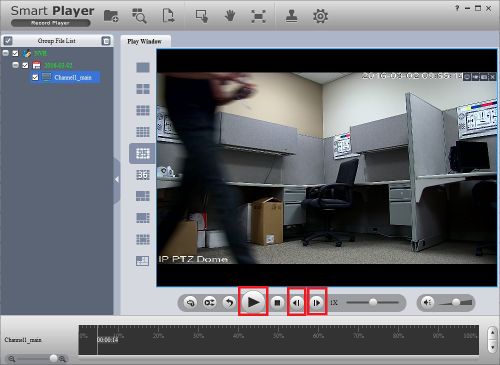
6. You may play/pause by pressing the play button and skip a frame back and forth and etc.
SmartPlayer Guide Old User Interface
How to Use Smart Player on Dahua Toolbox (Old UI)
Description
This is a guide for the Smart Player on Dahua toolbox.
Prerequisites
- DAV or ASF file
- Dahua Toolbox
- Click Here to Download Dahua Toolbox
Video Instructions
Step by Step Instructions
1. Go to the toolbox and install the SmartPlayer.
2. After installation, launch the program.
3. Go into your Smart Player and click on open.
4. Search through your files and select the backup you want to playback.
5. Since I only selected one, only one is showing up, double click on the video to enlarge.
6. You may play/pause by pressing the play button and skip a frame back and forth and etc.
How to Use The Disk Calculator
Description
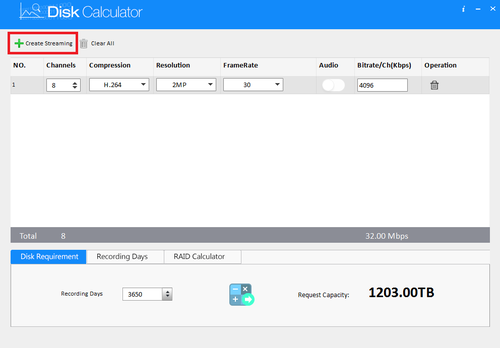
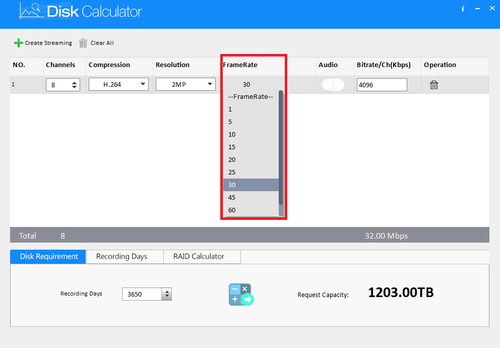
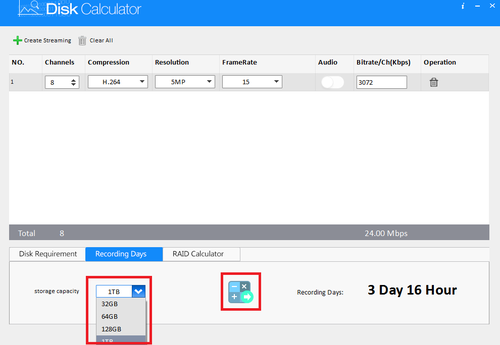
Disk calculator is a program that takes the record settings of surveillance setups and outputs estimates of record times and suggested storage capacities.
Prerequisites
- Disk Calculator
- PC that has it installed
Video Instructions
Step by Step Instructions
1. Select create code streaming.
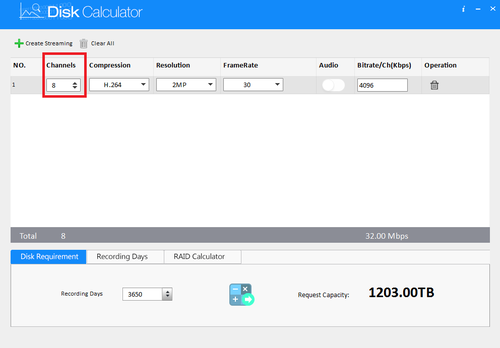
2. Select channel amount.
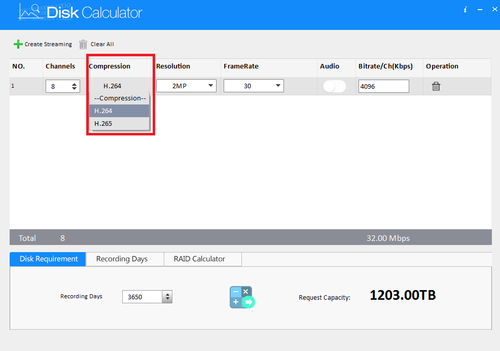
3. Select compression.
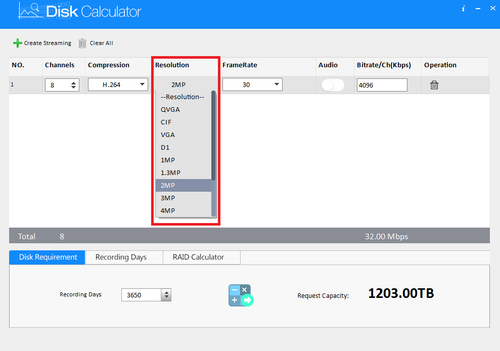
4. Select and choose a resolution.
5. Select and choose a framerate.
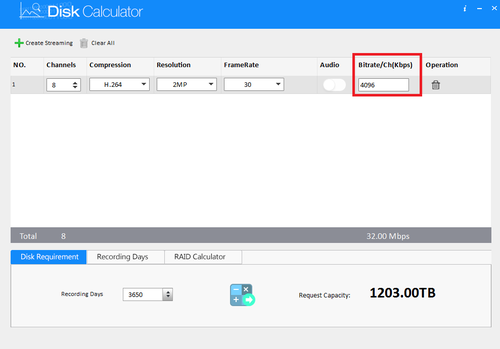
6. Bitrate will be automatically generated.
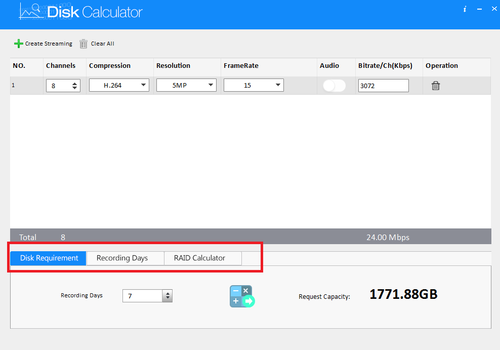
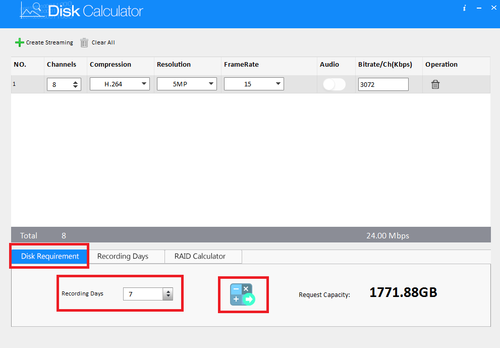
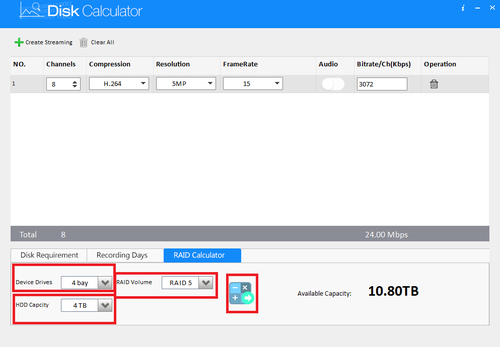
7. You can choose between disk requirement, recording days and RAID.
8. For disk requirement enter number of recording days ➞ Select the calculator icon to calculate request capacity.
9. For recording days select and choose storage capacity ➞ Select the calculator icon to calculate request capacity.
10. For RAID calculator select amount of device drives ➞ HDD capacity ➞ RAID volume ➞ Select the calculator icon to calculate request capacity.
How to Use JVSG: CCTV Design Software
Description
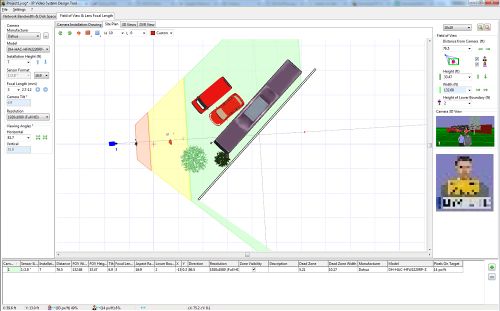
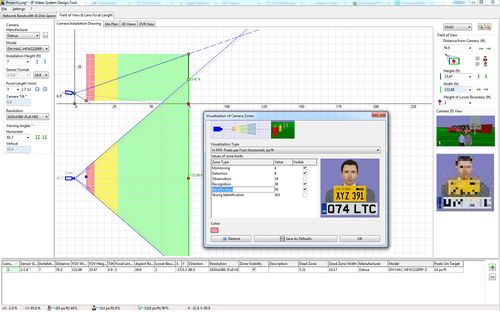
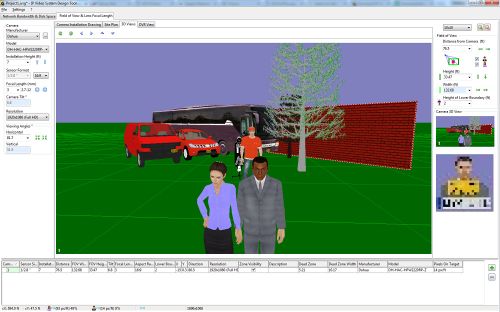
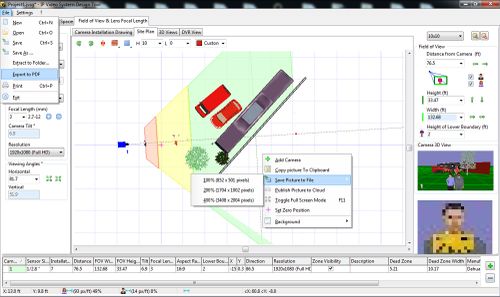
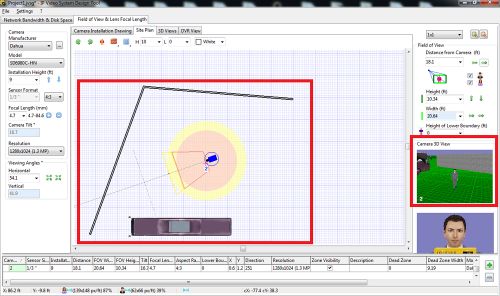
JVSG is an IP Video System Design Tool that can digitally render your ideal camera setup. This tool can help with systems integration in camera technology by demonstrating both two and three dimensional layouts that can describe the field of view given the model and position of a camera.
Setup sensor size, display ratio, and focal length to simulate cameras that are not listed among the program.
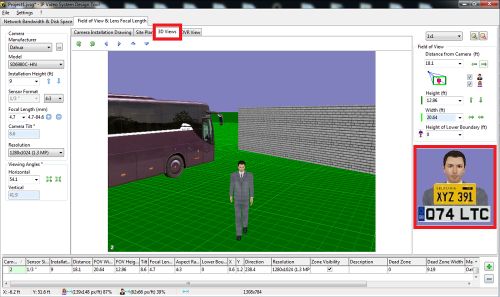
Set up and render a three dimensional scene with walls, buses, people, and other models for an immersive perspective. JSVG allows you to even import your own models into the rendering.
Export pdf or pictures of the renderings.
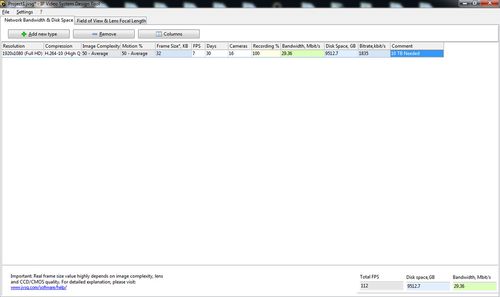
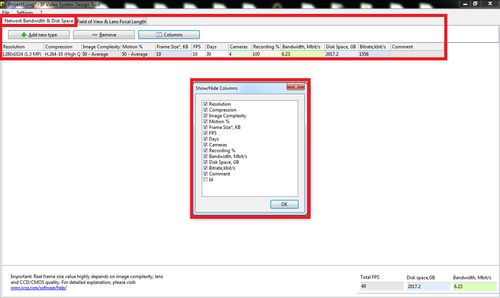
Included is also a camera calculator that gives you the ability to calculate storage space and bit rates based upon resolution, compression, image complexity, number of cameras, fps, and frame size.
Prerequisites
- PC with Windows 10, Windows 8, Windows 7, Vista, Windows XP SP2
- Use AMD/ATI Radeon graphics cards for large video surveillance projects
Video Instructions
Step by Step Instructions
Setting up a camera
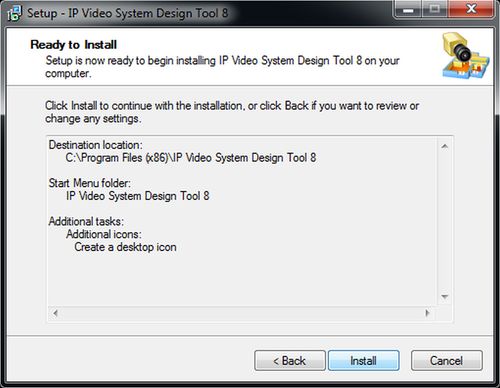
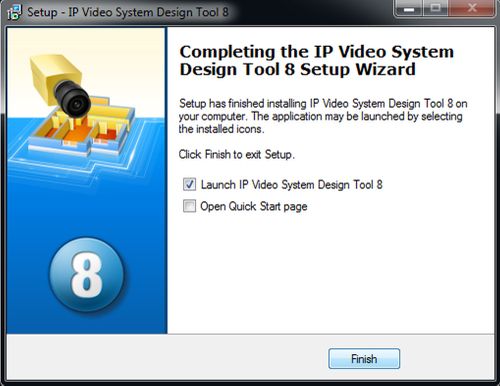
1. Download http://www.jvsg.com/software/ip-video-system-design-tool/ extract, install, and open JVSG IP Video Systems Design.
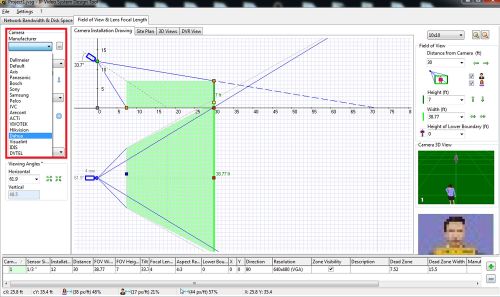
2. Once opened select a camera manufacturer.
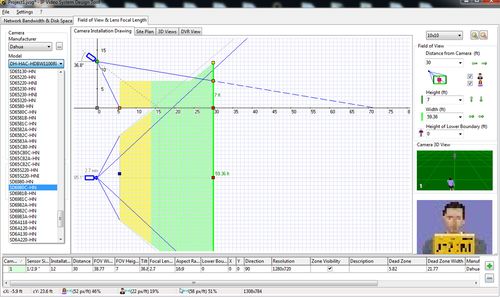
3. Select The Model of camera.
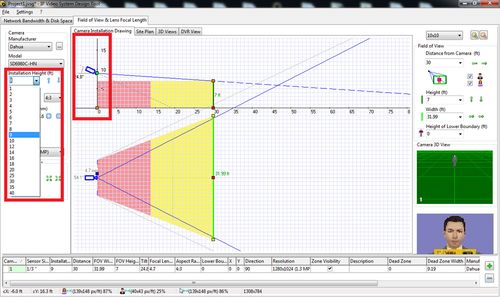
4. Select the installation height the camera will be mounted at in this simulation.
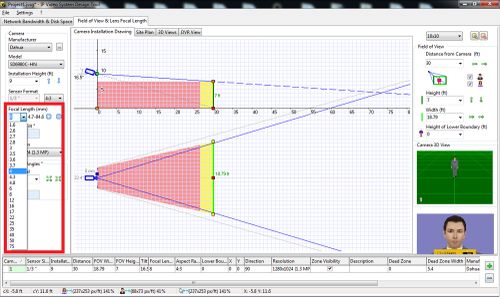
5. Select Focal Length of the camera.
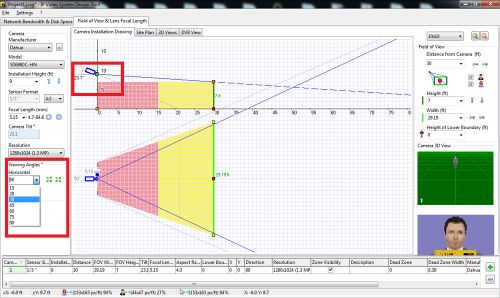
6. Select the Viewing Angles, or the tilt angle of the camera.
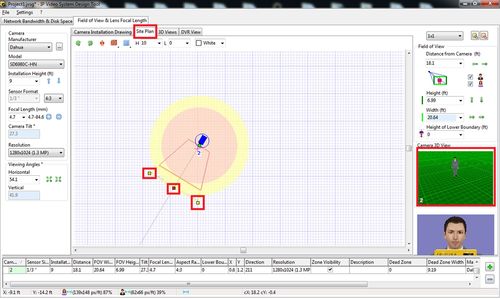
7. Select Site Plan to get an overhead view of the map, and to modify the position of the camera. If you selected a PTZ this also gives a good indication of it’s view range.
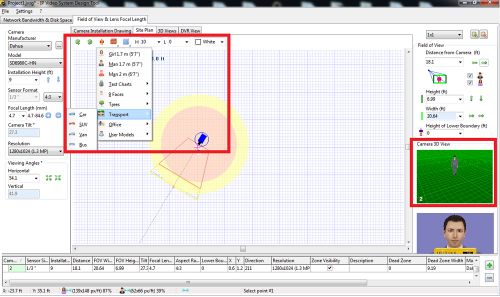
8. The icons under the Site Plan tab represent view orientation, model, and wall placement. These are the tools provided to simulate people, objects, and viewing areas.
9. Once you have placed your objects in the simulation you can now see them in all view modes, two dimensional and three dimensional.
10. Select 3D Views to view the camera(s) setup in a 3D rendering.
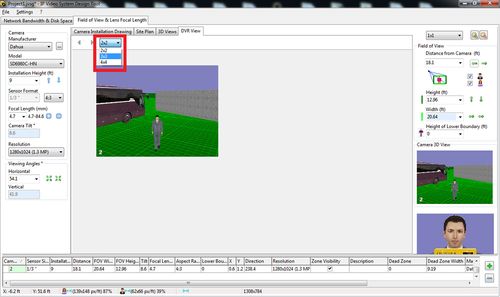
11. Select DVR View to simulate a 2×2, 3×3, and 4×4 demo view on each camera that has been setup.
12. Select the Network Bandwith & Disk Space tab to calculate the rates on your cameras.
How to Use NVR Selector
Description
The NVR Selector is a windows program that assists in selecting the best NVR for your needs. Please follow the instructions below to start using the NVR Selector.
Prerequisites
- NVR Selector
- PC
Video Instructions
Step by Step Instructions
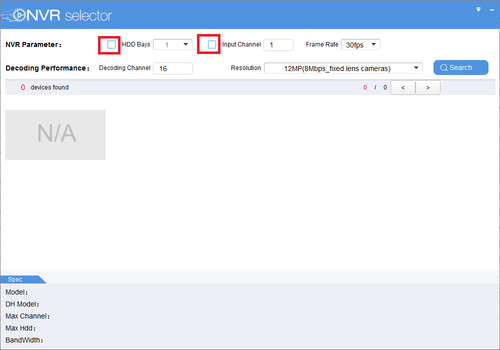
1. On the NVR Selector, check mark the HDD Bays and Input Channel.
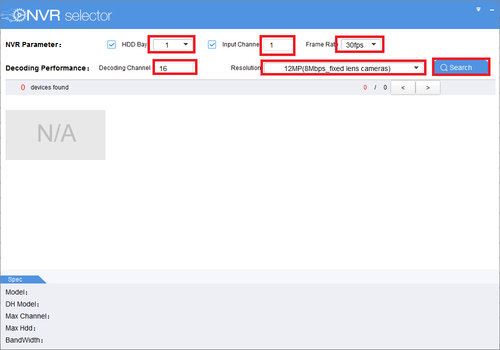
2. Input the number of HDD Bays, input channel, frame rate, decoding channel and resolution you want and click search.
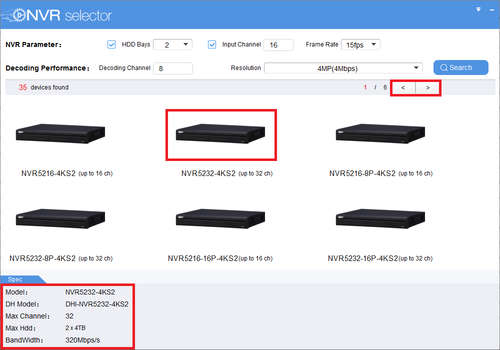
3. You can see the models that match the description now with the basic spec at the bottom, you can also scroll through multiple NVR that match the description.

