Hikvision New GUI 5 User Guide, Hikvision NVR comes in different series, such as Pro, Ultra, DeepinMind, Value, Special series and Pro Series with AcuSense, catering to various application scenarios. Our NVRs are built with high-quality components to ensure the reliability of devices and the whole Network Video Recorder System, while also prioritizing user experience with simplified operation processes. Choose the NVR series below that perfectly fits your needs for a seamless and reliable security solution.
About this Document
●This Document includes instructions for using and managing the Product. Pictures, charts, images and all other information hereinafter are for description and explanation only.
●The information contained in the Document is subject to change, without notice, due to firmware updates or other reasons. Please find the latest version of the Document at the Hikvision website ( https://www.hikvision.com ). Unless otherwise agreed, Hangzhou Hikvision Digital Technology Co., Ltd. or its affiliates (hereinafter referred to as “Hikvision”) makes no warranties, express or implied.
●Please use the Document with the guidance and assistance of professionals trained in supporting the Product.
Safety Instruction
.
●Proper
configuration of all passwords and other security settings is the responsibility of the installer and/or end-user.
●In the use of the product, you must be in strict compliance with the electrical safety regulations of the nation and region.
●Firmly
connect the plug to the power socket. Do not connect several devices to one power adapter. Power off the device before connecting and disconnecting accessories and peripherals.
●Shock hazard! Disconnect all power sources before maintenance.
●The equipment must be connected to an earthed mains socket-outlet.
●The socket-outlet shall be installed near the device and shall be easily accessible.
●
For the device with the sign indicating hazardous live, the external wiring connected to the terminals requires
installation by an instructed person.
●Never place the device in an unstable location. The device may fall, causing serious personal injury or death.
●Input voltage should meet the SELV (Safety Extra Low Voltage) and the LPS (Limited Power Source) according to the IEC62368.
●High touch current! Connect to earth before connecting to the power supply.
●If smoke, odor or noise rise from the device, turn off the power at once and unplug the power cable, and then please contact the service center.
●Use the device in conjunction with an UPS, and use factory recommended HDD if possible.
●This equipment is not suitable for use in locations where children are likely to be present.
●CAUTION: Risk of explosion if the battery is replaced by an incorrect type.
●Do not ingest battery. Chemical Burn Hazard!
●This product contains a coin/button cell battery. If the coin/button cell battery is swallowed, it can cause severe internal burns in just 2 hours and can lead to death.
●Improper replacement of the battery with an incorrect type may defeat a safeguard (for example, in the case of some lithium battery types).
●Do not dispose of the battery into fire or a hot oven, or mechanically crush or cut the battery, which may result in an explosion.
●Do not leave the battery in an extremely high temperature surrounding environment, which may result in an explosion or the leakage of flammable liquid or gas.
●Do not subject the battery to extremely low air pressure, which may result in an explosion or the leakage of flammable liquid or gas.
●Dispose of used batteries according to the instructions.
●Keep body parts away from fan blades and motors. Disconnect the power source during servicing.
●Keep body parts away from motors. Disconnect the power source during servicing.
●Use only power supplies same with the original model, or LPS power supplies with the same voltage and electric current.
Preventive and Cautionary Tips
.
Before connecting and operating your device, please be advised of the following tips:
●The device is designed for indoor use only. Install it in a well-ventilated, dust-free environment without liquids.
●Ensure recorder is properly secured to a rack or shelf. Major shocks or jolts to the recorder as a result of dropping it may cause damage to the sensitive electronics within the recorder.
●The device shall not be exposed to water dripping or splashing, and no objects filled with liquids, such as vases, shall be placed on the device.
●No naked flame sources, such as lighted candles, should be placed on the device.
●The ventilation should not be impeded by covering the ventilation openings with items, such as newspapers, table-cloths, curtains. The openings shall never be blocked by placing the device on a bed, sofa, rug, or other similar surface.
●For certain models, ensure correct wiring of the terminals for connection to an AC mains supply.
●For certain models, the equipment has been designed, when required, modified for connection to an IT power distribution system.
●
identifies the battery holder itself and identifies the positioning of the cell(s) inside the battery holder.
● + identifies the positive terminal(s) of the device which is used with, or generates direct current, and – identifies the negative terminal(s) of the device which is used with, or generates direct current.
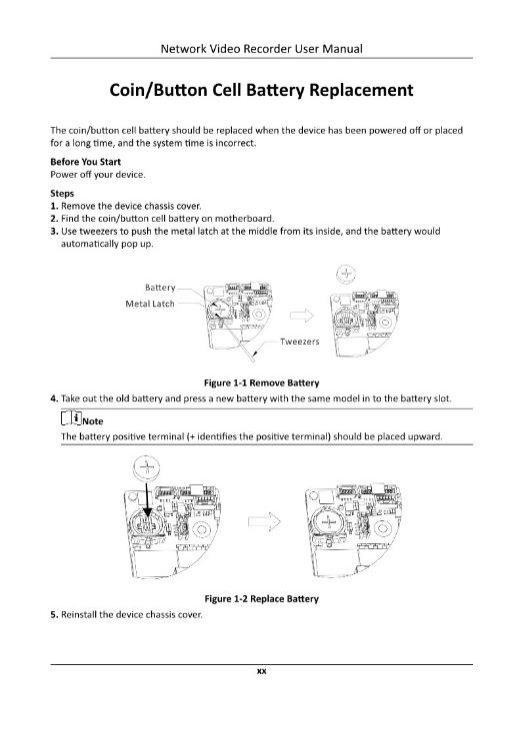
●If the device has been powered off or placed for a long time, its coin/button cell battery may run out power.
●When the coin/button cell battery runs out power, the system time would be incorrect, please contact the after-sales service to replace the battery.
●Keep a minimum 200 mm (7.87 inch) distance around the equipment for sufficient ventilation.
●For certain models, ensure correct wiring of the terminals for connection to an AC mains supply.
●Do not touch the sharp edges or corners.
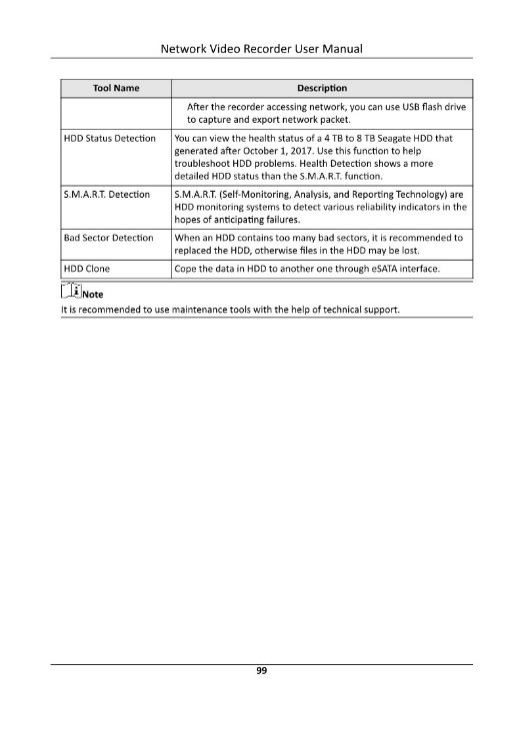
●When the device is running above 45 °C (113 °F), or its HDD temperature in S.M.A.R.T. exceeds the stated value, please ensure the device is running in a cool environment, or replace HDD(s) to make the HDD temperature in S.M.A.R.T. below the stated value.
●Provide a surge suppressor at the inlet opening of the device under special conditions such as the mountain top, iron tower, and forest.
●Do not touch the bare components (such as the metal contacts of the inlets) and wait for at least 5 minutes, since electricity may still exist after the device is powered off.
●The USB port of the equipment is used for connecting to a mouse, keyboard, USB flash drive, or Wi-Fi dongle only. The current for the connected device shall be not more than 0.1 A.
●The serial port of the device is used for debugging only.
●If the power output port of the device does not comply with Limited Power Source, the connected device powered by this port shall be equipped with a fire enclosure.
●If a power adapter is provided in the device package, use the provided adapter only.
●For the device with sticker

or

, pay attention to the following cautions: CAUTION: Hot parts! Do not touch. Burned fingers when handling the parts. Wait one-half hour after switching off before handling the parts.
●If the device needs to be installed on the wall or ceiling,
1.Install the device according to the instructions in this manual.
2.To prevent injury, this device must be securely attached to the installation surface in accordance with the installation instructions.
●Under high working temperature (40 °C (104 °F) to 55 °C (131 °F)), the power of some power adapters may decrease.
●Make sure that the power has been disconnected before you wire, install, or disassemble the device.
●If the device needs to be wired by yourself, select the corresponding wire to supply power according to the electric parameters labeled on the device. Strip off wire with a standard wire stripper at corresponding position. To avoid serious consequences, the length of stripped wire shall be appropriate, and conductors shall not be exposed.
●If smoke, odor, or noise arises from the device, immediately turn off the power, unplug the power cable, and contact the service center.
Hikvision New GUI 5 User Guide
Content Convention
.
In order to simplify description, please read the following conventions.
●Recorder or device mainly refers to video recorder.
●IP device mainly refers to network
camera (IP camera), IP dome (speed dome), DVS (Digital Video Server), or NVS (Network Video Server).
●Channel mainly refers to the video channel in video recorder.
.
1.1Frequently Asked Questions
.
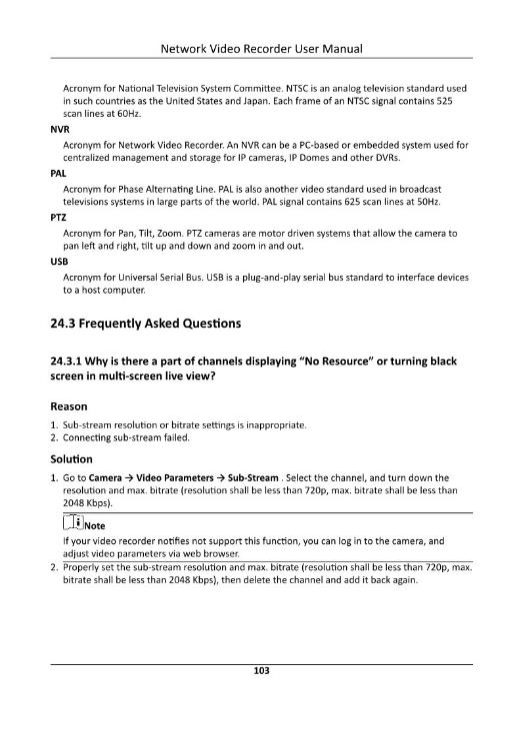
1.1.1Why is there a part of channels displaying “No Resource” or turning black screen in multi-screen live view?
.
Reason
1.Sub-stream resolution or bitrate settings is inappropriate.
2.Connecting sub-stream failed.
Solution
1.Go to Camera → Video Parameters → Sub-Stream . Select the channel, and turn down the resolution and max. bitrate (resolution shall be less than 720p, max. bitrate shall be less than 2048 Kbps).
.

Note
If your video recorder notifies not support this function, you can log in to the camera, and adjust video parameters via web browser.
2.Properly set the sub-stream resolution and max. bitrate (resolution shall be less than 720p, max. bitrate shall be less than 2048 Kbps), then delete the channel and add it back again.
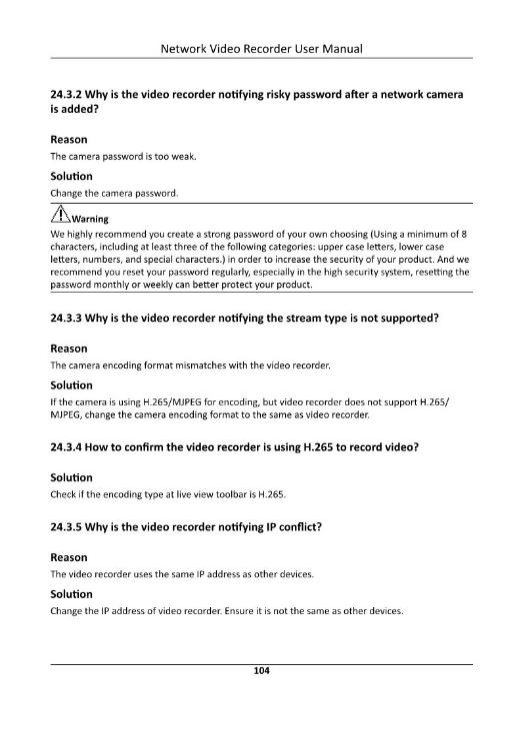
1.1.2Why is the video recorder notifying risky
password after a network camera is added?
.
Reason
The camera password is too weak.
Solution
Change the camera password.
.

.
Warning
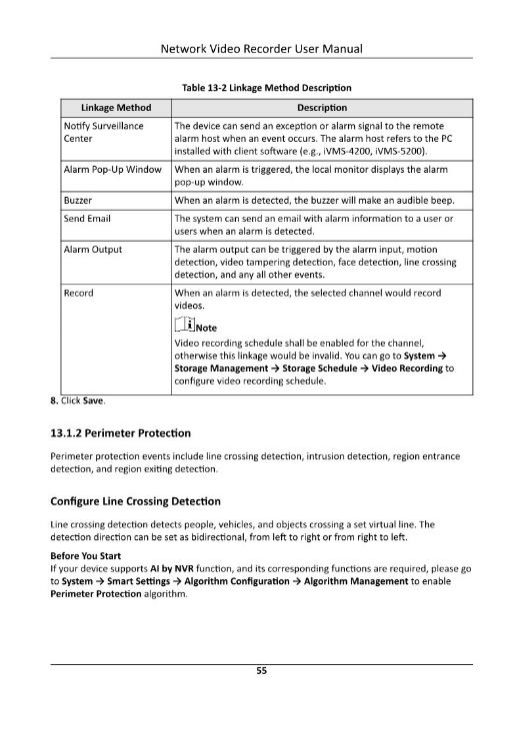
We highly recommend you create a strong password of your own choosing (Using a minimum of 8 characters, including at least three of the following categories: upper case letters, lower case letters, numbers, and special characters.) in order to increase the security of your product. And we recommend you reset your password regularly, especially in the high security system, resetting the password monthly or weekly can better protect your product.
.
.
1.1.3Why is the video recorder notifying the stream type is not
supported?
.
Reason
The camera encoding format mismatches with the video recorder.
If the camera is using H.265/MJPEG for encoding, but video recorder does not support H.265/ MJPEG, change the camera encoding format to the same as video recorder.
.
1.1.4How to confirm the video recorder is using H.265 to record
video?
.
Solution
Check if the encoding type at live view toolbar is H.265.
.
1.1.5Why is the video recorder notifying IP
conflict?
.
Reason
The video recorder uses the same IP address as other devices.
Change the IP address of video recorder. Ensure it is not the same as other devices.
.
• Unleash the power of NVR 5.0 with Hikvision
• Hikvision’s NVRs are keeping moving forward. The NVR 3.0 fitted the basic video security management. When evolved to NVR 4.0, it focused on the AI function update. Now, Hikvision NVR 5.0 leads the innovative change from traditional NVR to AIoT NVR. AIoT NVR as the domain center provides an intelligent platform as well as scenario-based applications, opening a new era of AIoT.
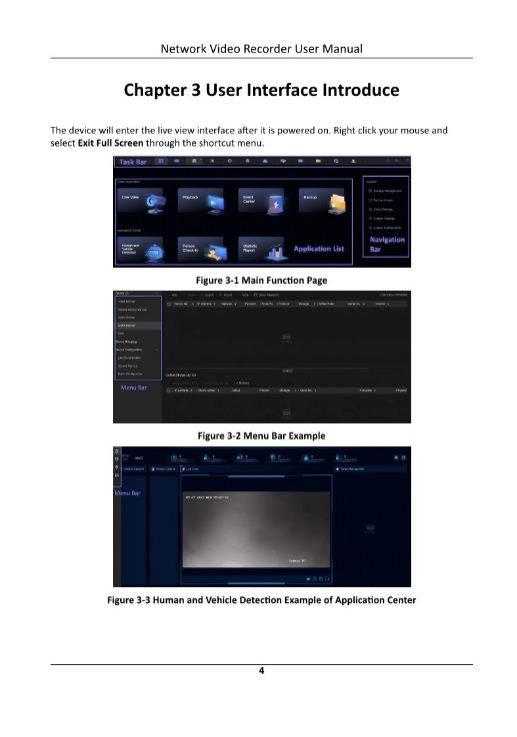
Intelligent Operation – Smooth UI experience
Intuitive live view
• Check the real-time channel status clearly
• With customized views, live views can be more intuitive on one view layout and enable automatic switching to meet the needs of multi-screen timed switching
• Faster and smarter video searching
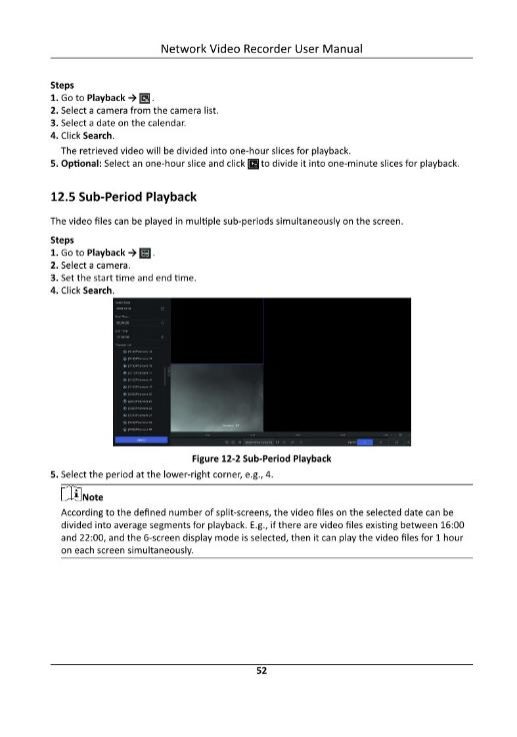
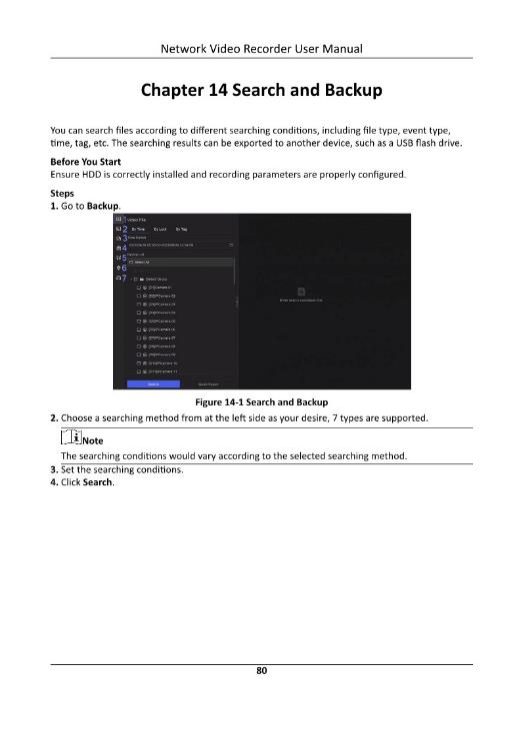
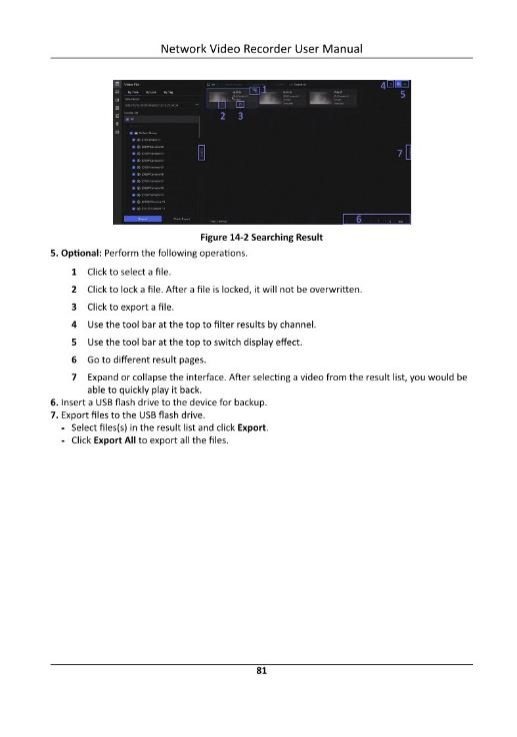
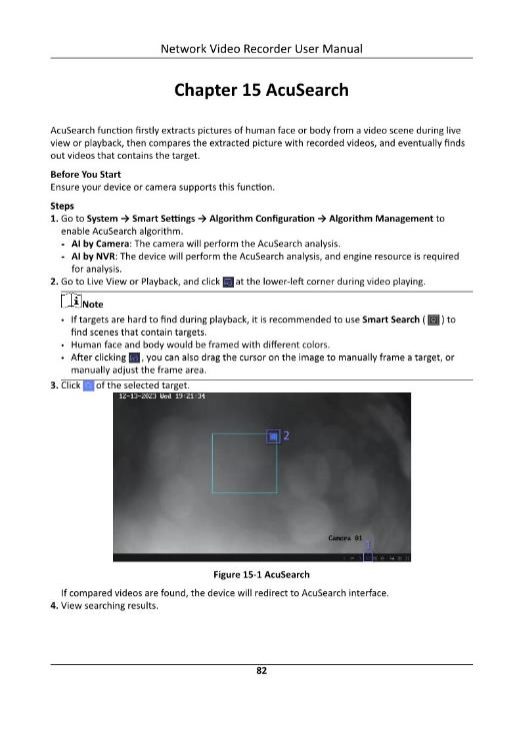
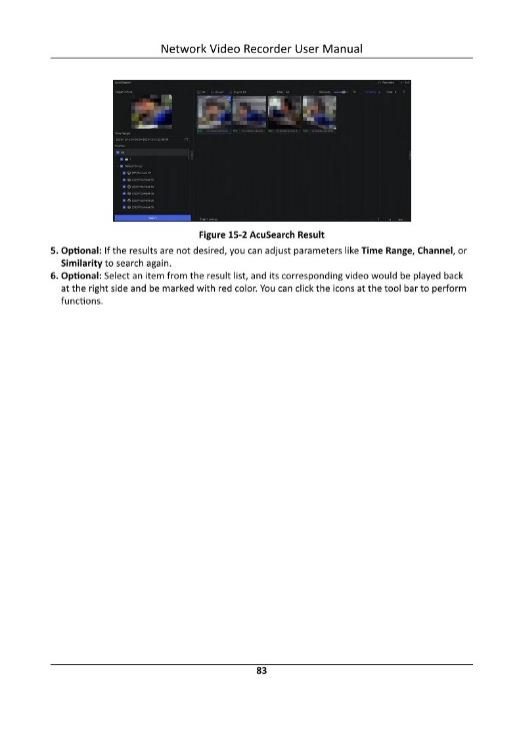
The conventional video searching methods usually are time-consuming. Right now, the Smart Search and the AcuSearch functions could help accelerate searching efficiency in minutes, even in seconds.
Smart Video Searching


• Visualized real-time alarm and response
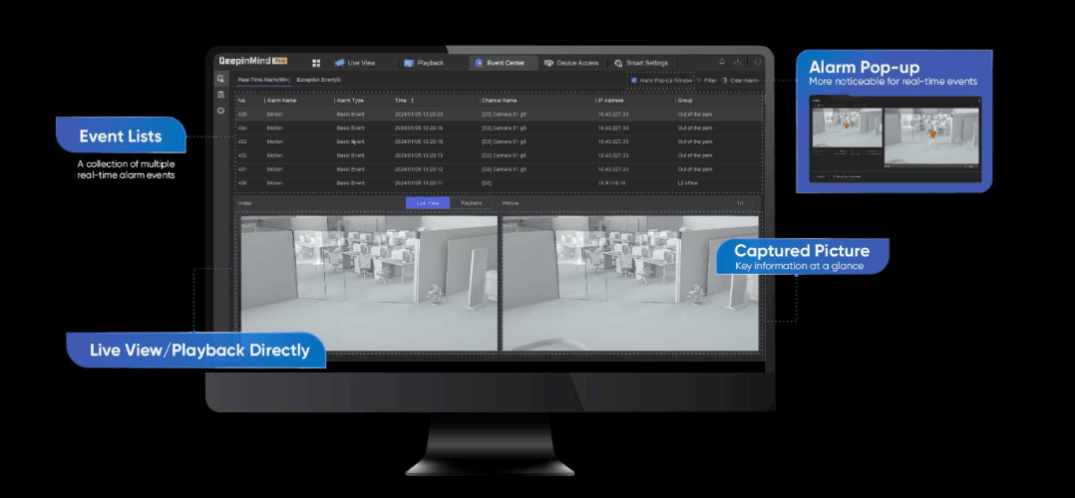
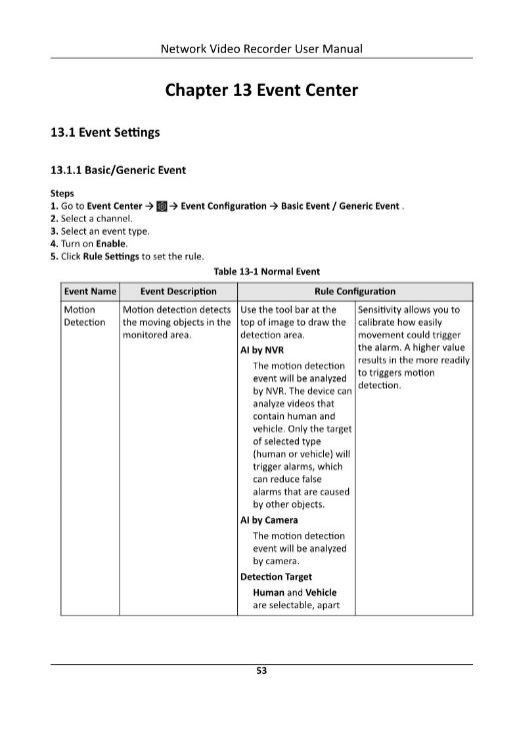
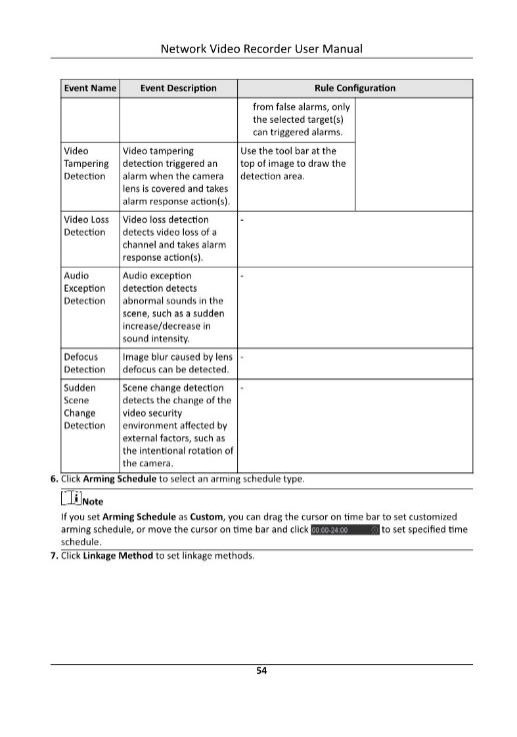
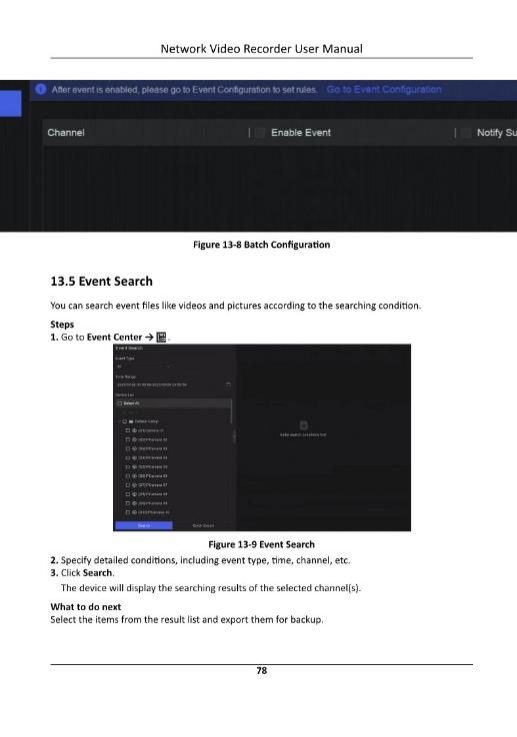
• The one-stop event center integrates event display, search, and configuration with centralized management. The alarm pop-up feature combined with event lists, screen views, and captured images, offers a seamless approach to quickly handling security events.
• Intelligent Protection – Perimeter protection with self-learning
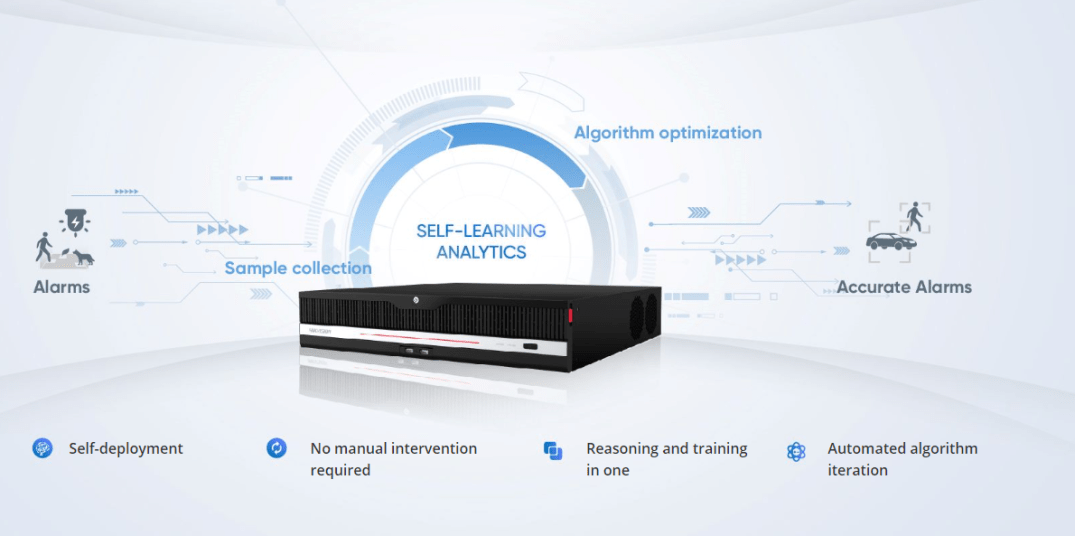
• NVR 5.0 integrates automatic perimeter protection with self-learning by embedding an inference engine in the NVR(M-VPro Series), which greatly improves the accuracy of the algorithms and reduces the false alarms, while also requiring minimal user input.
• Intelligent Application – Innovative converged subsystems
The NVR 5.0 with converged functions provides support for video, audio, alarm, access control, and other application access. Creating intelligent applications for different scenarios and needs.

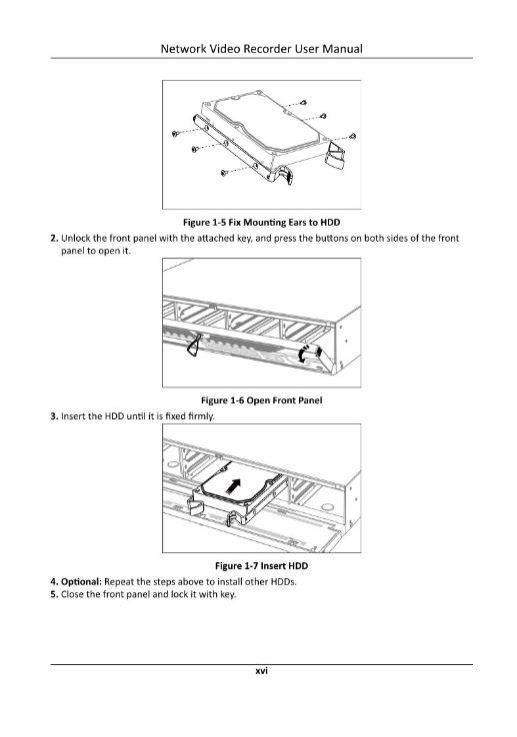
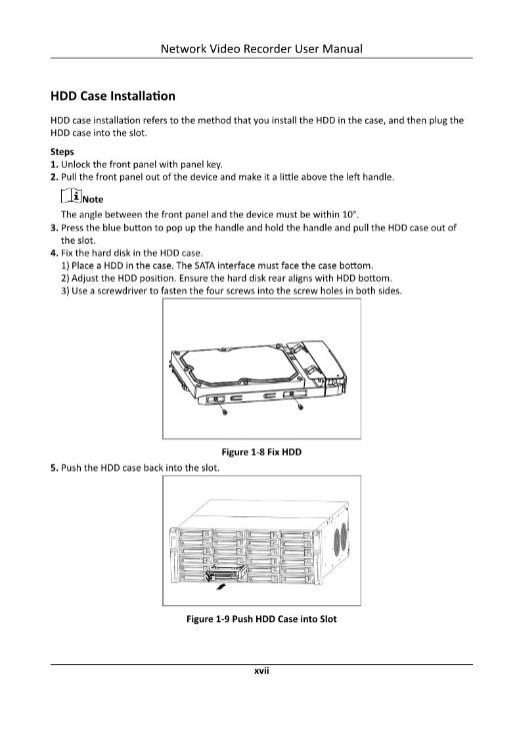
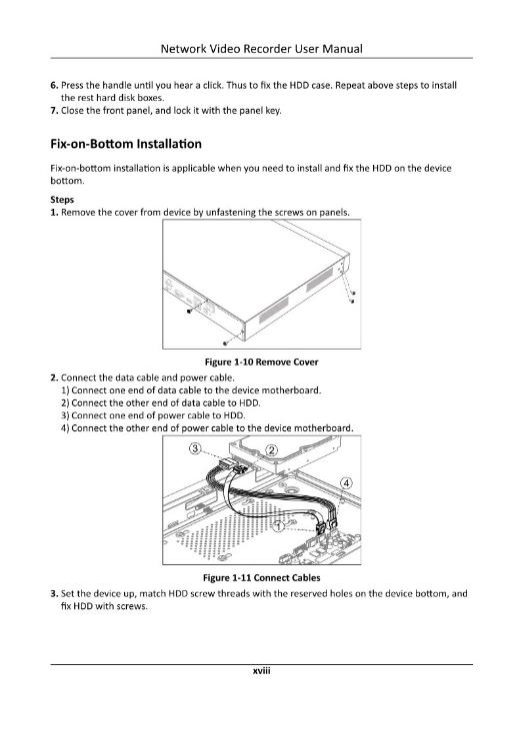
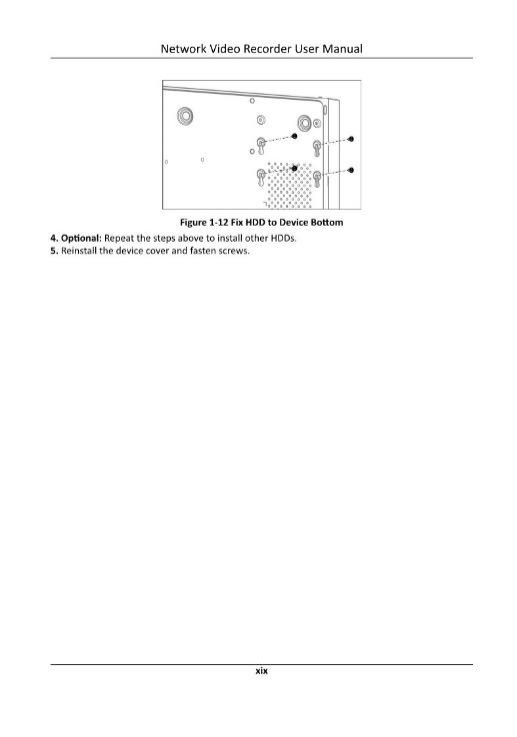
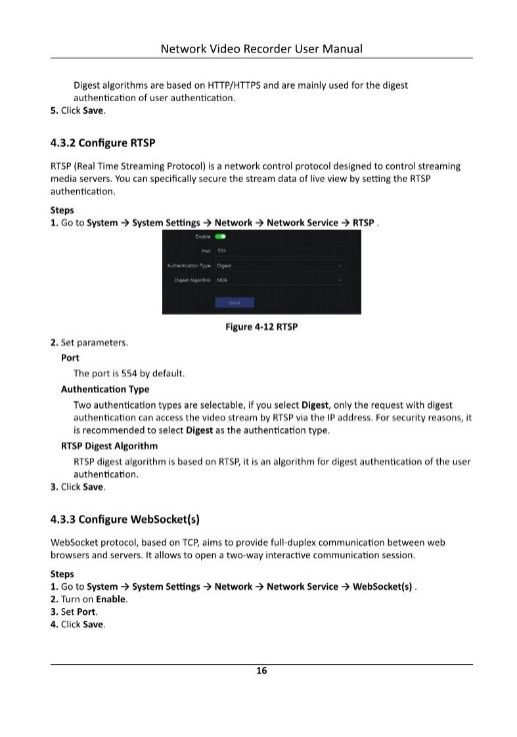

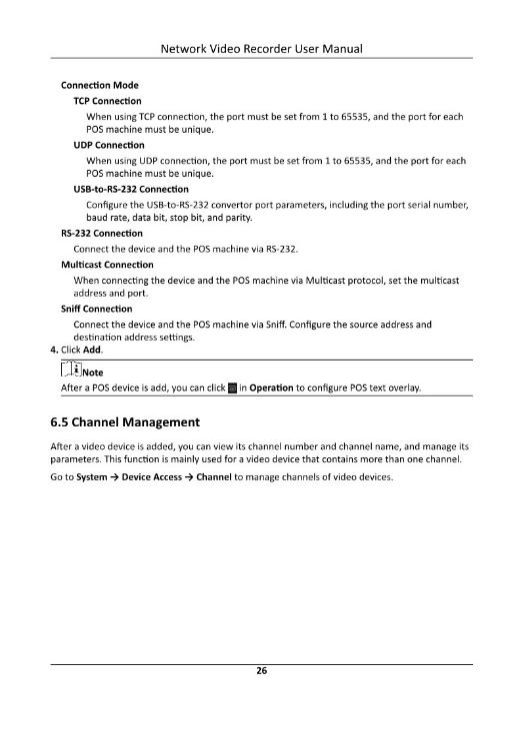

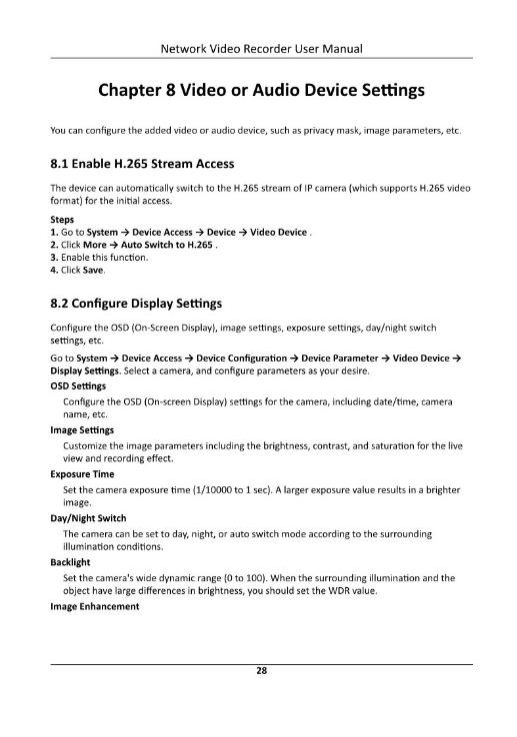
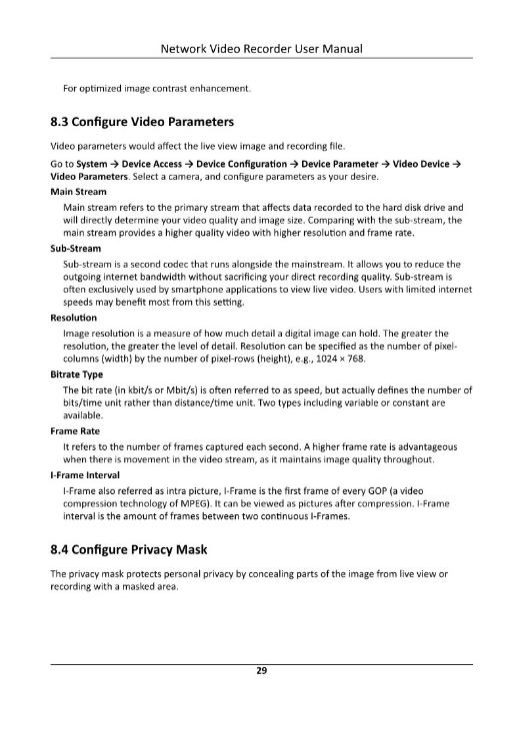
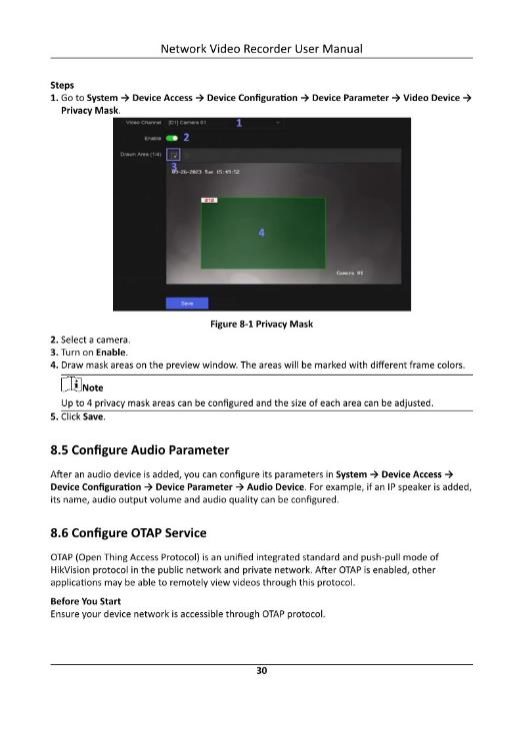
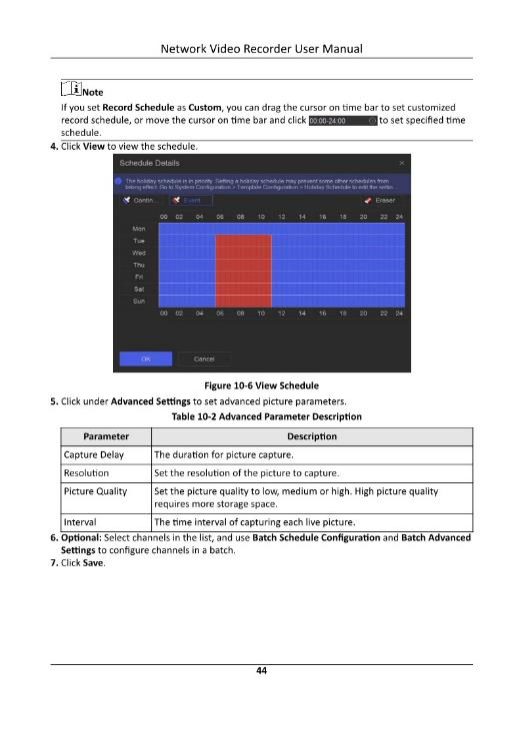
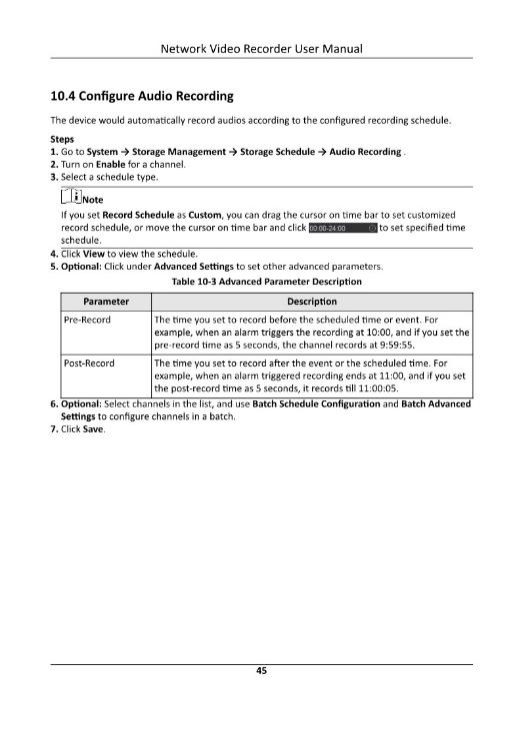
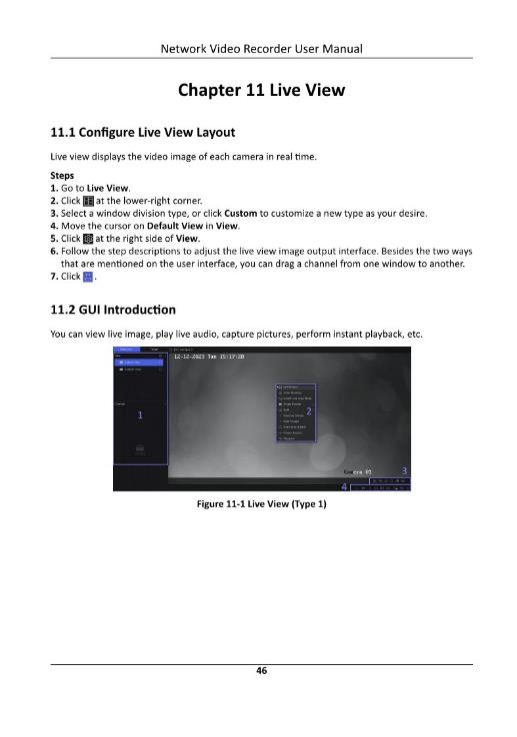
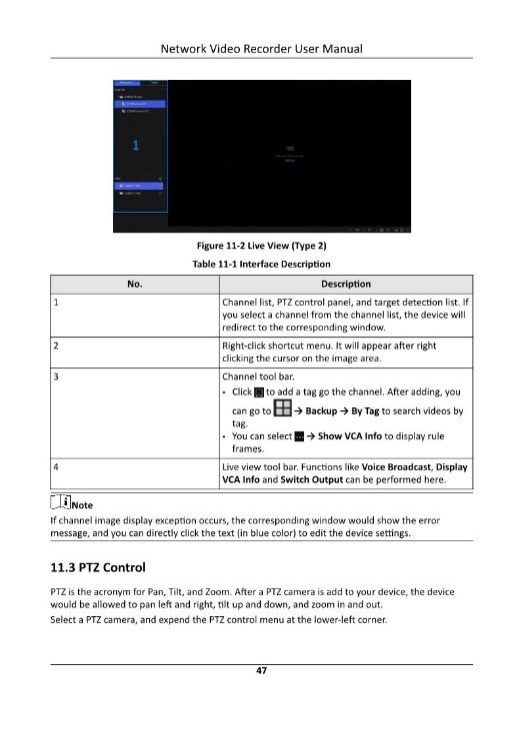
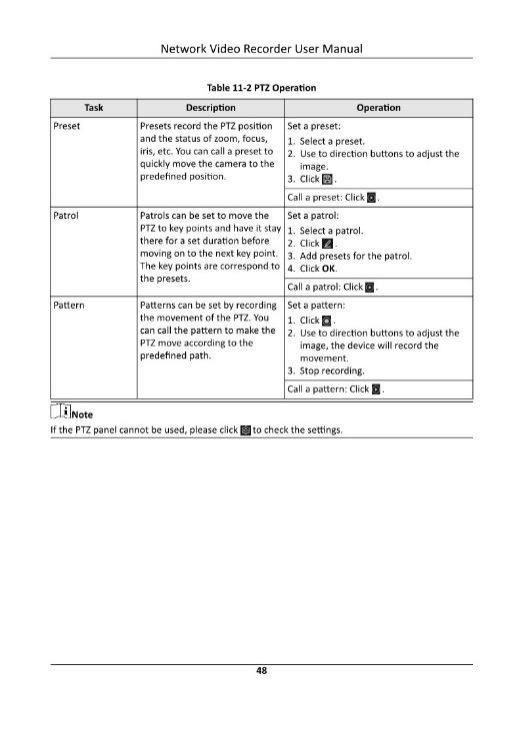
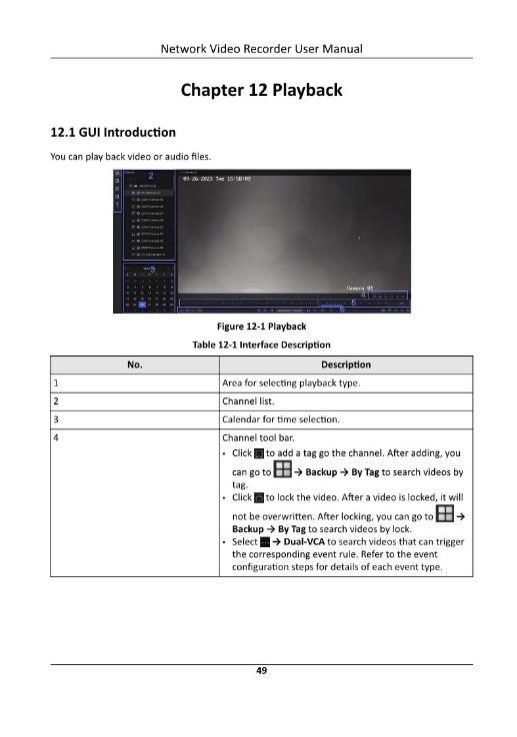
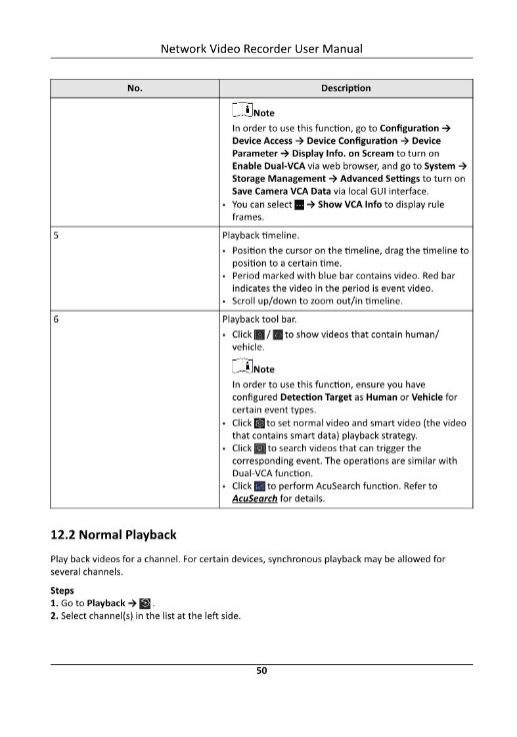
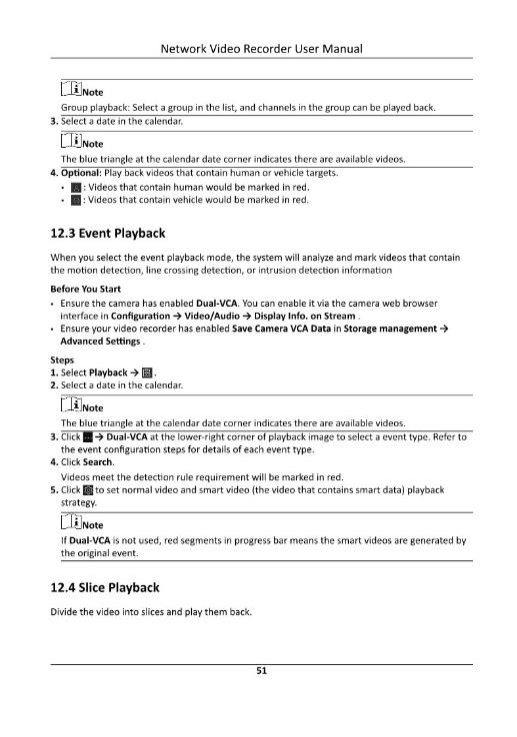
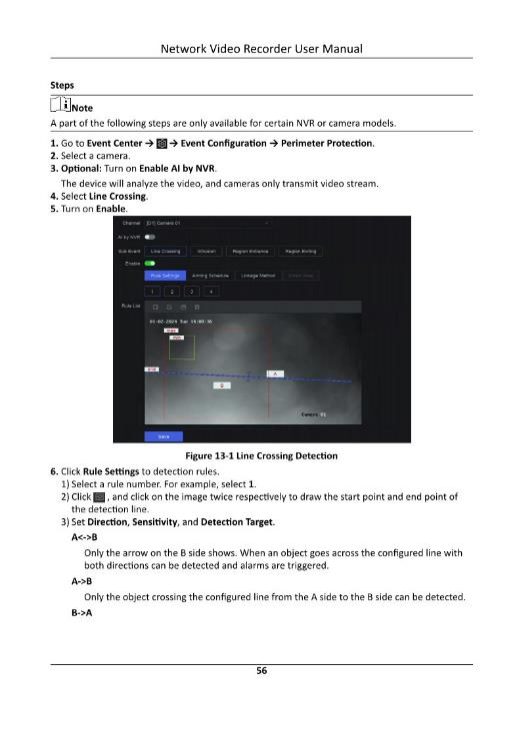
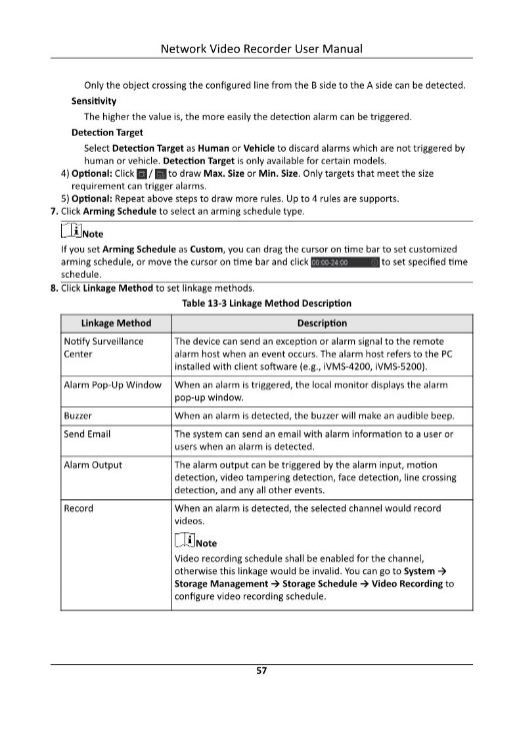
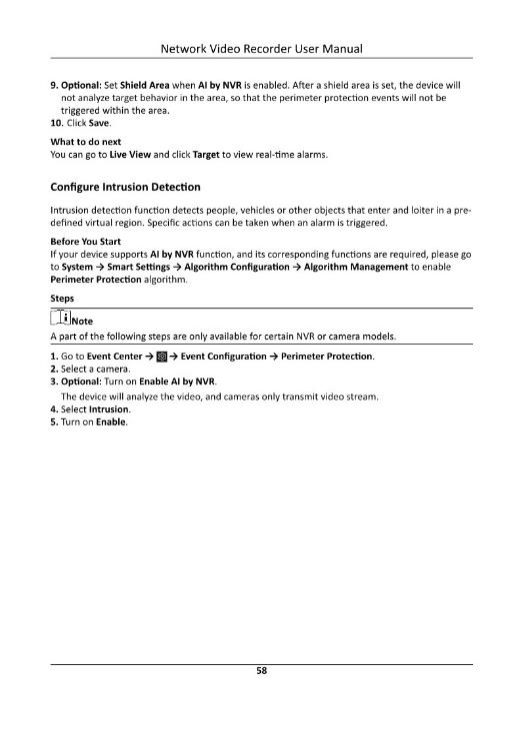
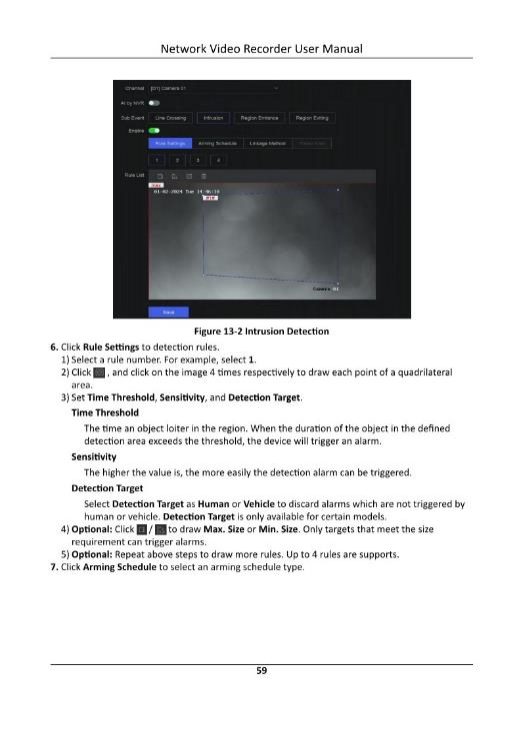
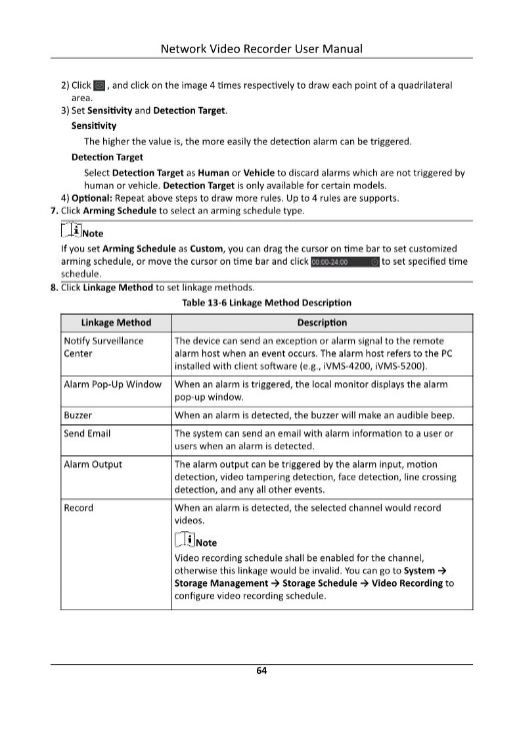
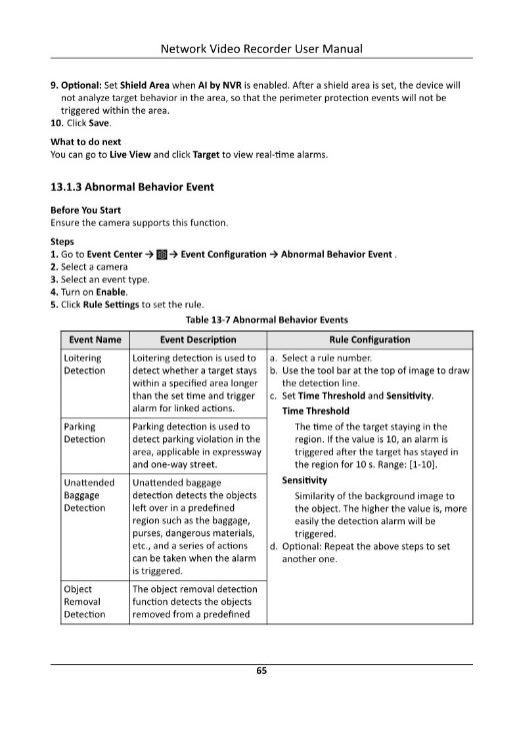
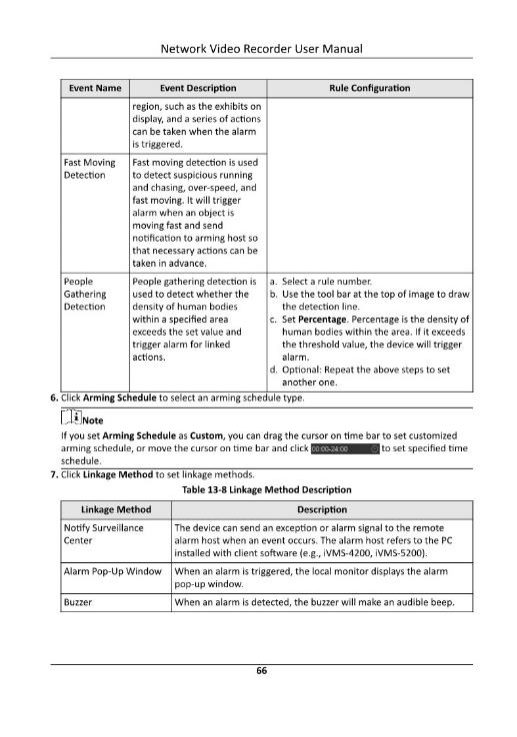
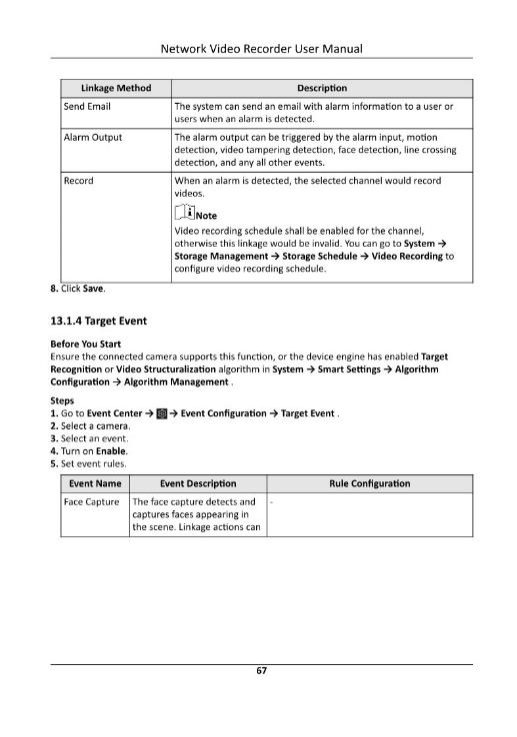
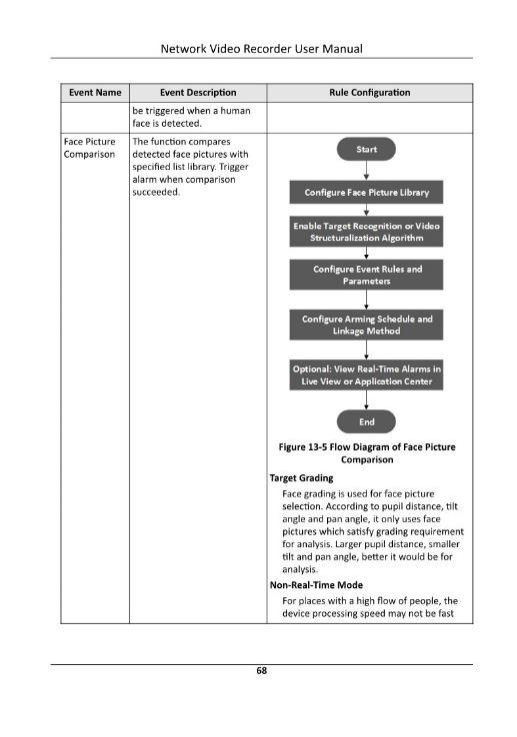
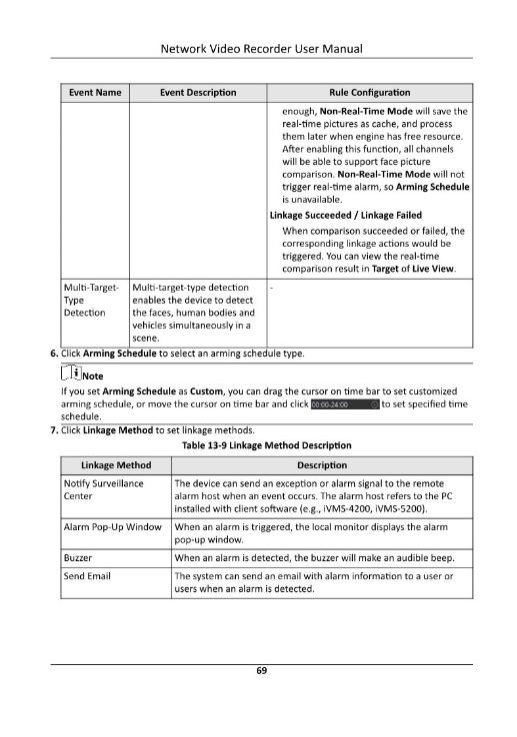
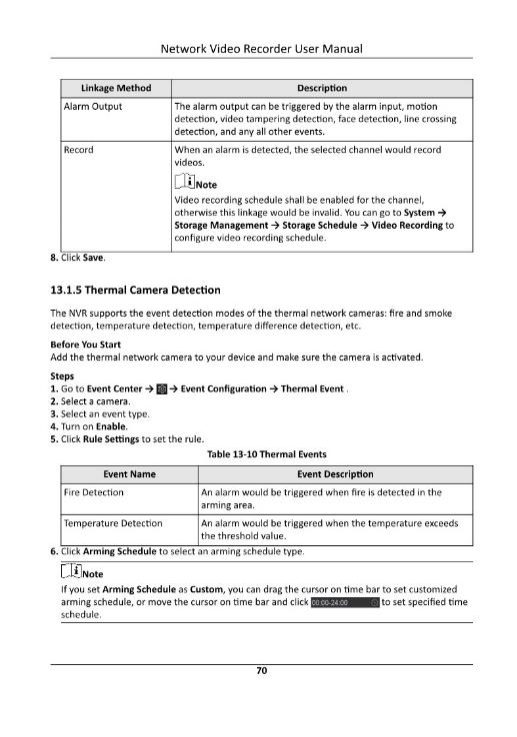
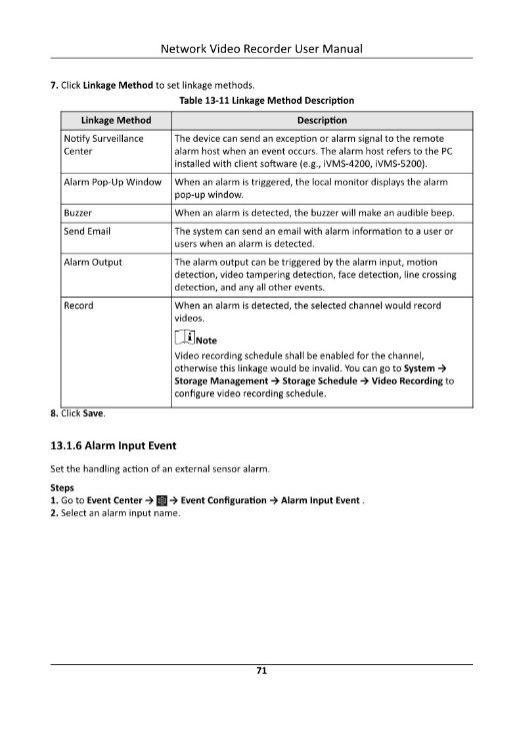
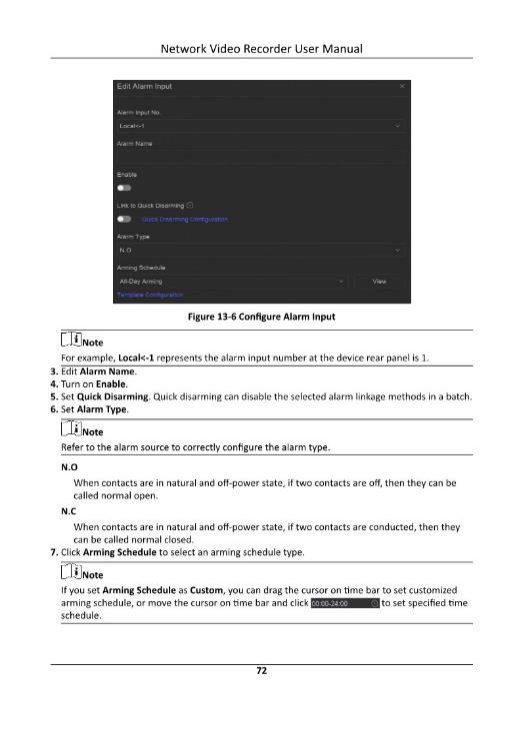
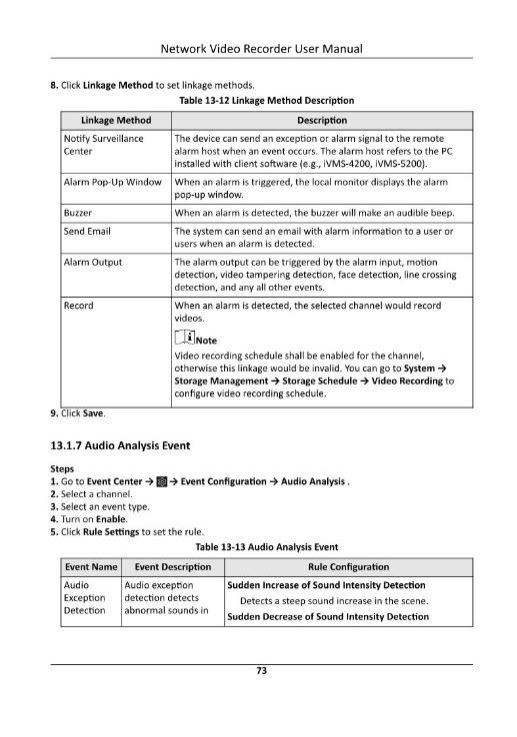
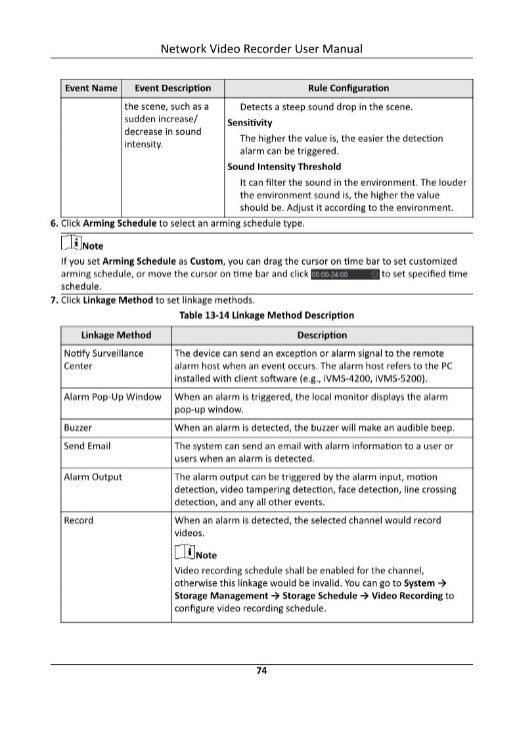
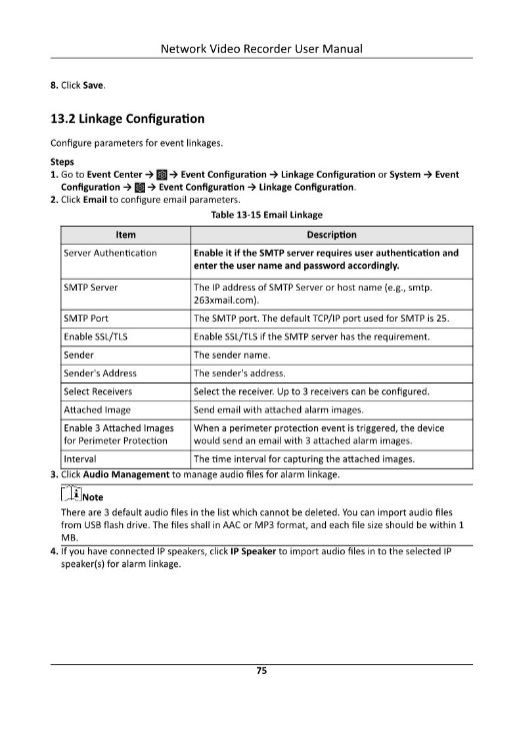
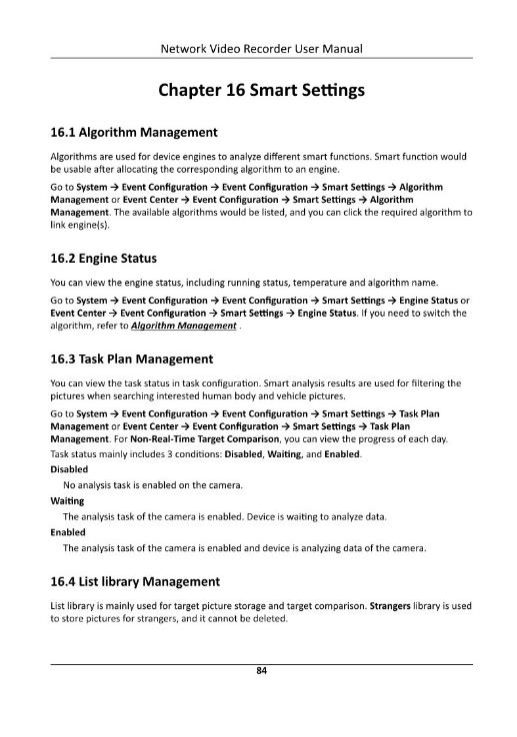
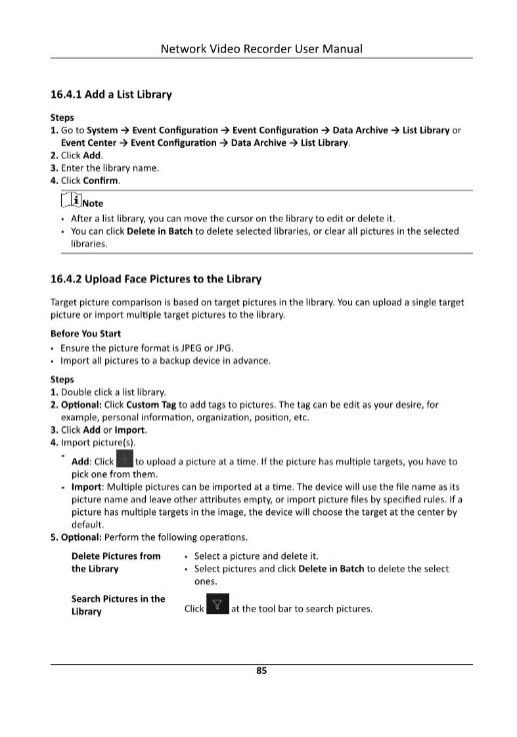

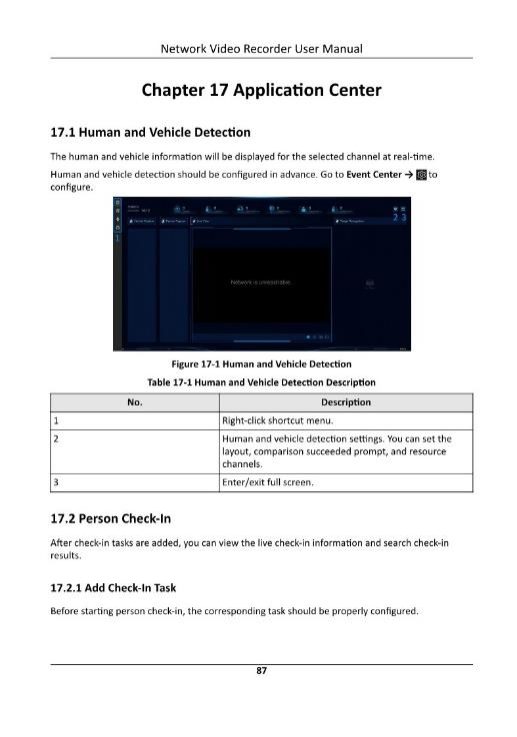
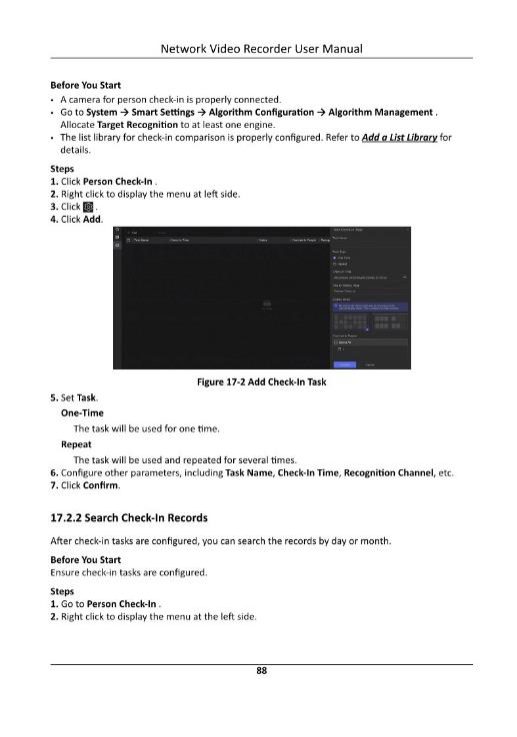
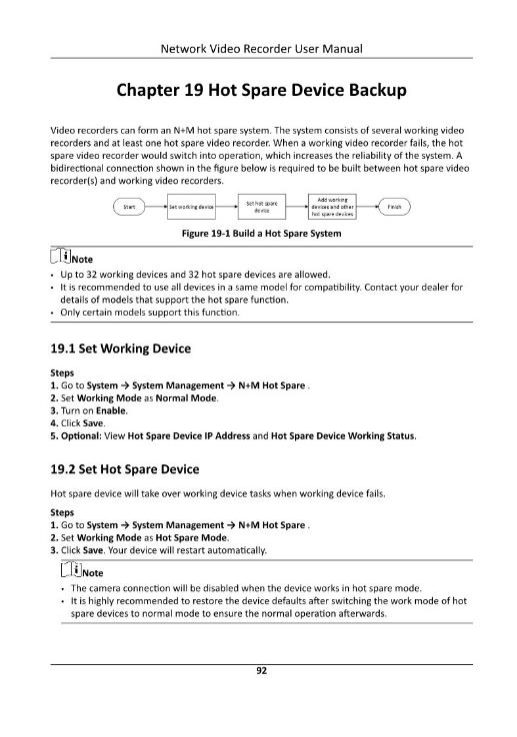

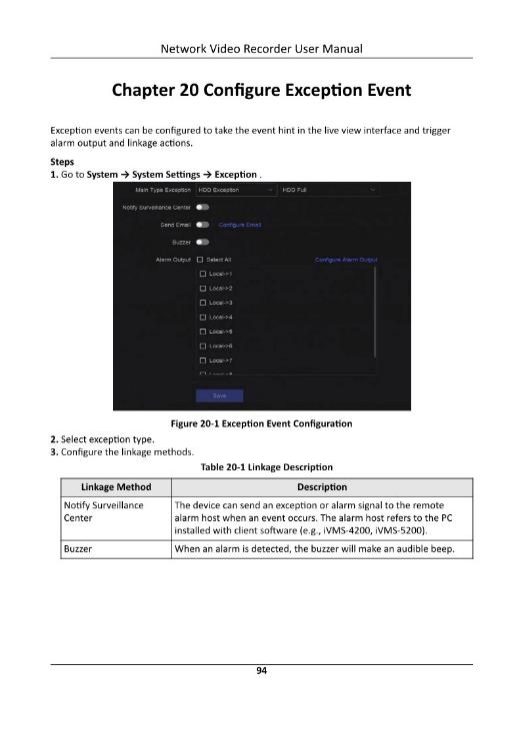
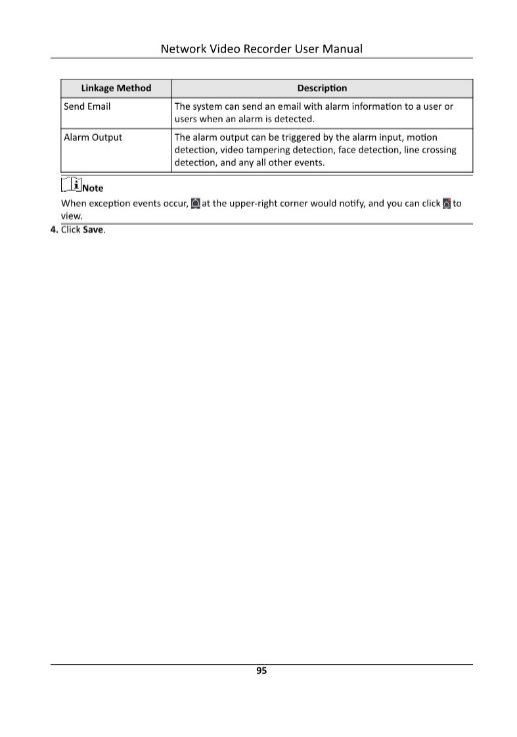

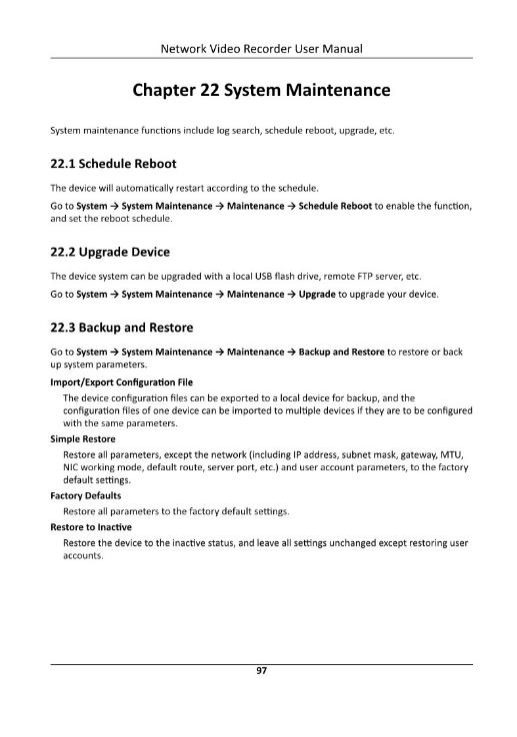
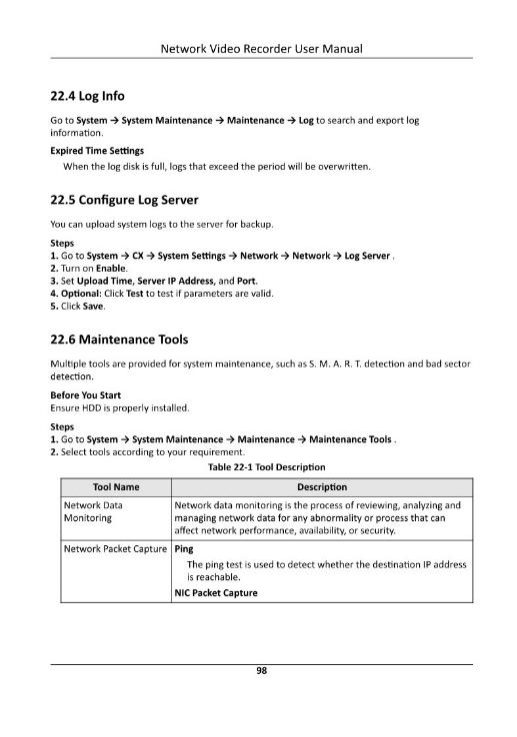


The Hikvision New GUI 5 User Guide is a comprehensive and user-friendly resource. It offers clear instructions and detailed visuals that make navigating and utilizing the new GUI features straightforward. Highly recommended for anyone looking to maximize their experience with Hikvision systems!