How to setup The Guarding Vision , The Guarding Vision app is designed to work with DVRs, NVRs and IP cameras which support Cloud P2P function. It allows you to live view your cameras remotely. All you need to do is creating an account and adding device into the account, then you can enjoy the real-time video from cameras on a global scale. It also allows you to play back recorded video to search every milestone of your life. When motion detection alarm of your device triggered, you can get an instant message notification from Guarding Vision app.
How to setup The Guarding Vision Application with your Arcdyn Surveillance System
One of the first things you’ll want to do when setting up your Arcdyn Camera System is to be able to view it on your mobile device or tablet.
Below is a comprehensive guide to walk you through the process of configuring the connection to Guarding Vision on your recorder, setting up your Guarding VIsion Account, logging into your Guarding Vision account in the app, and adding your system so you can view your cameras remotely.
Read More :
HOW TO ENABLE PLATFORM ACCESS VIA YOUR HDMI DISPLAY
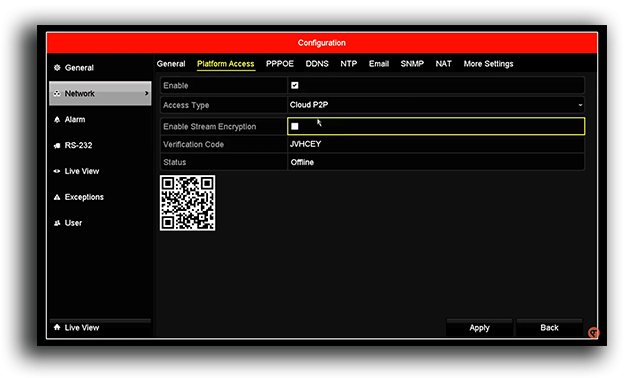
Make Sure that Platform Access is enabled and the status is Online. This video guide will walk you through how to accomplish this at the NVR/DVR with a monitor and mouse attached.
If the status is offline, double check your DNS Server settings. You can set this to the gateway IP of the device or use 8.8.8.8 (Primary) and 8.8.4.4 (Secondary) which are provided for free by google.
STEP 1: ENABLE PLATFORM ACCESS ON YOUR RECORDER
You have two options. Access your NVR with your web browser or use a screen and mouse connected directly to your NVR.
STEP 2: CREATE A GUARDING VISION ACCOUNT
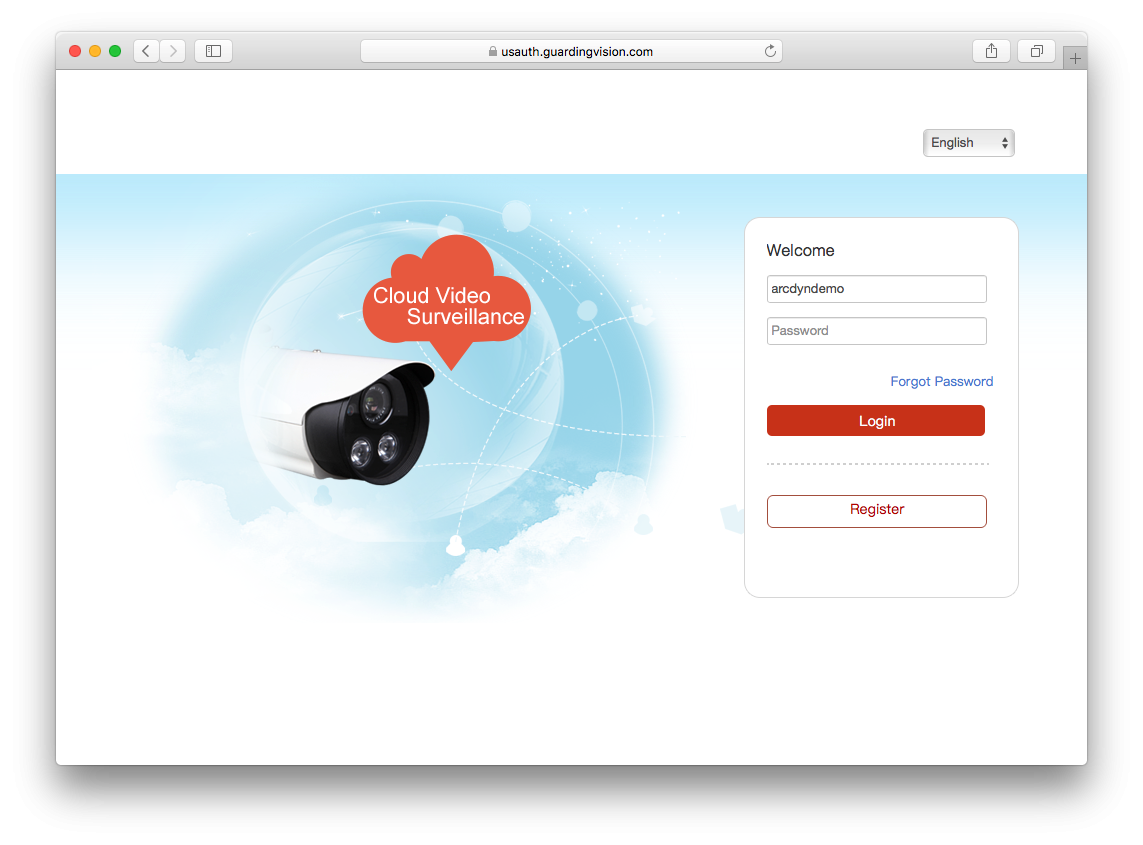
There are two options to create your new Guarding Vision account. You can do this either in a web browser by going to guardingvision.com or inside the Guarding Vision App
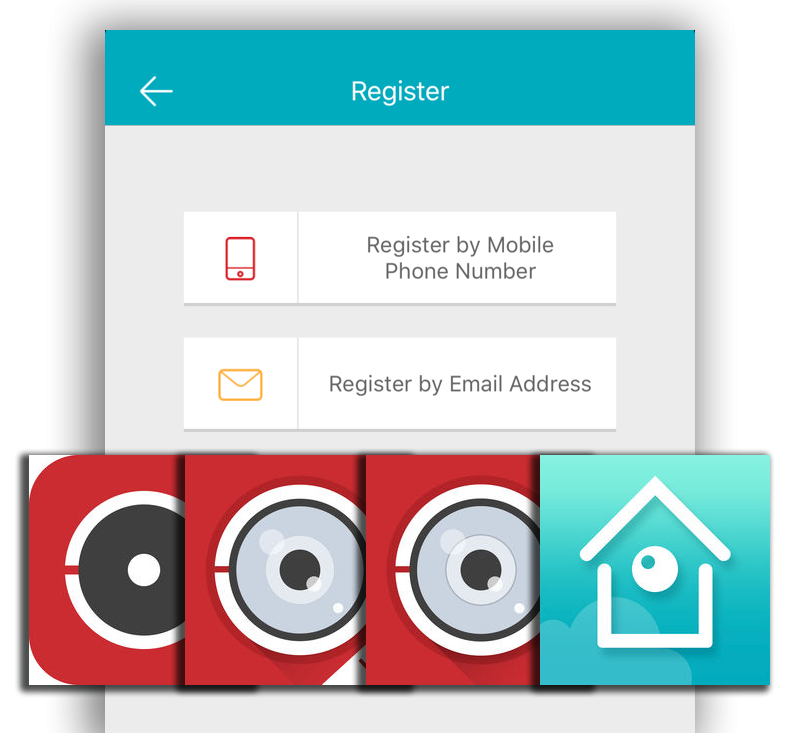
Via The Guarding Vision Mobile Application
STEP 3: ADD YOUR DEVICE TO YOUR GUARDING VISION ACCOUNT AND VIEW YOUR CAMERAS
HOW TO ENABLE PLATFORM ACCESS VIA WEB BROWSER
For your device to be able to connect to the cloud viewing platform, you must enable Platform Access
This guide will walk you through the steps to accomplish this using your computer and a webbrowser
**NOTE** This guide requires that your recorder be connected to your network, configured with an IP address, and have access to the internet.
Step One
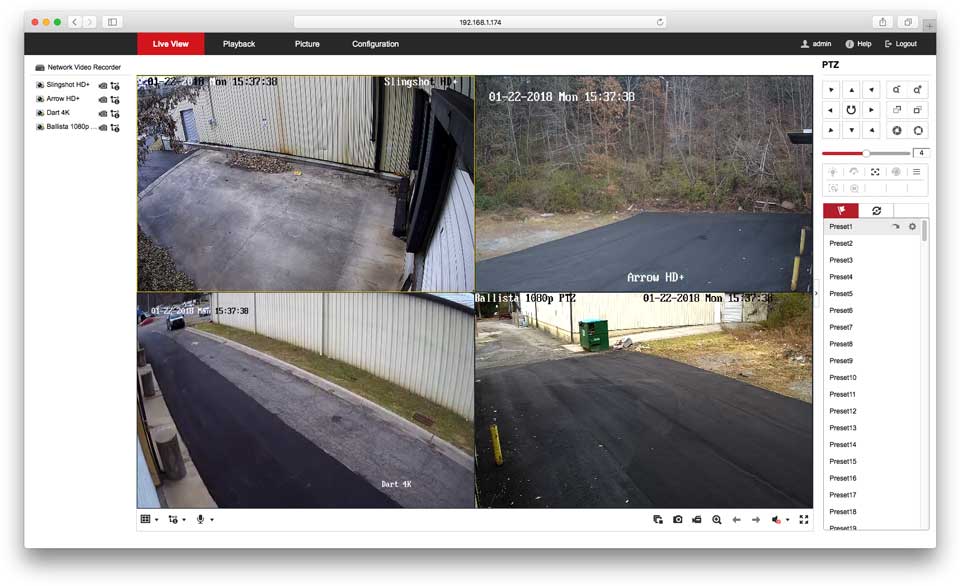
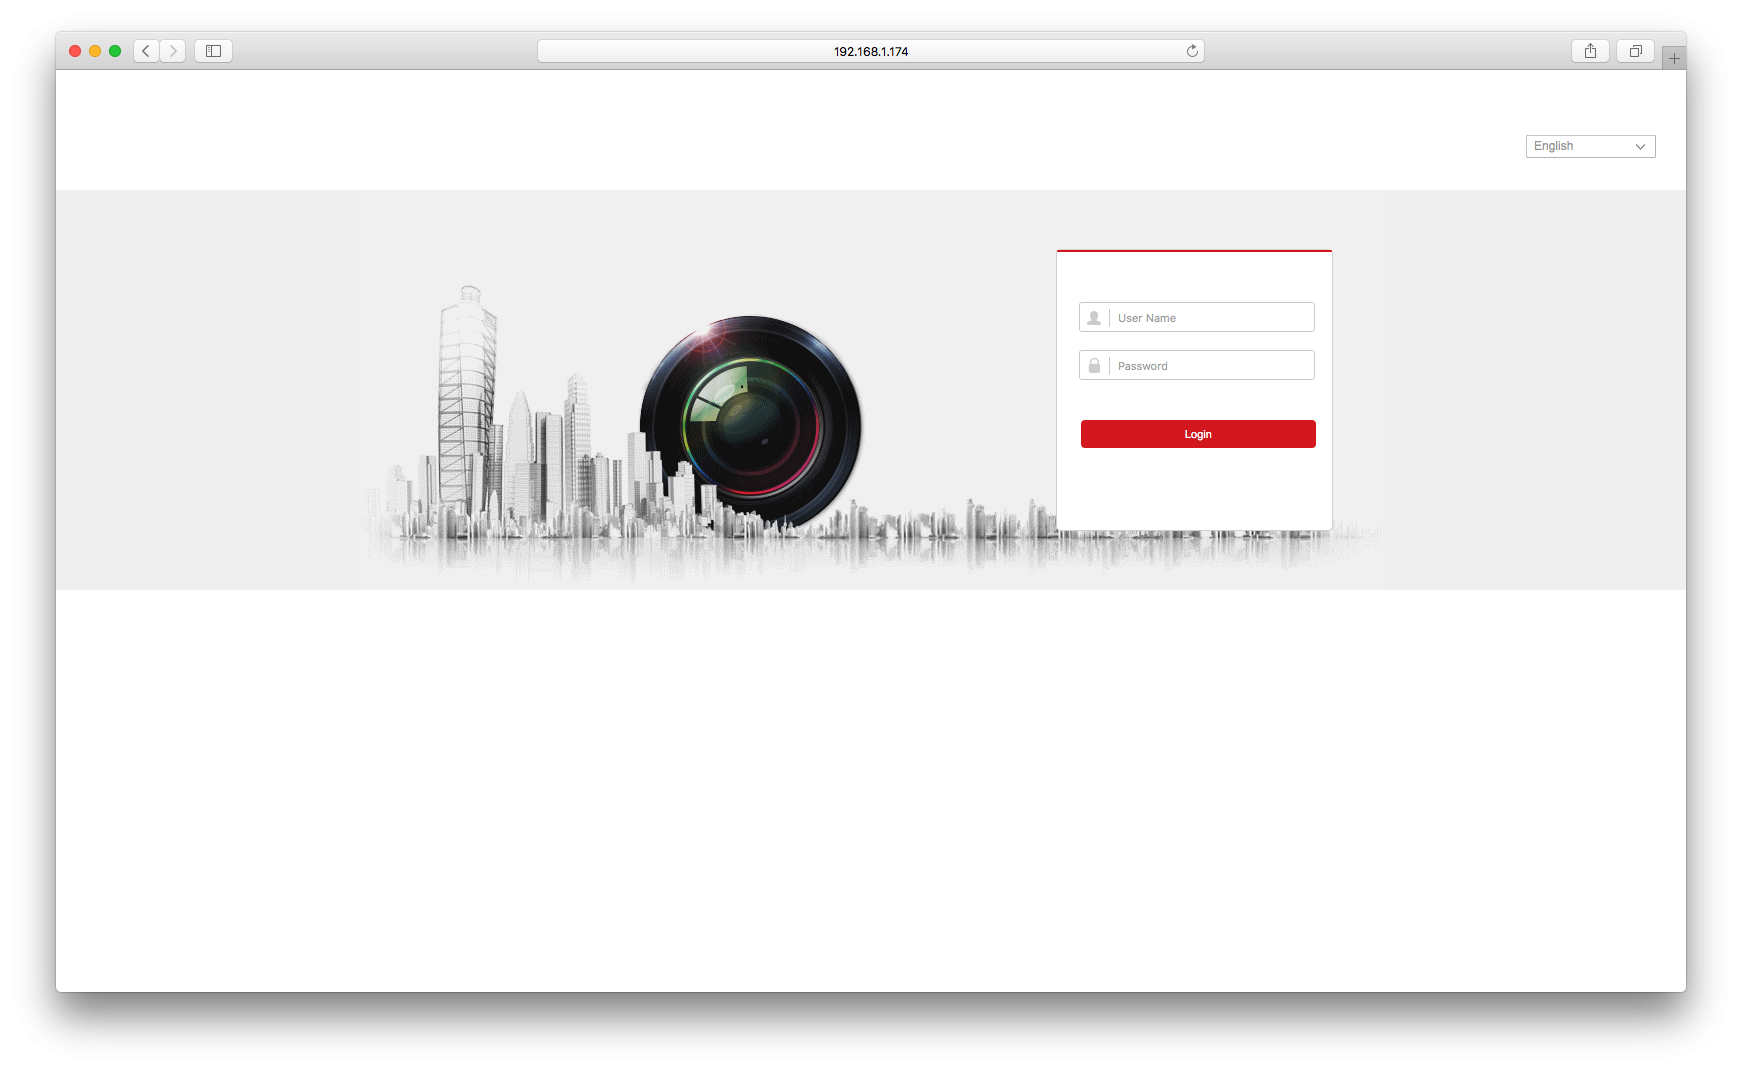
Using Internet Explorer (on PC) or Safari (on Mac) got to the IP Address you’ve assigned to your recorder and Login. If you have not changed the password, the default login info is Username: admin & password: admin12345. We strongly suggest that you change the admin password to something other than the default as default passwords are very insecure.
.
Step Two
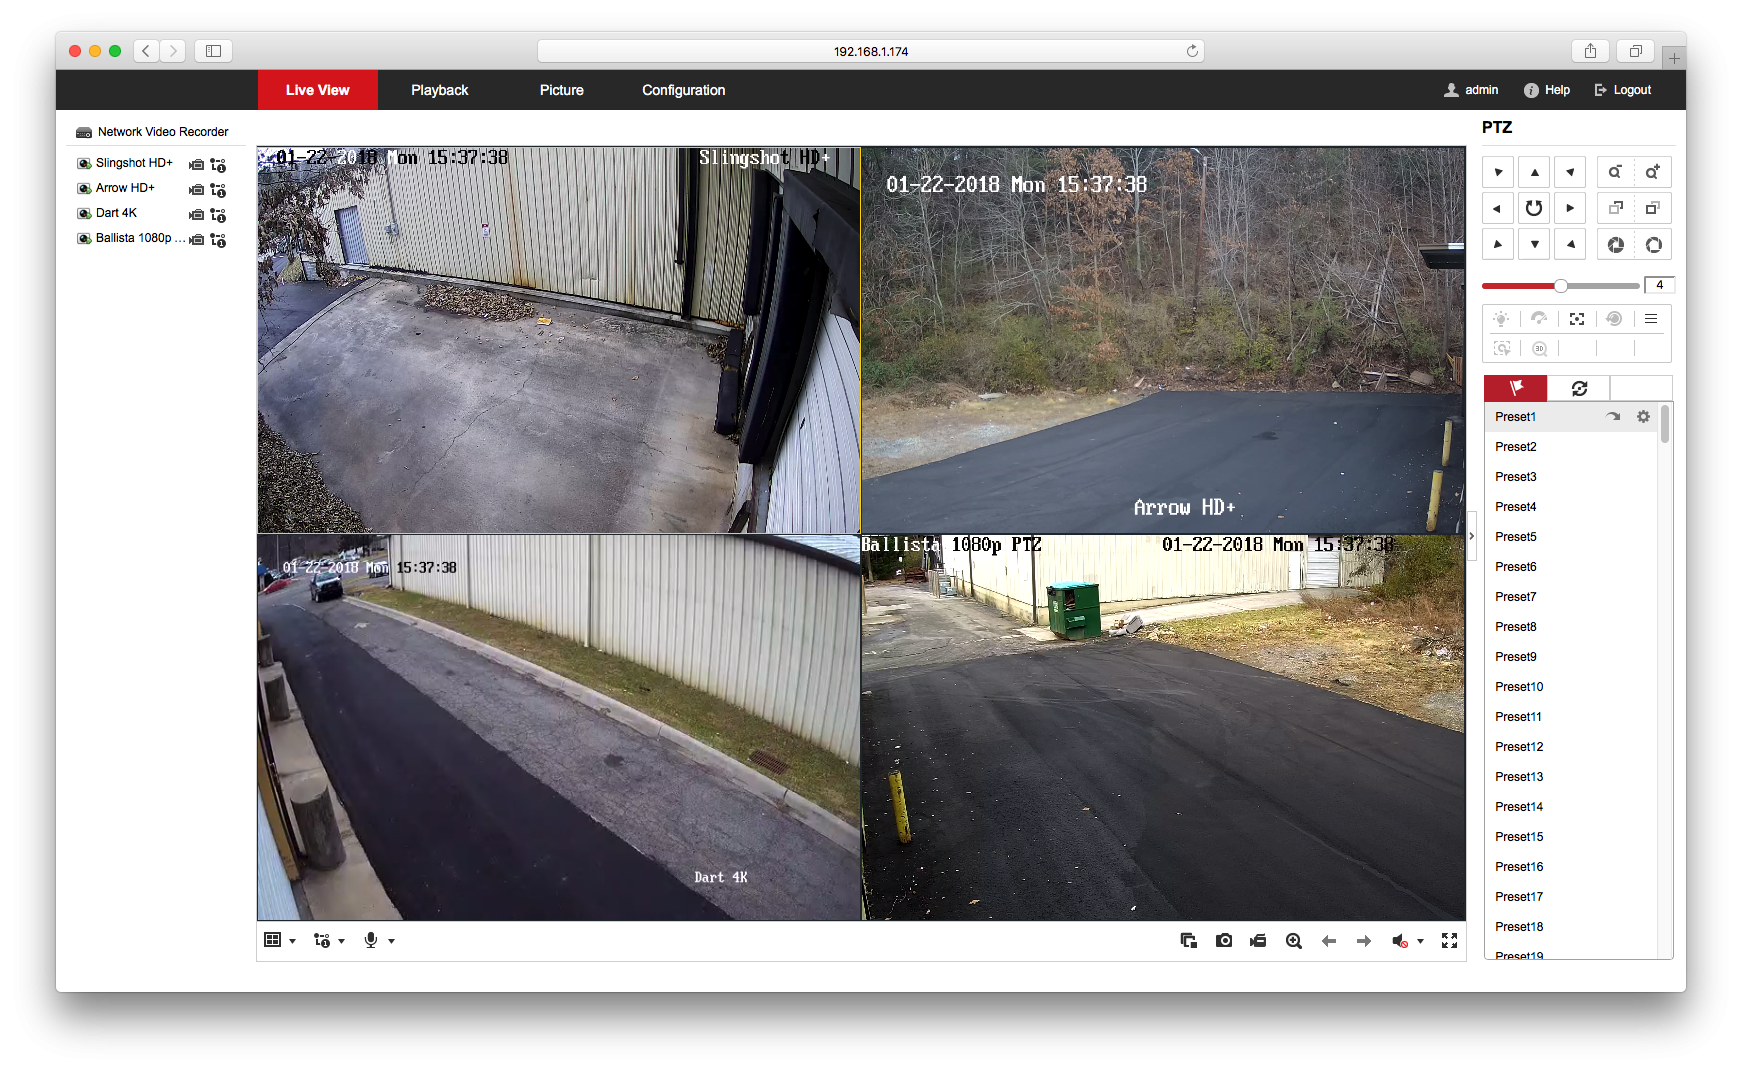
Once logged in, click on the configuration menu in the top black bar.
.
Step Three
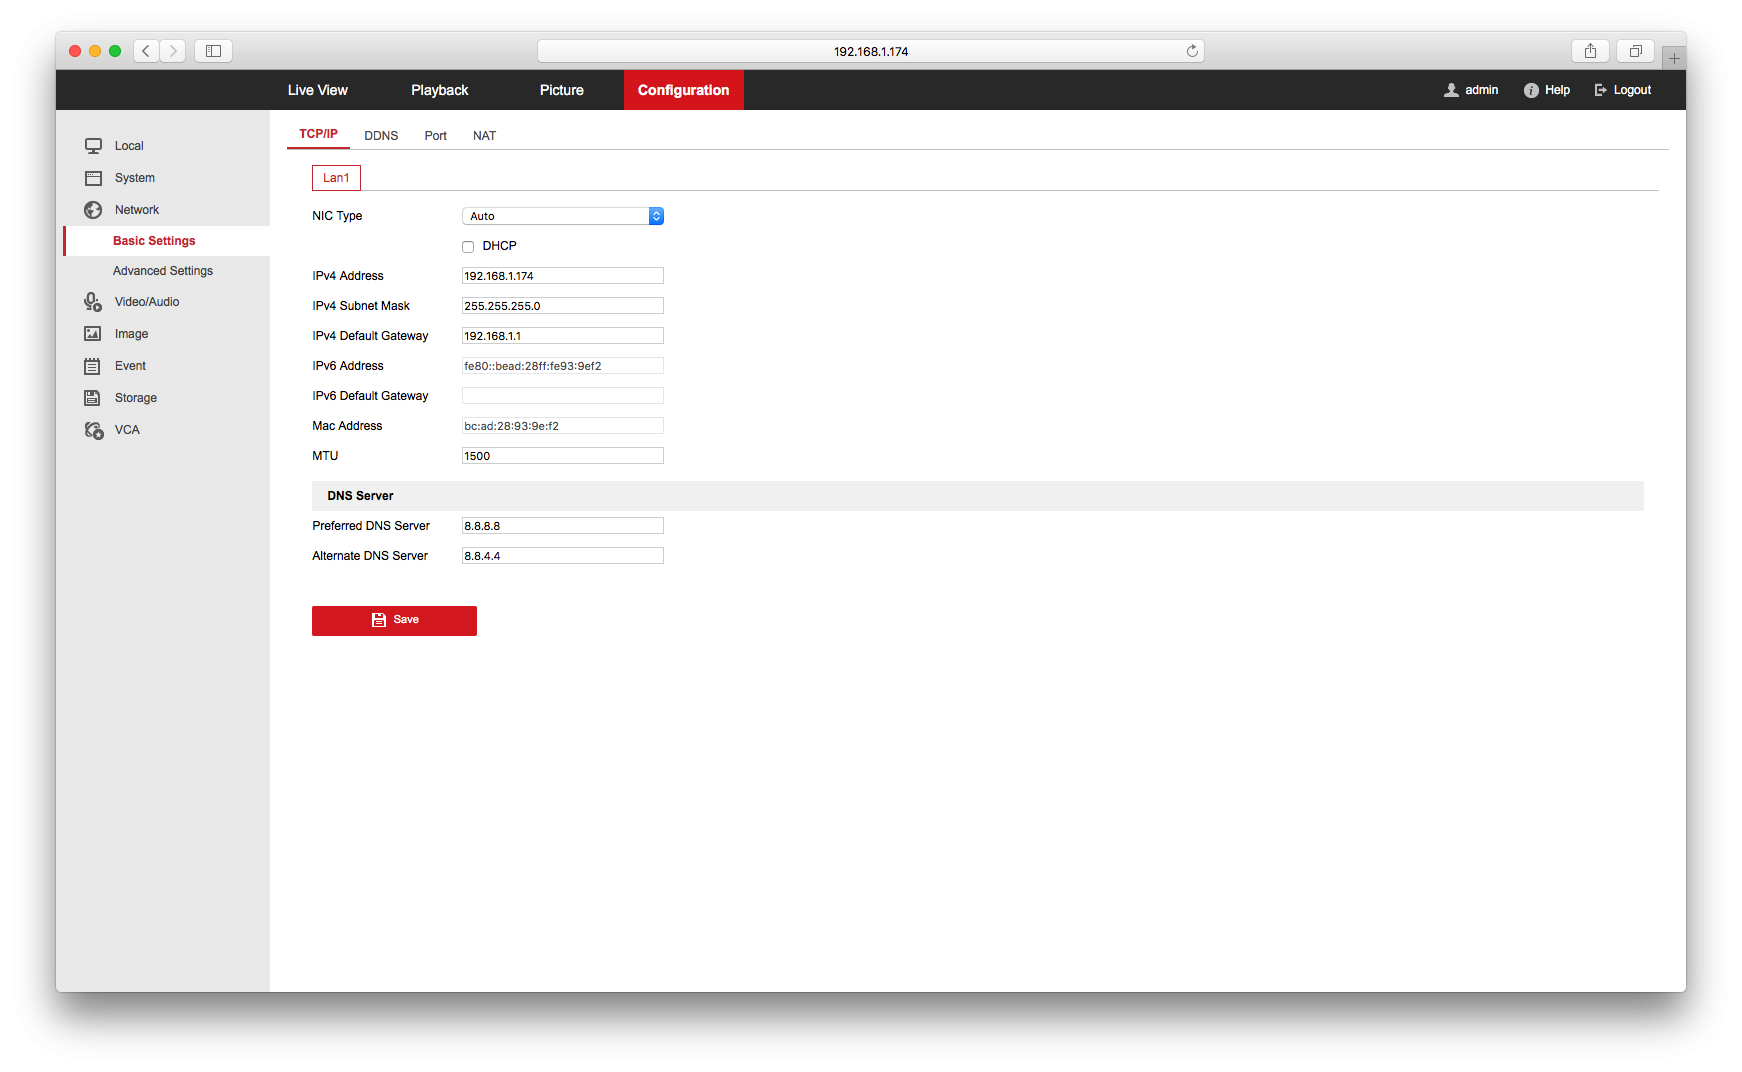
In the left menu, click on Network > Basic Settings. At the bottom of this page, check the Perferred DNS Server & Alternate DNS Server fields. If both are blank, enter in the devices gateway IP address OR Google’s free DNS servers (8.8.8.8 and 8.8.4.4). Then Click Save.
.
Step Four
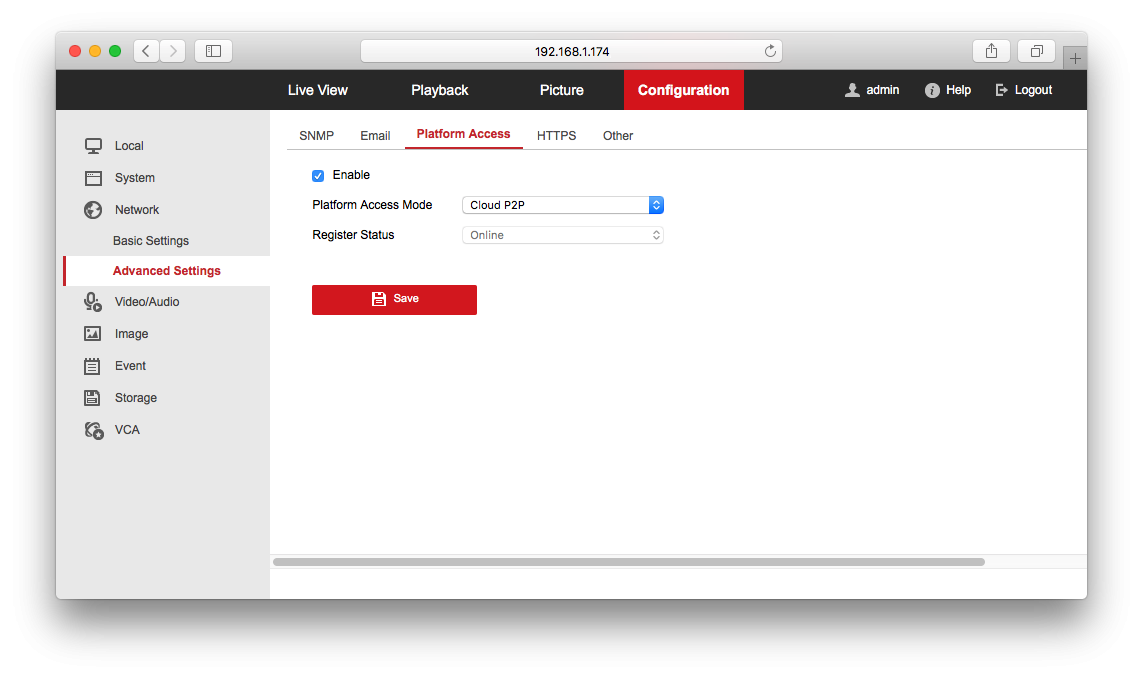
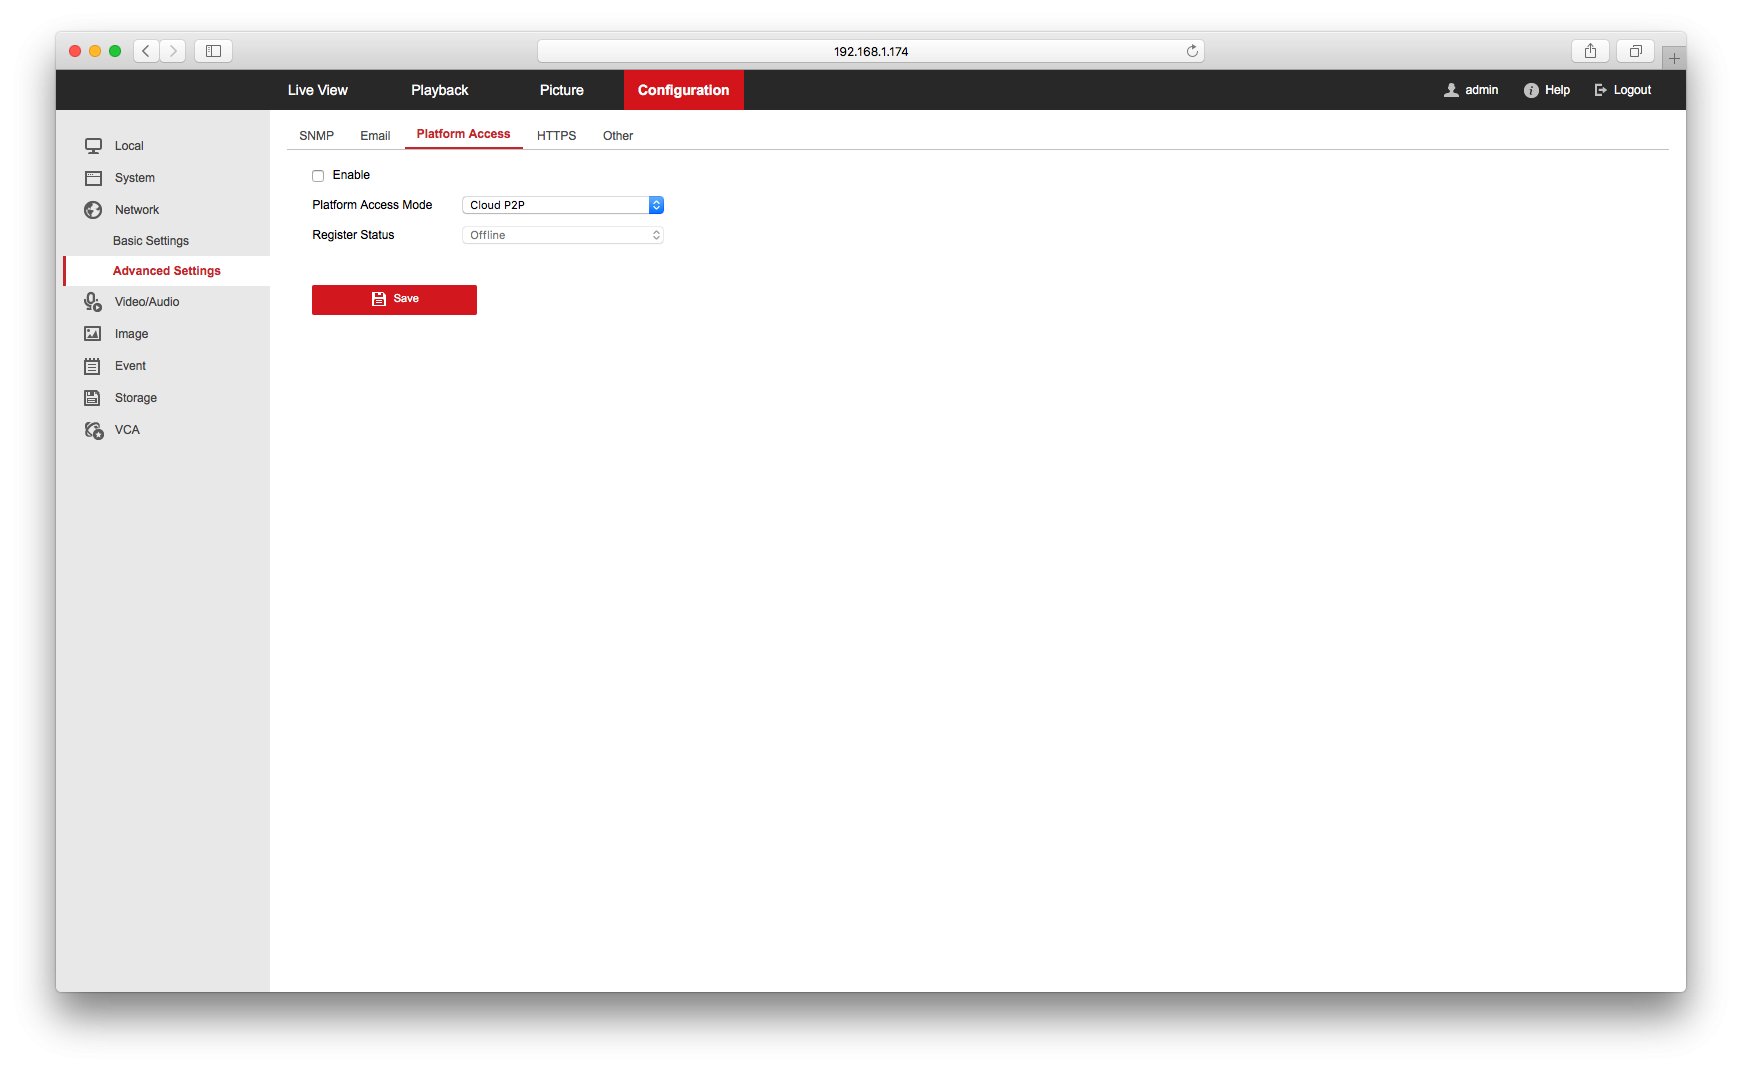
Next, in the left menu click on Network > Advanced Settings > Platform Access. Click the Checkbox marked ‘Enable’ to enable platform access. Click Save.
.
Step Five
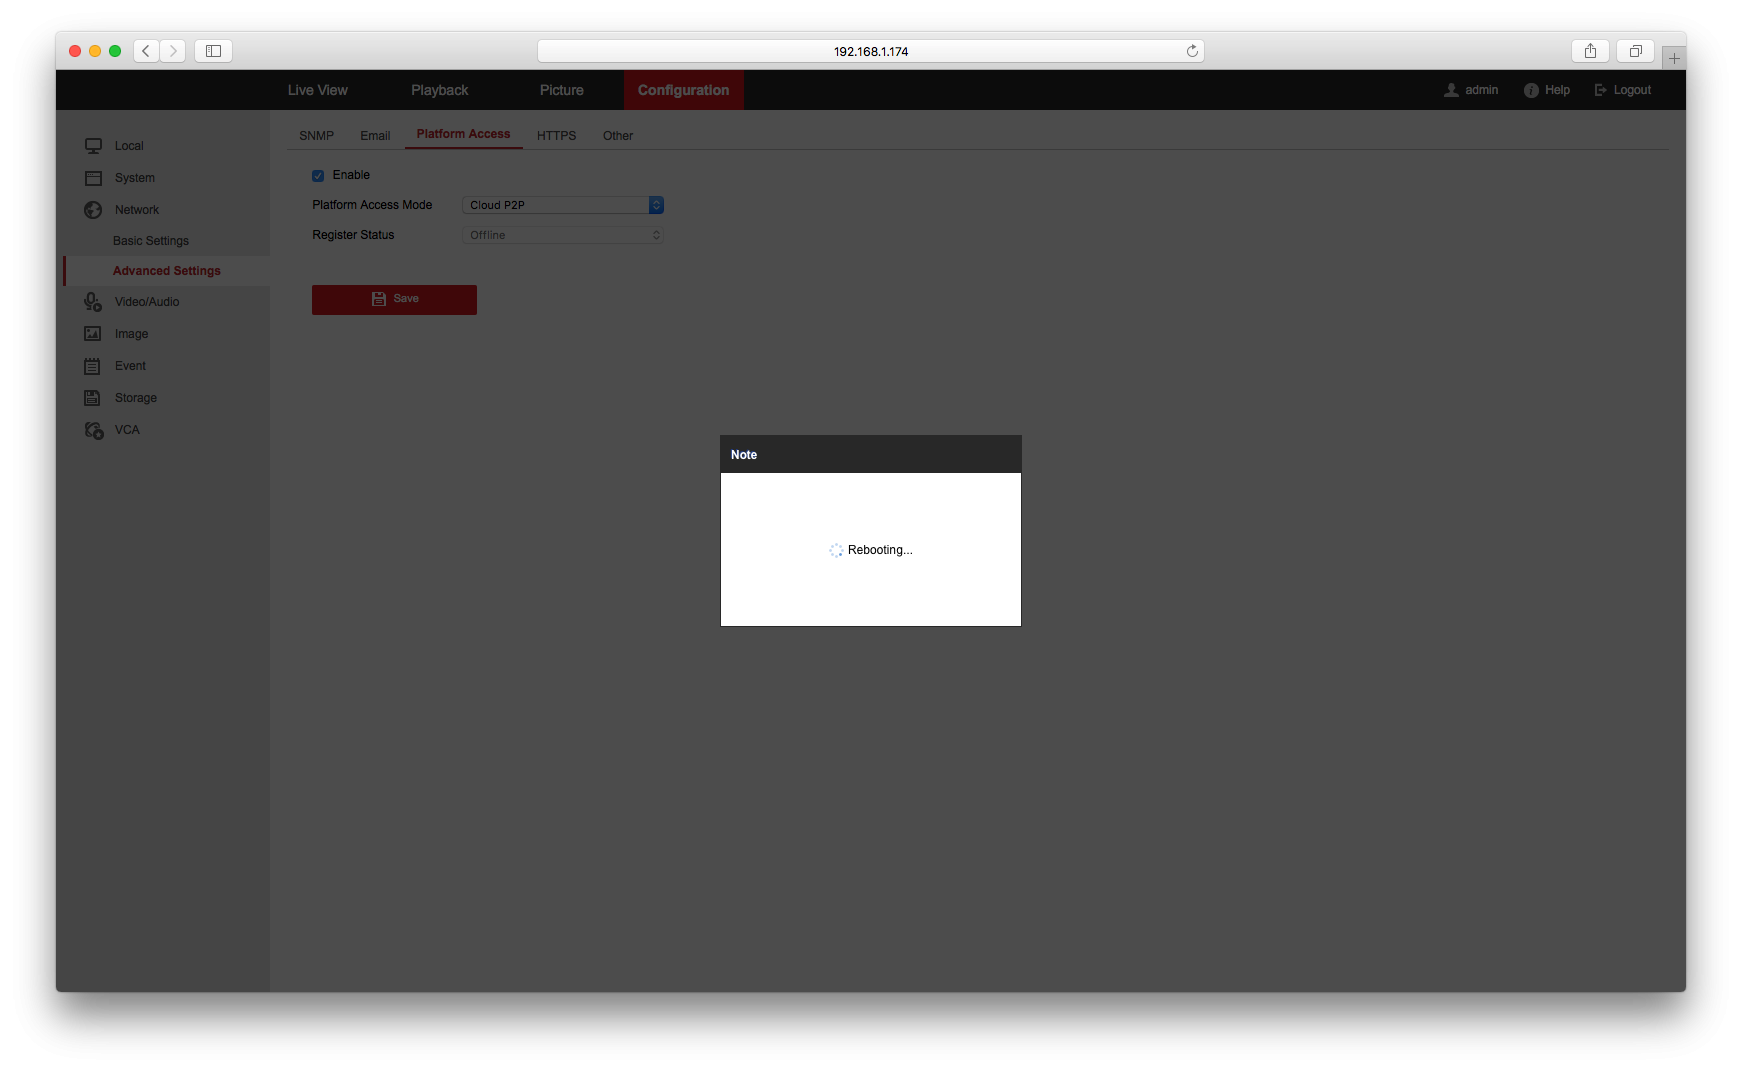
Wait for your recorder to reboot then log back in.
.
Step Six
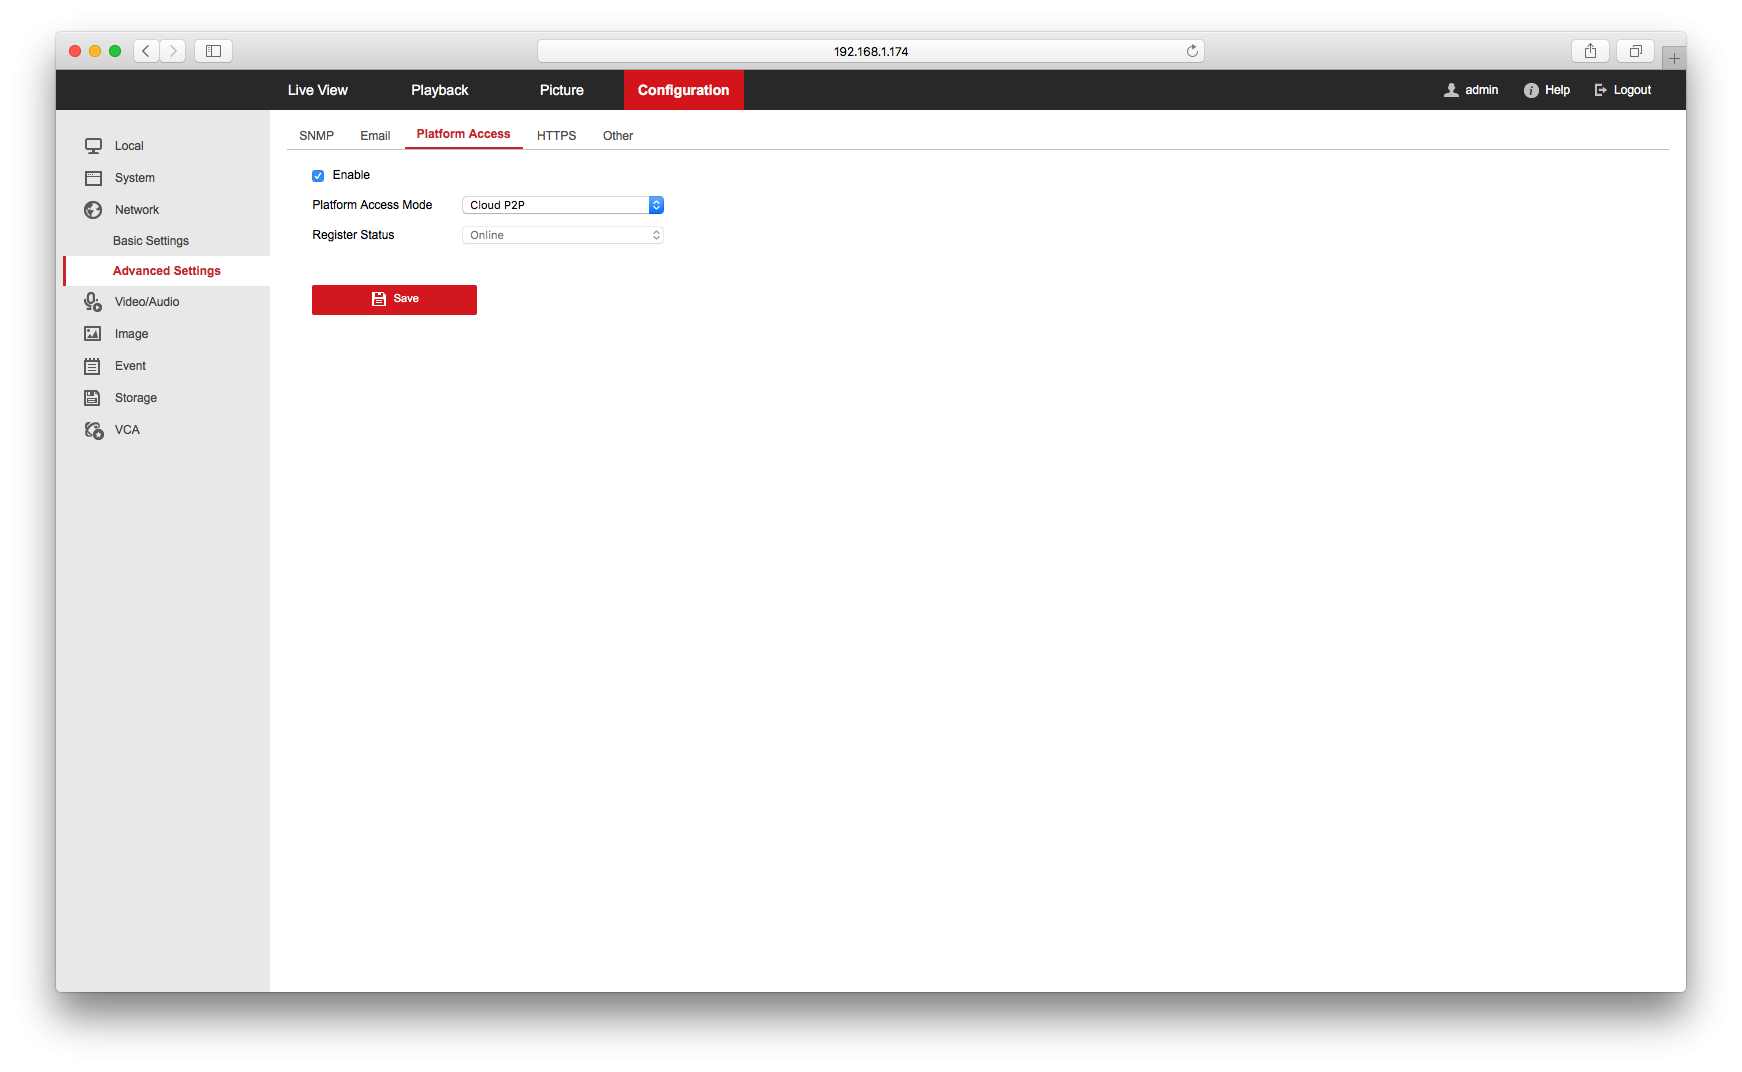
Navigate back to Configuration > Network > Advanced Settings > Platform Access and confirm that the Register Status now says ‘Online’
That’s it! You are now ready to move to the next step of adding your recorder to your cloud account.
HOW TO CREATE A GUARDING VISION ACCOUNT ON GUARDINGVISION.COM
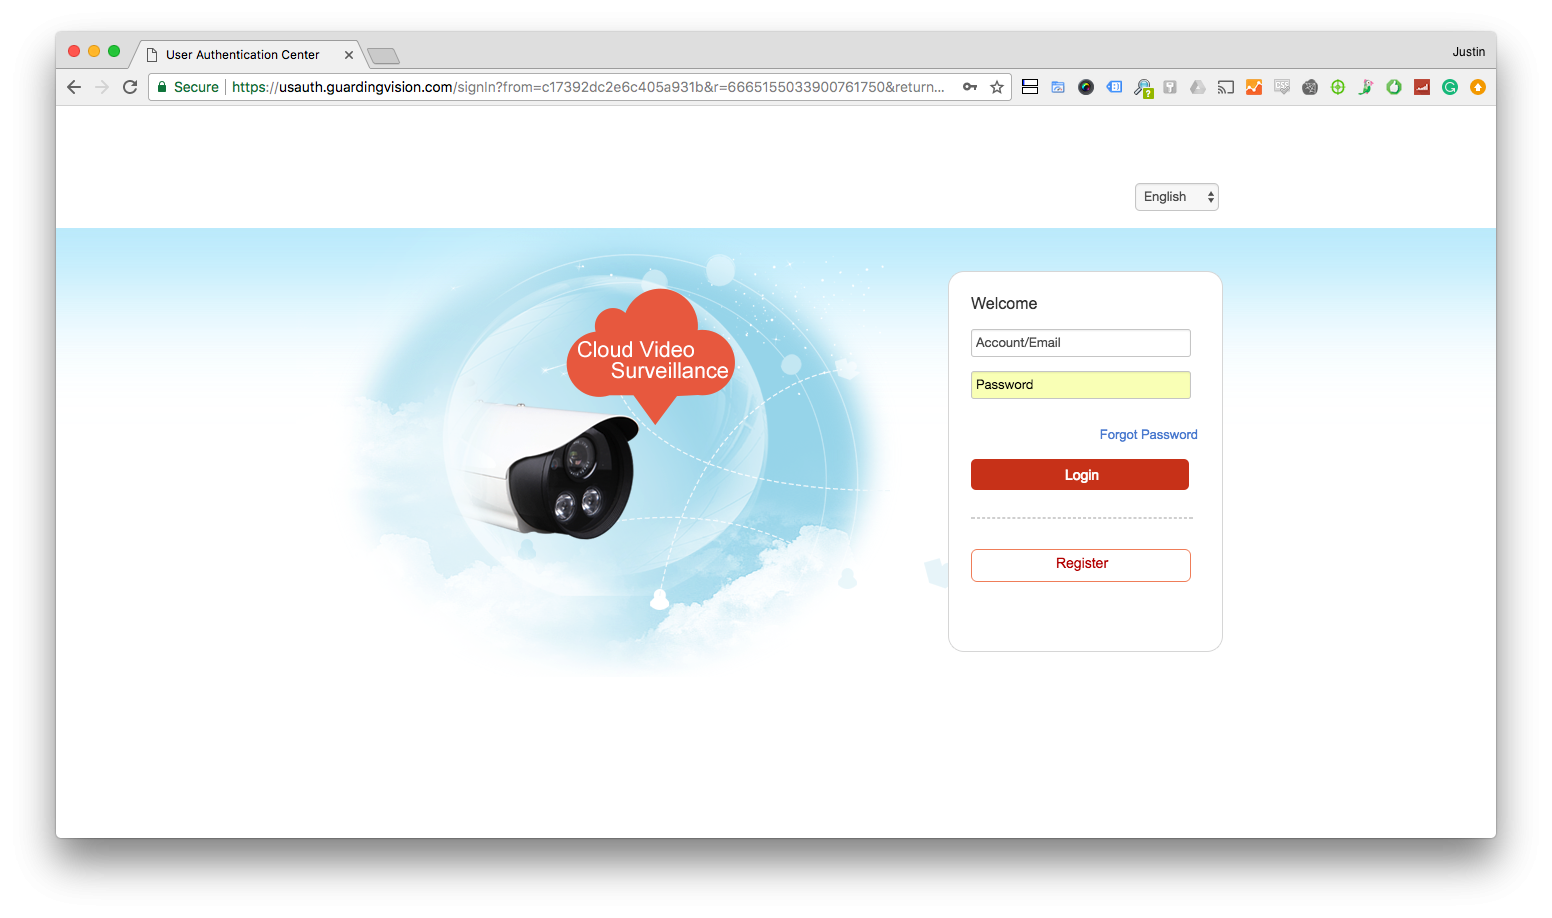
Step One
Go to guardingvision.com and click “Register”
.
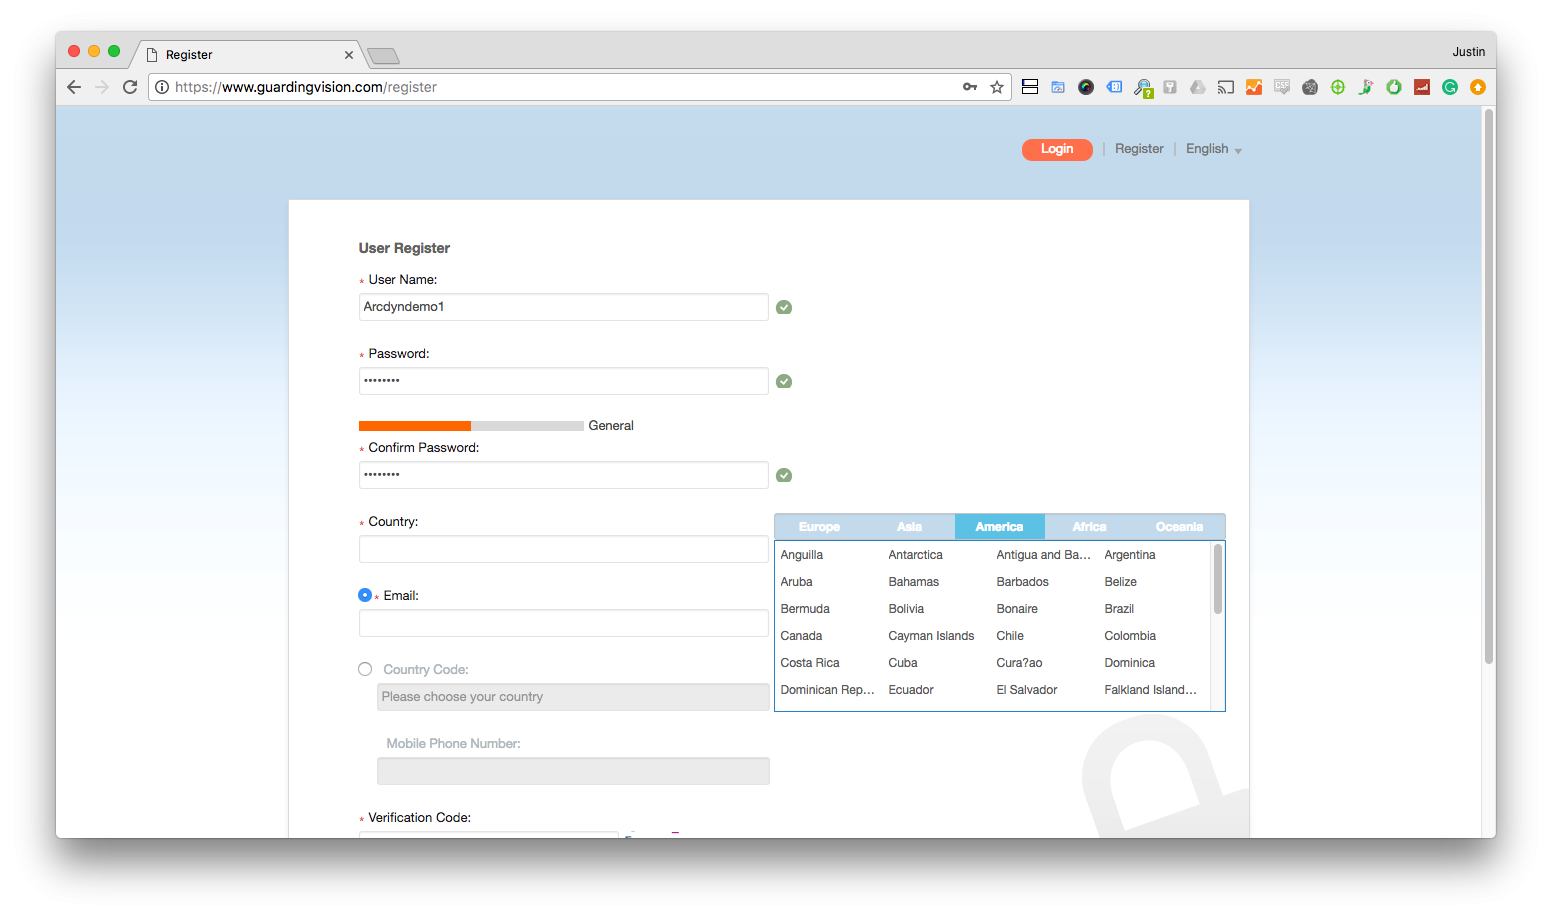
Step Two
Fill out your desired username, password, and select your country. If you’re in The United States, select ‘America’ across the top, then scroll down to find USA
.
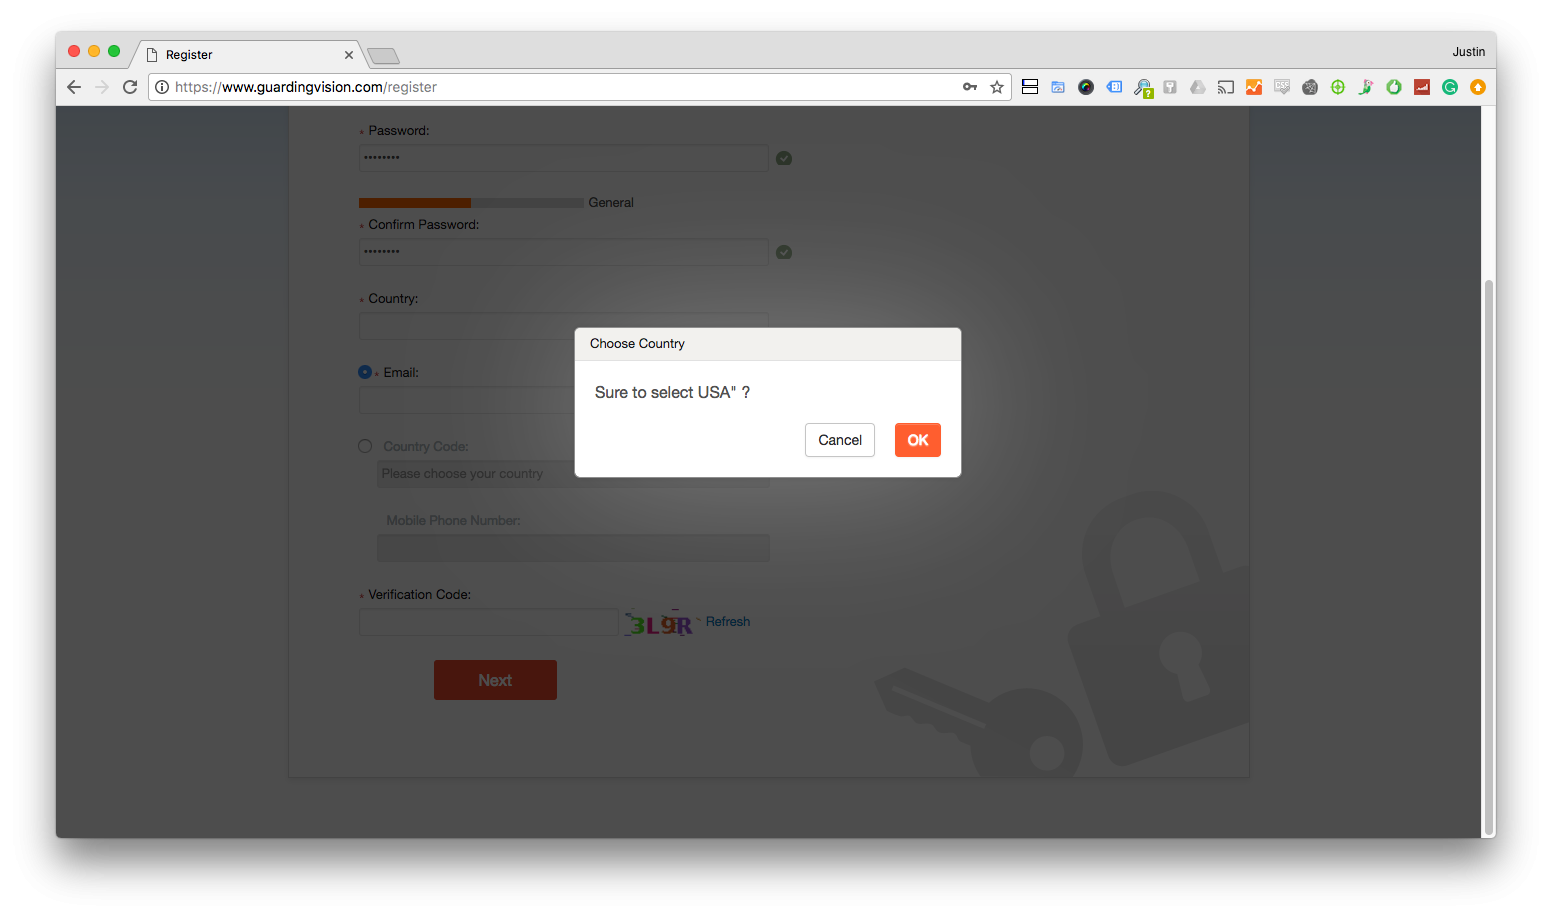
Step Three
Select ‘OK’ to confirm your country.
.
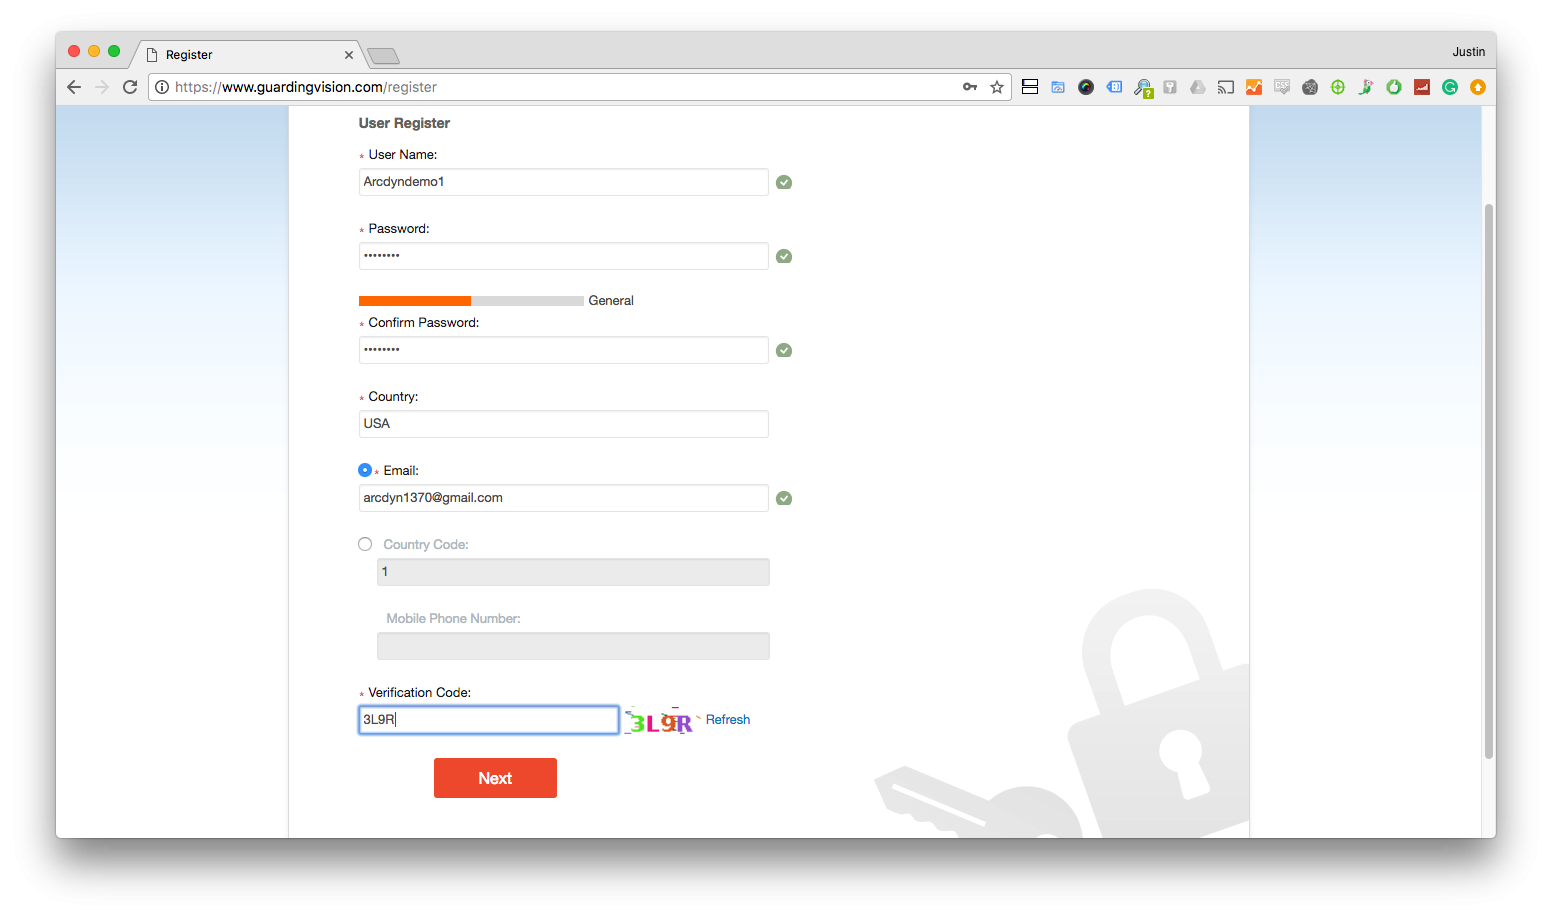
Step Four
Type in your email address (it is not recogmended to register via your phone # as it can make resetting your password difficult. Then, type in the captcha verification code and hit next.
.
Step Five
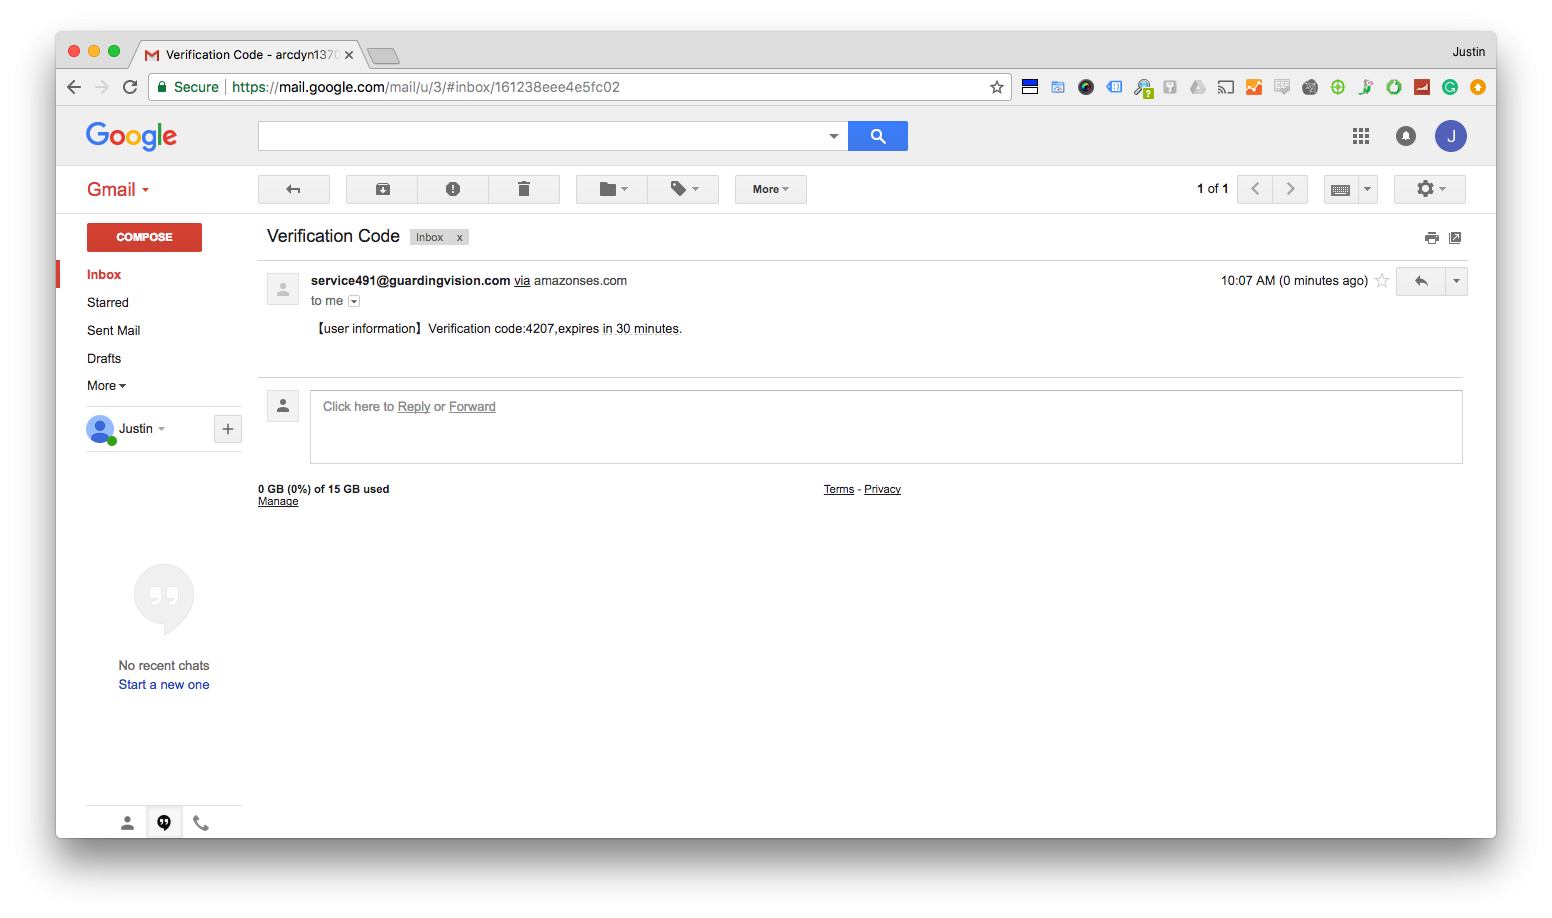
You will receive an email with a time sensitive, 4 digit email verification code. Retreive this code from your email return to your web browser.
.
Step Six
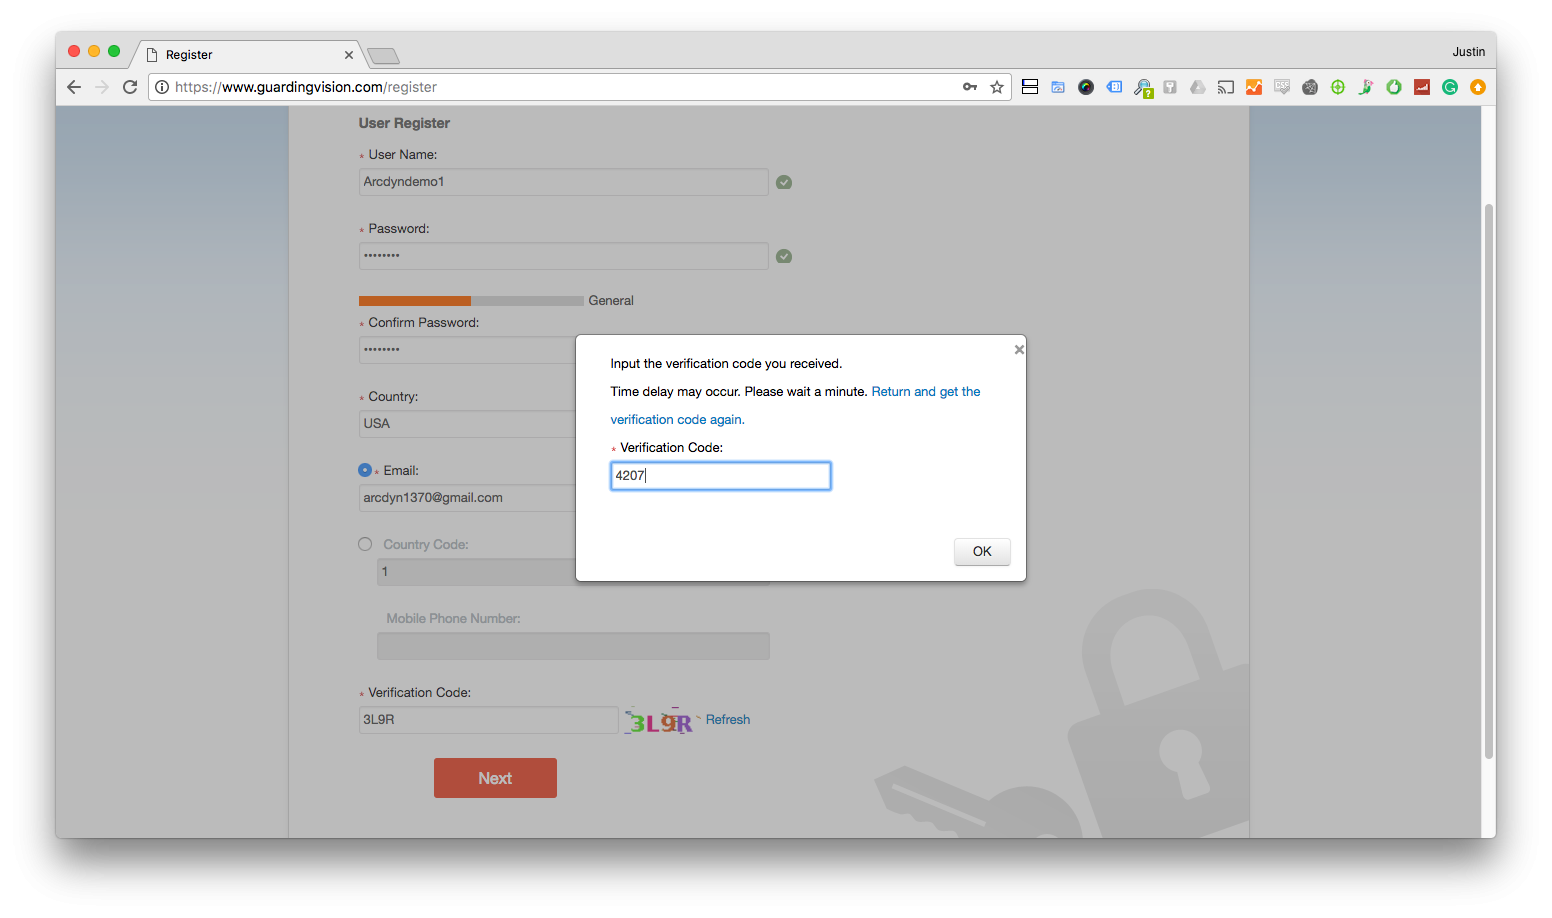
Enter the code into the prompt on guardingvision.com
.
Step Seven
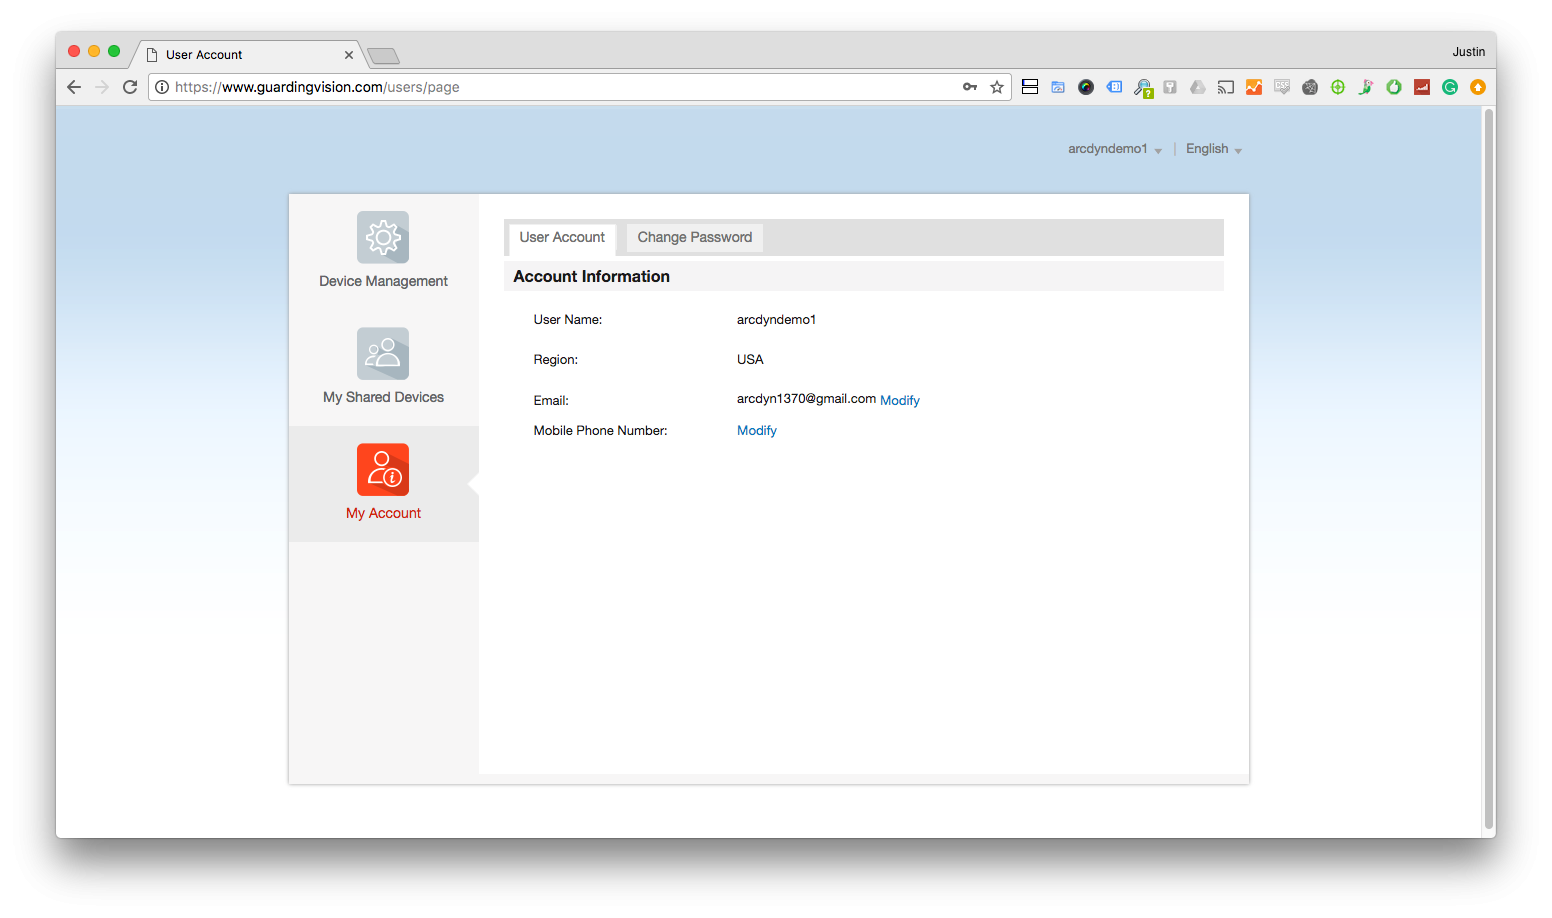
You will be forwarded to your account info page. Great Job! You are now registered with an account on guardingvision.com, you can now move on the adding your device to your Guarding Vision App.
HOW TO CREATE AN ACCOUNT VIA THE GUARDING VISION APP
Step One
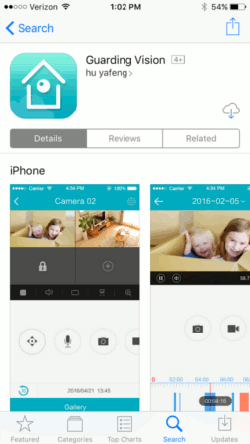
Download Guarding Vision for your Apple or Android device.


.
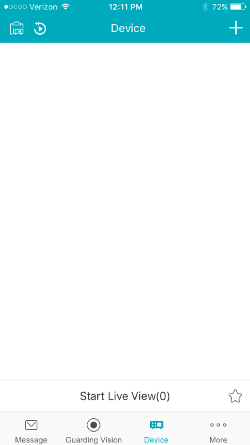
Step Two
Tap Guarding Vision icon on the bottom bar.
.
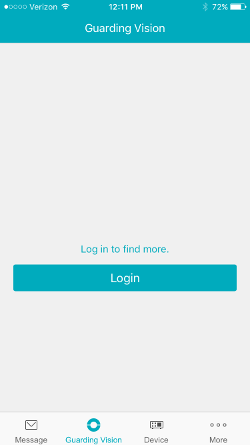
Step Three
Tap the login button
.
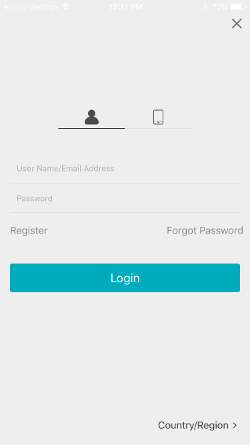
Step Four
Tap the Register link
.
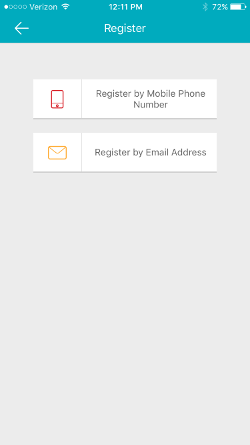
Step Five
Tap register by e-mail
.
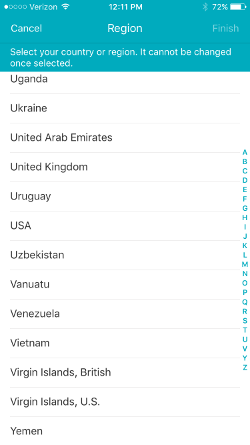
Step Six
Select the region
.
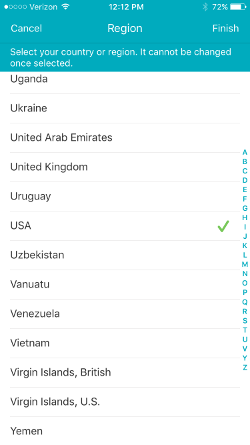
Step Seven
In the top right hand corner tap finish
.
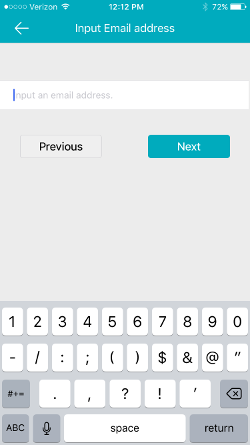
Step Eight
Enter your e-mail
.
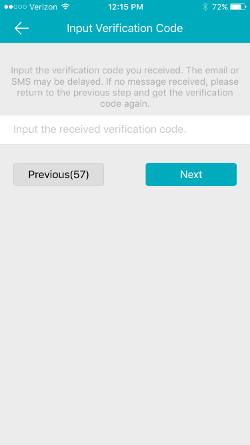
Step Nine
Enter the code you recieved in your e-mail
.
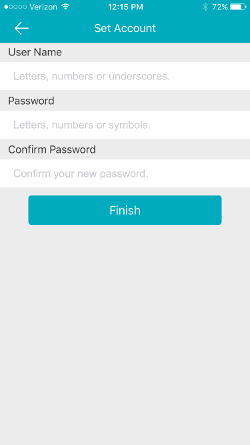
Step Ten
Create your username and password
.
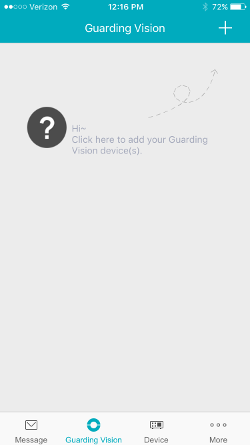
Step Eleven
Tap the plus symbol
.
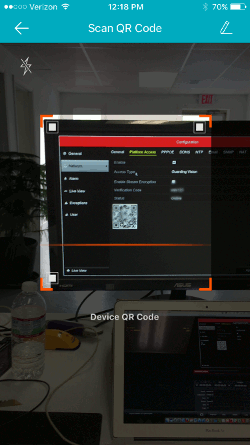
Step Twelve
Scan the QR code on the NVR. If you are not sure how to find the QR code on your NVR/DVR watch the video at the top of the page.
.
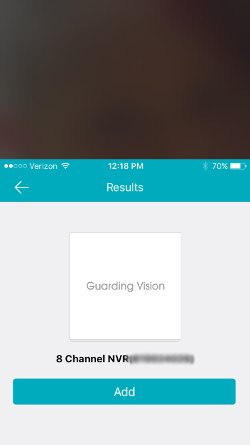
Step Thirteen
Tap the Add Button
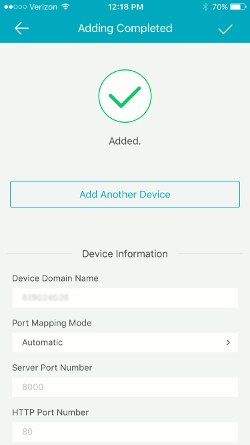
Step Fourteen
Tap the checkmark
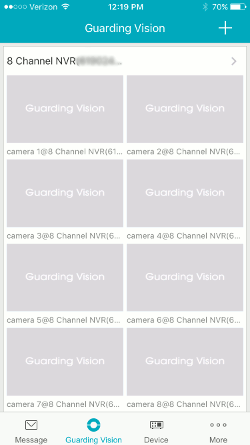
Step Fifteen
Tap a camera to start live view
APP SETUP DDNS WITH GUARDING VISION
For the DDNS to work properly you will need to have the NVR/DVR or camera correctly Port Forwarded.
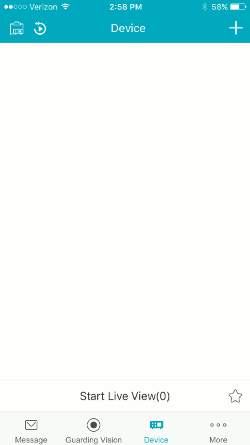
Step One
Tap the Device icon on the bottom bar.
.
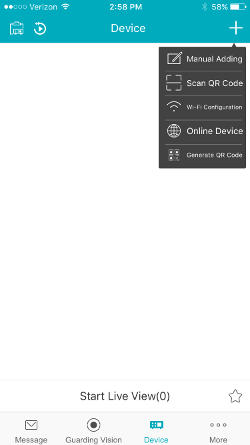
Step Two
Tap the plus icon in the top right, and then tap manual adding
.
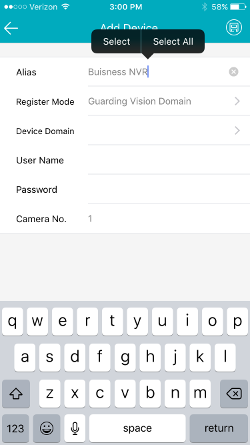
Step Three
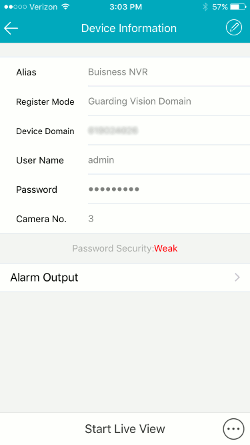
In the Alias Field enter a name for your system such as Business NVR.
.
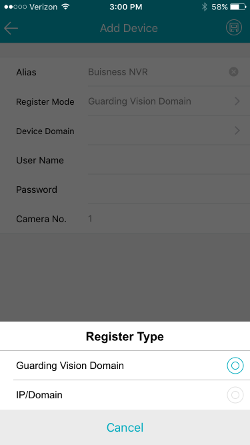
Step Four
Tap the register mode and select Guarding Vision Domain
.
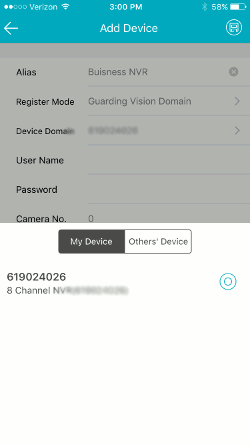
Step Five
Tap the Device Domain and the select the recorder in the list.
.
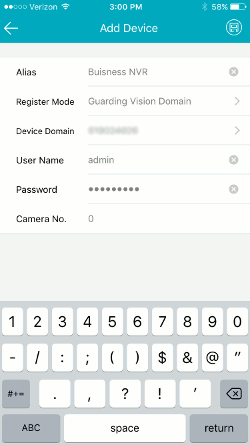
Step Six
Enter the Username and Password for the NVR/DVR
.
Step Seven
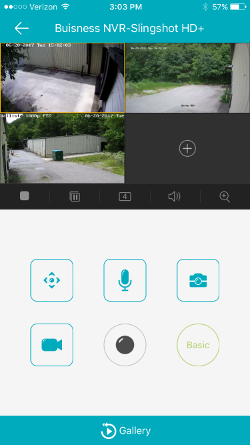
Tap start live view and you should see your cameras.
.
Step Eight
If you have any problems please feel free to call in for support.
