Blurams Cameras Installation and Connection Guide, The blurams app is home monitoring Wi-Fi video camera that sets up easily on your smartphone. With blurams camera, you can view your live video feed from anywhere by logging into the free blurams app on your smartphone.
Voice prompt description in the process of adding a device
Pressing the “RESET” button triggers a long “beep,” indicating the device is in network configuration mode.
3. Two “Beeps”:
Emitting two beeps signifies the device received a request to add when scanning a QR code or receiving Wi-Fi information.
Blurams Cameras Installation and Connection Guide
4. “Camera is having trouble finding your network, please check your network name again and move the camera closer to your router”:
Indicates Wi-Fi connection issues. Retry device addition, ensuring:
a. Connected to a 2.4G Wi-Fi, not 5G.
b. Correct Wi-Fi password.
c. Device proximity to the router.
5. “Camera is having trouble connecting to the network, please try re-entering your password”:
Alerts mismatched Wi-Fi name and password. Retry, ensuring accurate Wi-Fi details.
6. “Camera is having trouble finding your network, please try moving camera closer to your router”:
Suggests weak Wi-Fi signal. Retry with the device closer to the router.
7. “Wi-Fi connection successful, camera is trying to connect the server”:
Indicates successful Wi-Fi connection; device is attempting server connection.
8. “Wi-Fi network error, the camera is having trouble connecting to the network, please try again later”:
Signifies server connection failure. Check if Wi-Fi network can access the Internet.
9. “Configuration is complete, please wait for the camera online”:
Marks successful device addition. Complete remaining configuration steps as guided for device usage.
If you are still unable to connect to the network, please provide the following information, and contact our customer support team at support@blurams.com for assistance.
How can I add a new device/ connect to network?
Different device models need to be added in different ways depending on your smartphone and device model, there are four ways to add devices based on the device’s functions. Before you start adding devices, please note the following points:
Different adding methods will be different due to different attributes of the device.
QR Code(Wi-Fi Connection)
AP Mode(Wi-Fi Connection)
Network Cable Connection
Bluetooth Connection
The Outdoor Lite2 indicates “Network Error”
If the outdoor lite2 (A20) indicates “Network Error”, please try to take a look at the below steps:
1, Connect the Ethernet cable from the router and power up the camera.
2, Add device using the App WiFi method, prompt with say Connection Successful.
3, Ethernet can be unplugged and Wi-Fi connection will be established.
If the issue still can’t connect via the Ethernet cable, please contact the support team email for advice.
Also, if you have the SD card and SD card reader, update the firmware will fix this issue also.
.
How to access the camera on PC
If you want to access the camera on web browser, there are two ways to access the web client.
1, Please go to the web client via the below link.
https://client.blurams.com/login
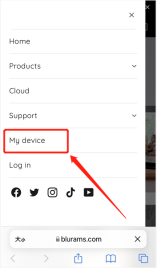
2, Please go to our official website, tap the “My device” to access the web client.
How to change the email address for the account?
If you want to change the email address for the account, we are so sorry it can’t be changed. The Blurams account is only linked to one email address, and it can’t be changed after registration.
If the old email address is unavailable, we suggest that you can register a new account with the new email address, then add the camera under the new account.
Please note: If you set up the camera under the new account, all the video data, Blurams Guard plans, and camera settings will still be under the old account, and it can’t be transferred to the new account.
Why the lens is rotated by itself or out of control?
If the device is rotated by itself or out of control, please try to troubleshoot it by following steps:
1, Please check if the Motion tracking function is on, if not, please turn off it. (Picture 1)
2, Please check if the Auto Cruise function is on, if not, please turn off it. (Picture 2)
3, Restart the device.
4, If the device still rotates by itself, please provide a video about it, and please attach the MAC address.
Can’t scan the QR code
If the Blurams Cam can’t scan the QR code, first, please make sure the device is red light blinking, please try to troubleshoot the issue by taking the below steps:
– Remove the camera’s lens protective film to make sure the lens is clean
– Adjust the smartphone screen brightness, Switch the App theme to Light, please go to the Blurams app >- Me >- Settings >- Theme, switch to Light mode
– Place the home security cameras on a table or platform, adjust the phone to let it scan the QR code
– Tap the QR code to enlarge it
– Adjust the distance between the lens and screen, the best distance is 3 ~ 5 inch
Please note: the device model A21C Outdoor Pro canadd it via the AP mode, it doesn’t need to scan the QR code; The outdoor lite2, outdoor lite3 supports connect via the Ethernet cable also.
How to remove or delete a device under my account
When you need to transfer a device to another account, or return it back, please delete the device from your account.
.
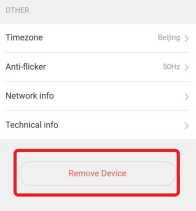
You can delete the device by selecting the “Remove Device” option on the device’s [Preferences/Settings] ”
If the device is associated with a Cloud Service, when the device is removed, the Cloud Service will be unassociated with this device.
This will not affect your other devices.
You can manage all Cloud Services under your account through “Me” -> “Cloud Service” -> “My Cloud Service”.
In addition, it is worth noting that when the device is removed, please save your video data to avoid data loss due to accidental removal.
Change the network
If the device is offline:
If the device is offline, you can only connect the device to the new router by re-adding the device. You can connect the device to the new router through the [Troubleshooting] button on the device list, [Update Wi-Fi] in the [Preferences/Settings], or by adding a new device.
If the device is online:
When the device is online, you can go to the device’s [Preferences/Settings] -> [Network Info] -> [Update Wi-Fi] to connect the device to the new router. After entering this section, the available Wi-Fi list scanned by the device will be automatically loaded. Select the Wi-Fi to which you need the device to connect and enter the password, and this Wi-Fi information will be sent to the device. The device will then try to connect to the new Wi-Fi. Even when the device is online, connect the device to the new Wi-Fi by adding the device again.
My device appears disconnected or offline
If the device shows that it is disconnected or offline, it may be caused by short-term network fluctuations or changes in the network conditions of the environment where the device is located. Please re-add firstly by the methods in 2.2 and if re-adding doesn’t work then check the following steps of your wifi environment:
What do the different status light colors mean?
Status lights on devices are an important tool that can help you find out what a given problem is. They can be divided into the following types:
Note: if the camera’s status light keeps solid red or green light even if press the set button, please contact the support team for advice.
Apple Siri set up guide
If you want to voice command the device, like turn on/ turn off/ show the live stream, please try to enter the Blurams app [Discover]>- [Siri Shortcuts].
Prerequisites for use:
1. Siri voice control function only supports iOS12 and above systems;
2. Only supports English and Simplified Chinese;
3. The shared device does not support adding shortcut commands.
Steps for usage:
1. Open the app and click the Discover button in the bottom navigation bar to enter the discovery page
2. Click Siri Shortcuts to enter a new page. Each device supports 3 commands individually.
The three commands are defined as follows:
1) Show the camera: call up the blurams APP, jump to the playback page to play the real-time video of the corresponding camera.
2) Turn on the camera: without manually open the blurams App, directly open the corresponding camera automatically.
3) Turn off the camera: without the user manually opening the blurams App, the corresponding camera is automatically turned off directly.
3. Click the “+” sign on the right side of each command to call up and add it to the Siri page. The default shortcut name is the name of the list, which can be modified by the user;
4. After the instruction is added to Siri, the Siri voice command is displayed on the second line of the list, and the plus sign on the right side of the list becomes an arrow to the right. The user can click the list option to re-start edit;
5. After the command is successfully added, Siri is invoked, and the user reads the set voice command to perform the corresponding operation.
Alexa app says “Waiting for Blurams”
If the Amazon Alexa can’t play the live stream and says “Waiting for Blurams”, use the below steps to trouble this issue:
1, Please ensure you can play the live stream on Blurams app.
2, Check if your Amazon Alexa app is up to date.
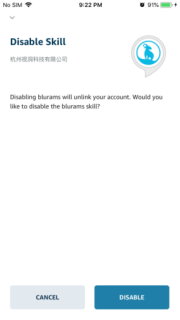
3, Disable, then re-enable the Blurams Skill in the Amazon Alexa App.
Alexa cannot discover or connect to the camera
Here are some steps to try if your Amazon device is having trouble discovering the security camera:
1, Ensure the devices is the newest firmware, click here to see how to update the firmware online.
2, Ensure your Alexa devices’ firmware is also up to date. Click this link to check with Amazon customer support.
3, Ensure that you authorized the correct Blurams account to your Amazon Alexa account.
4, Disable, and re-enable the Blurams skill.
5, Ensure the device is online and the network is fine.
6, For additional troubleshooting, click here to refer to Amazon Alexa support.
Alexa can’t link to my account
If you can’t link your account to Amazon Alexa blurams skill, please try to do the following things:
1, Please try to log in the blurams app with the same account and password, and make sure the account and password are valid and correct.
2, Please check if the email address and password are correct, and please note if there exists the space character.
IFTTT set up steps
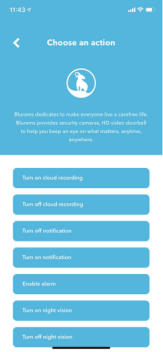
Blurams has partnered with IFTTT (If This Then That) to let our users connect Blurams security cameras and Doorbell to other brand apps and devices.
Blurams security camera and doorbell has a few triggers and actions it can use with IFTTT. Please go to the IFTTT to get more features to build a smart home and living carefree.
1. Download IFTTT
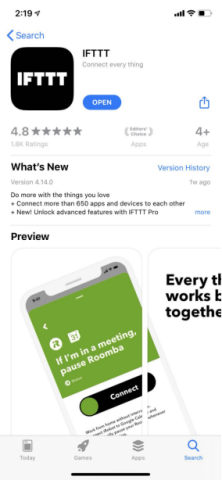
Enter https://ifttt.com/ in the address bar of a browser or download and install the “IFTTT” App from the Apple Store or Google Play.
2. Create Applet
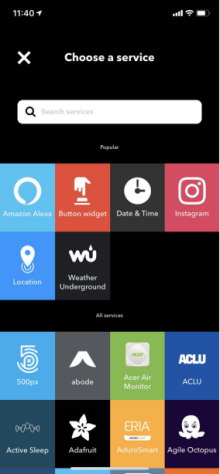
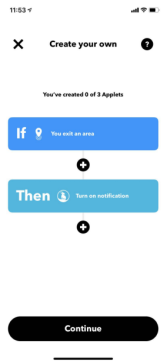
Sign up and log into the IFTTT App, now you’re ready to create an Applet with Blurams service. As an example, we will demonstrate how to use the Blurams service by creating an Applet that “turns on push notification when you leave a place.
There are 3 steps to create an Applet:
2.1 Select “IF”
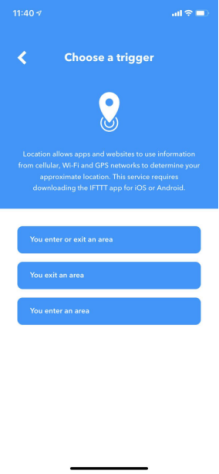
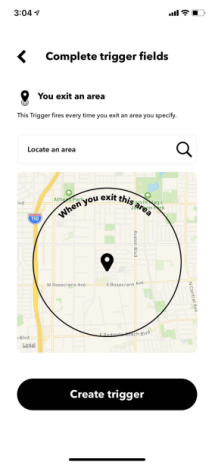
Select the Location service first, then select “You exit an area” and locate an area on the map.
2.2 Select “Then”
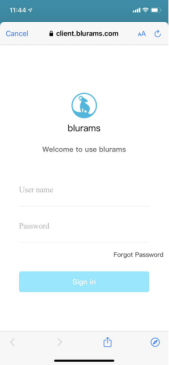
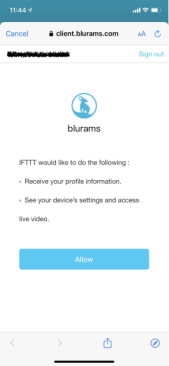
Search and select “Blurams” service, then select the device which you need to enable push-notifications for it. If you have not used Blurams service before, then you need to do an authentication between your Blurams account and IFTTT first.
2.3 Preview and Finish
After finishing the settings above, IFTTT will show a preview page, here you can choose to rename the Applet.
Tap the “Finish” and after the save is successful, this Applet will immediately take effect.
3. Disable Applet
When you don’t need the Applet, you can disconnect the Applet or just archive it in the IFTTT App.
To learn more about Applets click here for support articles by IFTTT.
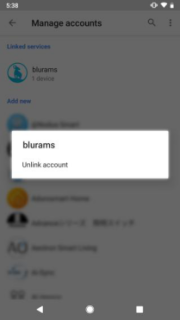
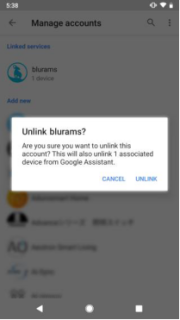
Disable/ Unlink Google Home
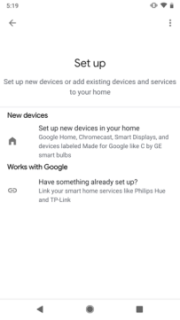
Set up the Google Home/ Google Assistant
1. Download the Google Home app
On your mobile device or tablet, download the Google Home app.
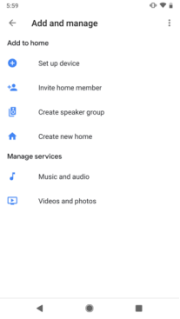
2. Set up your Google device
If you haven’t set up your Chromecast and speaker or display, follow the steps below. If you have already set up these devices, you can skip this step.
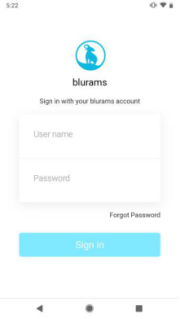
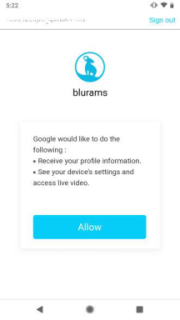
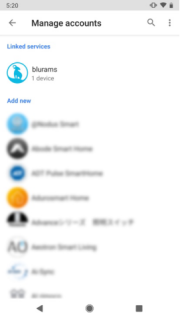
3. Link blurams Account
Voice control
Use these commands to control your home security cameras:
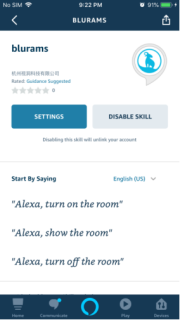
Disable or Unlink the Alexa Skill
Click “DISABLE SKILL” on the Skill homepage to disable blurams skill.
Amazon Alexa Voice Commands
After discovering devices, you can control these devices through Amazon Echo series products. Currently, they support voice commands such as:
How to set up Amazon Alexa?
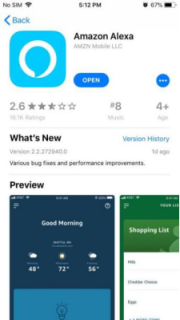
1. Download Amazon Alexa
Download and install the “Amazon Alexa” app on the App Store or Google Play.
2. Find blurams Skill
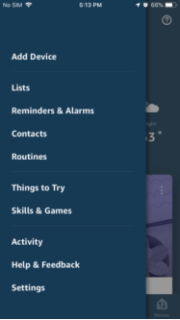
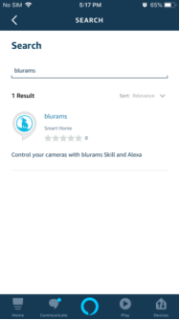
Log in to the Amazon Alexa app, open the sidebar from the top left corner, and enter the “Skills & Game” page, search for “blurams” in the search bar to find the blurams skills.
3. Enable blurams Skill
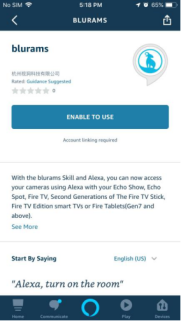
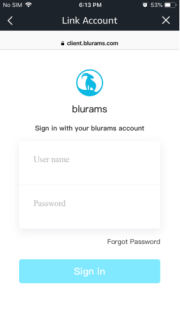
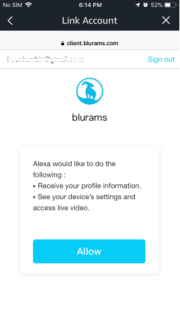
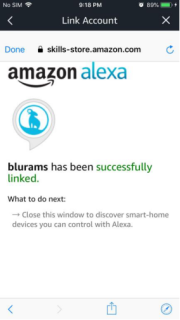
In the search result page, click “blurams Skill” and go to the Skill page, click “ENABLE” and follow the instructions to link Amazon to your blurams account.
4. Discover device
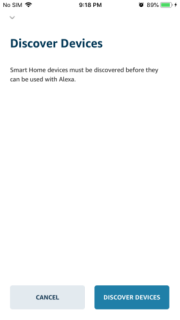
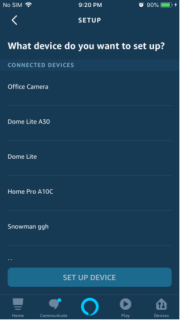
If the accounts are successfully linked, the Amazon Alexa App will start to discover devices. After waiting for a moment, all security cameras that have been discovered will be listed automatically.
Notes to keep in mind:
OTA (Over The Air) Firmware Update
Where is the SD card slot?
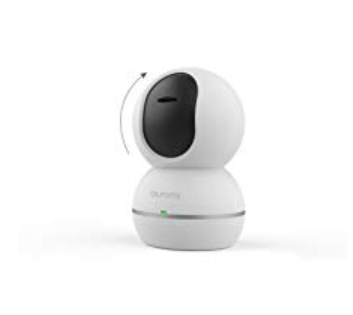
If you couldn’t find the SD card slot of these devices(Dome Pro, Dome Lite, Dome Lite 2, Snowman), please power off the device, slide up the lens, the SD card slot is on the lens.
I can’t see any videos after inserting the SD card?
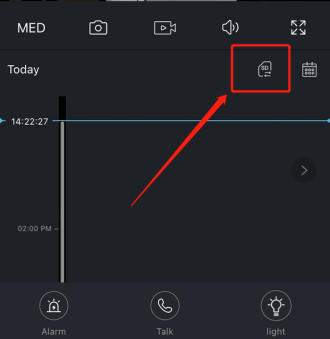
The device supports both cloud recording and SD card recording mode. The timeline displays videos that are in the cloud by default. If you need to view the video on the SD card, please switch the viewing way to SD card using one of the following ways:
In addition, you can switch the video recording mode on the SD card through the device’s [Preferences/Settings] “ ” -> [Storage] -> [SD card record mode].
The following recording modes are supported:
The home security camera will no longer record video data on the SD card.
The device will record video data to the SD card only when an event is detected.
If the SD card is inserted into the device, the device will record video data to the SD card at all times even when the device is not connected to the network. However, the SD card might be damaged over time if this mode is used for long periods of time as this engages the card continually.
The app can’t detect the SD card
If the cameras can’t detect the SD card, please try to troubleshoot it via the below step:














Did you know there’s a better way to deliver affiliate marketing campaigns? With our service, you can send any ad text directly to website contact forms. No algorithms, no limits.
If you’re interested in learning more about how this works, reach out to me using the contact info below.
Regards,
Teri Dalton
Email: Teri.Dalton@getmoreleads.top
Website: http://tcpgpc.ads-that-work.my